How to set granular file permissions for your data room?
Control exactly who sees what in your data room. With granular permissions, you can set specific view and download access for each folder and file - ensuring investors only see financial documents, partners access product materials, and advisors review what's relevant to them.
Turn off "Share Entire Dataroom" to start with nothing shared, then hand-pick exactly which documents each recipient can access.
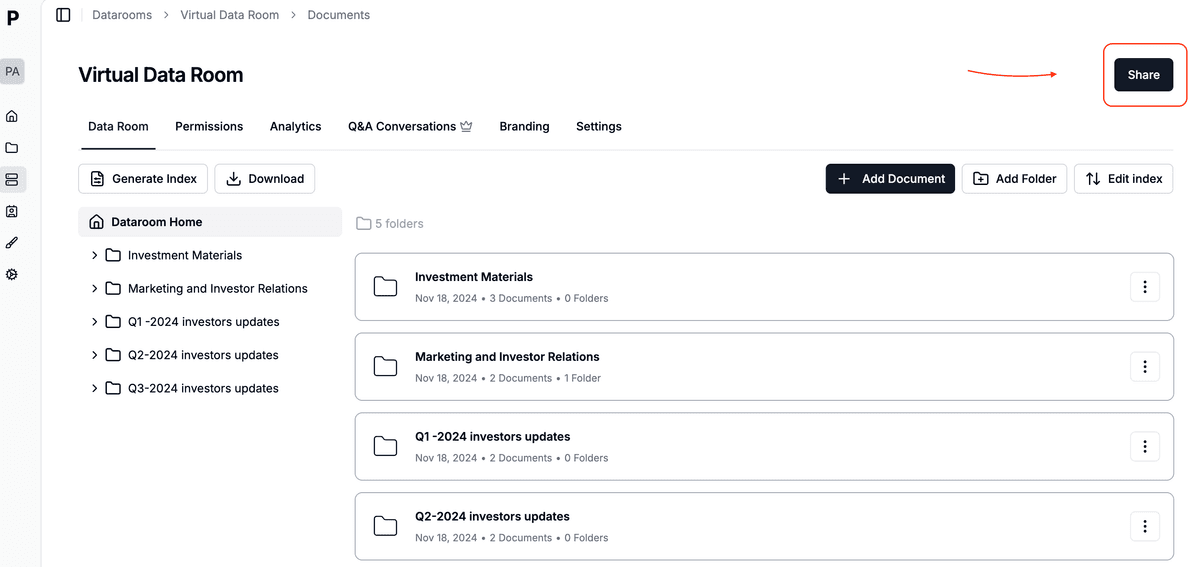
Step 1: Open your data room sharing settings
- Navigate to your data room in the left sidebar
- Click the "Share" button in the top right corner
Step 2: Set default permission strategy
Choose how permissions work for new documents added to your data room:
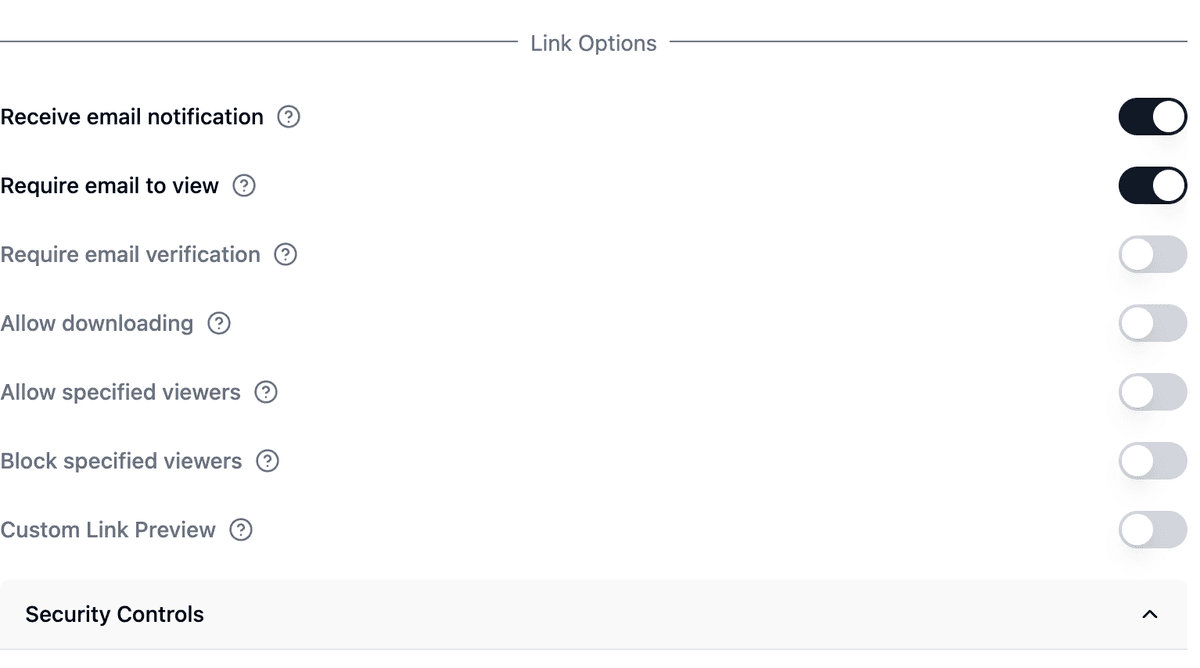
- Inherit from parent folder: New items automatically get their parent folder's permissions
- Ask every time: Manual permissions modal for each upload
- Hidden by default: New items start with no access
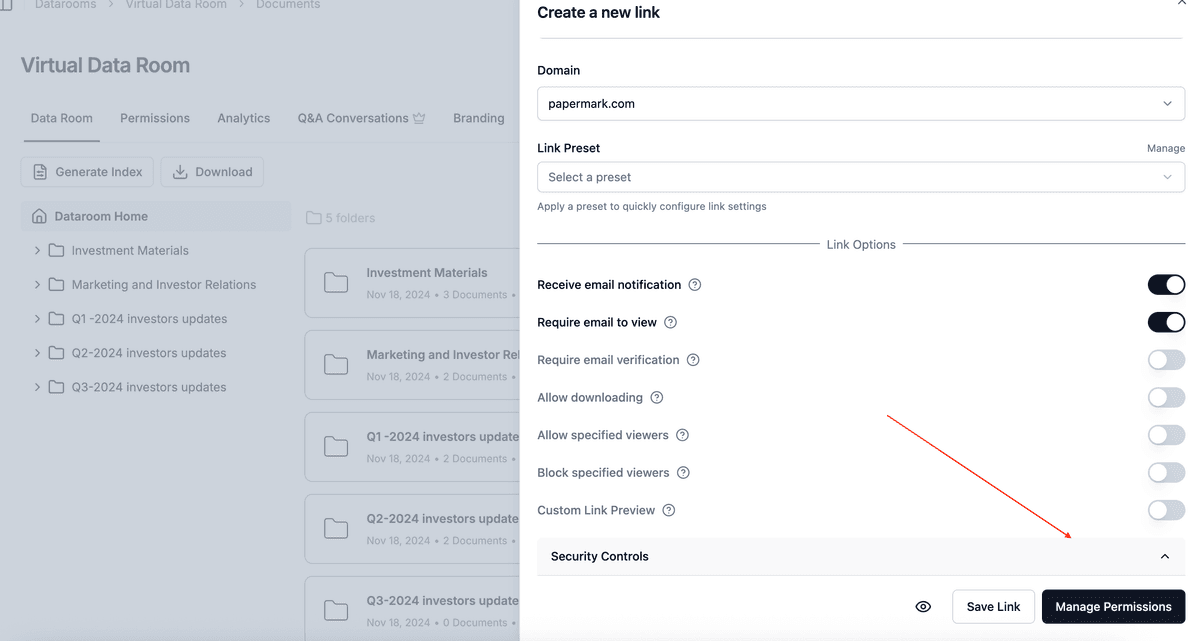
Step 3: Configure granular permissions
Click "Manage Permissions" to set folder and file-level access controls.

To control exactly what's shared:
- Turn off "Share Entire Dataroom" to start with nothing selected
- Select specific folders or files to share
- Set permissions for each item:
- View: Allow recipients to see the document
- Download: Enable file downloads
- Original file access: Grant access to source files (.pptx, .xlsx, etc.)
Note: Files in folders inherit permissions based on your default strategy.
Use cases for granular permissions
- Investor updates: Share financial folders only with investors, exclude product roadmaps
- Partner access: Give product documentation to partners, hide financial data
- Advisor reviews: Grant view-only access to specific sections, disable downloads
- Due diligence: Progressively grant access to sensitive documents as deals advance
Common questions
Can I change permissions after sharing?
Yes. All permission changes take effect immediately for existing links.
Can different links have different permissions?
Yes. Each link to your data room can have unique folder and file permissions.
How do I track who accessed what?
Enable email verification to see detailed access logs and receive notifications in Analytics.
Related permission features
Granular file permissions pair with these features for full control over who sees what:
- Default permissions for new data room documents - set the rule once for all future uploads
- Control who sees new uploads in a data room - hide uploads from existing viewers
- Visitor groups and bulk invites - manage many visitors at once
- Prevent document downloads - block downloads and printing
- Allow downloads (data room) and allow downloads (document)
- Bulk downloads with OTP - secure bulk download with verification
- Download specific data room folders - visitor-side folder downloads
Set up granular permissions
Need more help? Browse our Help Center or contact support in-app.