¿Cómo crear webhooks en Papermark?
¿Necesitas activar automatizaciones cuando ocurre algo en Papermark? Con los webhooks puedes enviar eventos como link.viewed o document.created a cualquier servicio externo en tiempo real.
Los webhooks están disponibles en el plan Business (o durante tu prueba gratuita). Debes ser Propietario del espacio de trabajo o Administrador para gestionarlos.
Antes de empezar
• Decide dónde recibirás los eventos (por ejemplo, Slack, Zapier, endpoint personalizado).
• Asegúrate de que el destino pueda aceptar solicitudes POST con cuerpos JSON.
• Genera o ten acceso a tu URL receptora.
Paso a paso
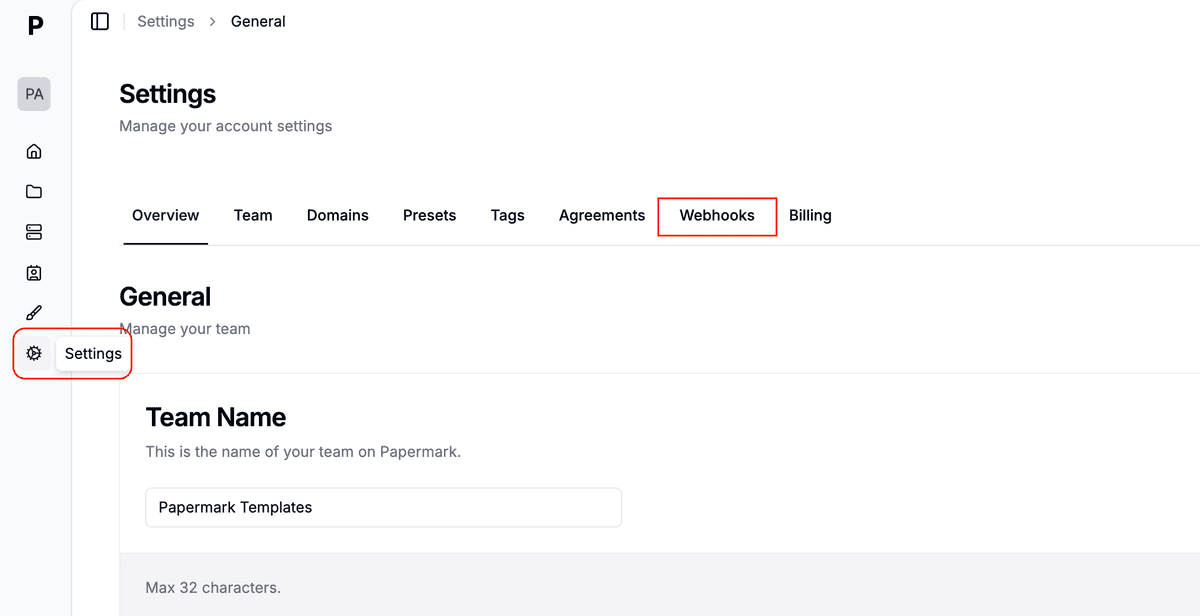
- Abre la configuración – Haz clic en el icono de Configuración en la barra lateral izquierda, luego elige Webhooks en el menú.
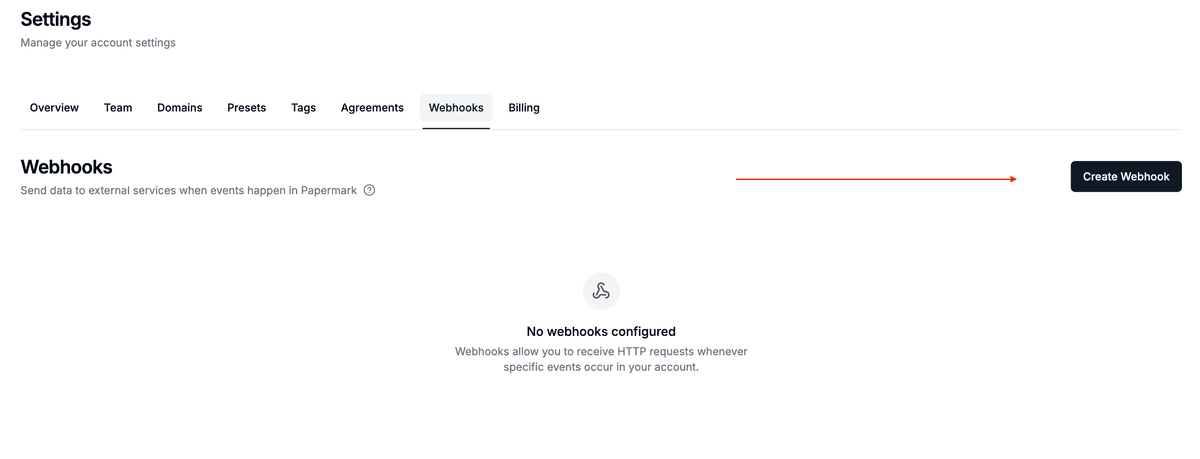
- Crea un webhook – Presiona Crear webhook en la esquina superior derecha.
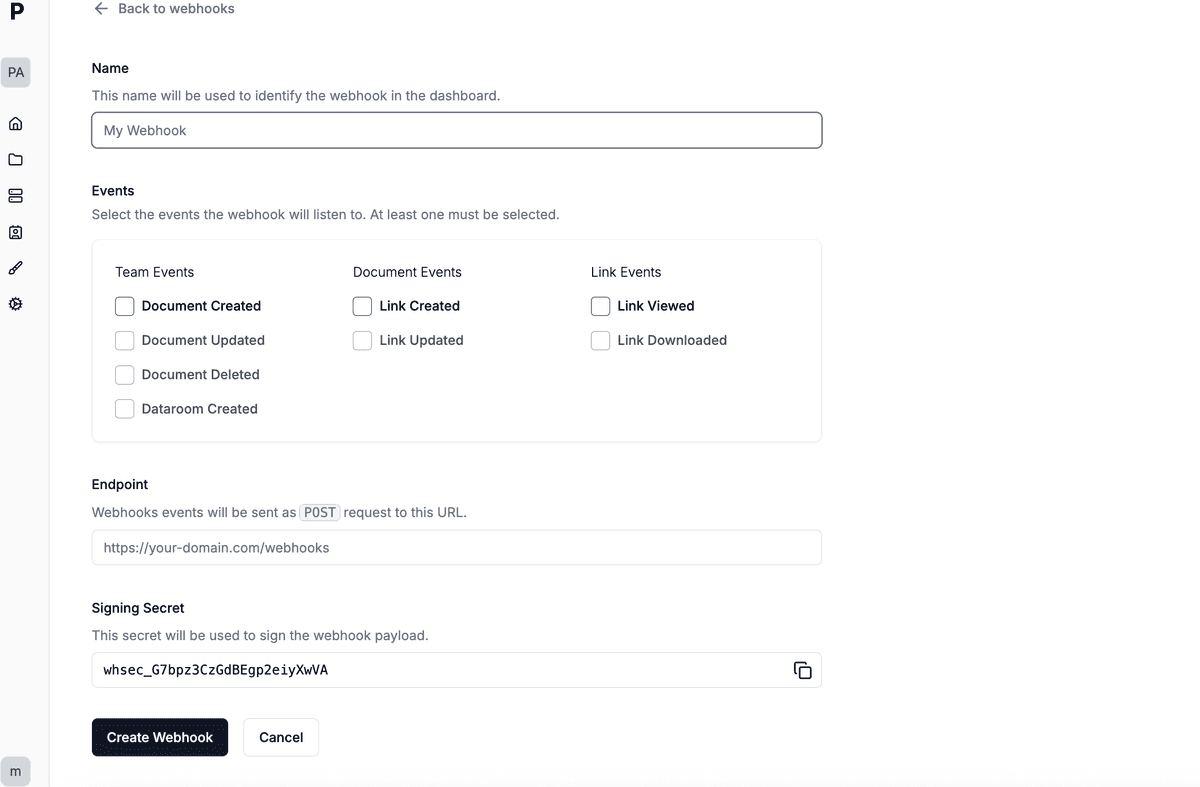
- Nómbralo – Introduce un nombre descriptivo como Alertas de Slack (mín. 3 caracteres).
- Pega la URL de tu endpoint – Aquí es donde Papermark enviará las solicitudes POST.
- Copia el secreto – Se genera automáticamente un secreto de firma único. Guárdalo para poder verificar las firmas.
- Elige los activadores – Selecciona uno o más eventos para enviar. Puedes combinar activadores de múltiples categorías:
- Nivel de equipo –
document.created,document.updated,document.deleted,dataroom.created - Nivel de documento –
link.created,link.updated - Nivel de enlace –
link.viewed,link.downloaded
- Nivel de equipo –
Nuevos disparadores de webhook: link.created y document.created
Dos disparadores son especialmente útiles para la automatización:
link.createdse activa en el momento en que se genera un nuevo enlace para un documento o sala de datosdocument.createdse activa en el momento en que se sube un nuevo documento
Automatizaciones comunes que estos habilitan:
- Sincronización con CRM: cuando se crea un nuevo enlace para un inversor, envía un registro a HubSpot o Salesforce
- Alertas en Slack: notifica a un canal de ventas cuando se genera un nuevo enlace de presentación
- Flujos de trabajo en Zapier: inicia una automatización de varios pasos cada vez que se sube un documento
- Seguimiento interno: registra cada enlace y documento en tu propio almacén de datos para análisis
Ejemplo de payload para link.created:
Ejemplo de payload para document.created:
- Guardar webhook – Haz clic en Crear. Verás el nuevo webhook en la lista con su estado.
- Probar entrega – Realiza una acción que coincida con uno de tus disparadores y verifica tu endpoint o el registro de entregas.
Verificación de firmas
Cada solicitud incluye un encabezado X-Papermark-Signature que contiene un hash HMAC-SHA-256 del payload. Genera el hash del JSON sin procesar con tu secreto guardado y compara el valor hexadecimal para asegurarte de que la llamada proviene realmente de Papermark.
Gestión de webhooks
• Editar – Haz clic en un webhook de la lista para renombrarlo, agregar o eliminar disparadores, o cambiar la URL.
• Ver registros – Abre un webhook y cambia a Registro de entregas para ver cada intento y código de respuesta.
• Eliminar – Usa el botón Eliminar dentro de la página de detalles del webhook para detener las entregas.
Consejos
- Mantén tu endpoint con alta disponibilidad; Papermark reintenta las entregas fallidas durante 24 horas.
- Usa colas (p. ej. AWS SQS, RabbitMQ) para desacoplar el procesamiento de la recepción.
- Filtra los eventos por el campo
eventpara enrutarlos a diferentes manejadores.
Guías relacionadas
- Flujos de trabajo de Papermark - playbooks listos para usar que combinan webhooks con Slack, CRMs, Zapier y más
- Cómo usar la API REST de Papermark - combina pull y push para una cobertura completa
- Cómo usar la CLI de Papermark - automatiza desde tu terminal o CI
- Cómo usar el servidor MCP de Papermark - permite que los asistentes de IA actúen sobre los eventos de webhook
- Cómo conectar Slack a Papermark - envía eventos de Papermark a tus canales de Slack
¿Necesitas ayuda? Escribe a support@papermark.com o usa el chat en la aplicación — ¡estaremos encantados de ayudarte!