Adding video links to your Canva designs can significantly enhance engagement and make your content more dynamic. Whether you're creating presentations, marketing materials, or social media graphics, incorporating video links allows you to deliver richer content experiences. This guide explains the step-by-step process of adding video links to Canva and how to optimize their performance using professional tools like Papermark.
Prepare Your Video: Upload your video to a hosting platform or secure it with Papermark.
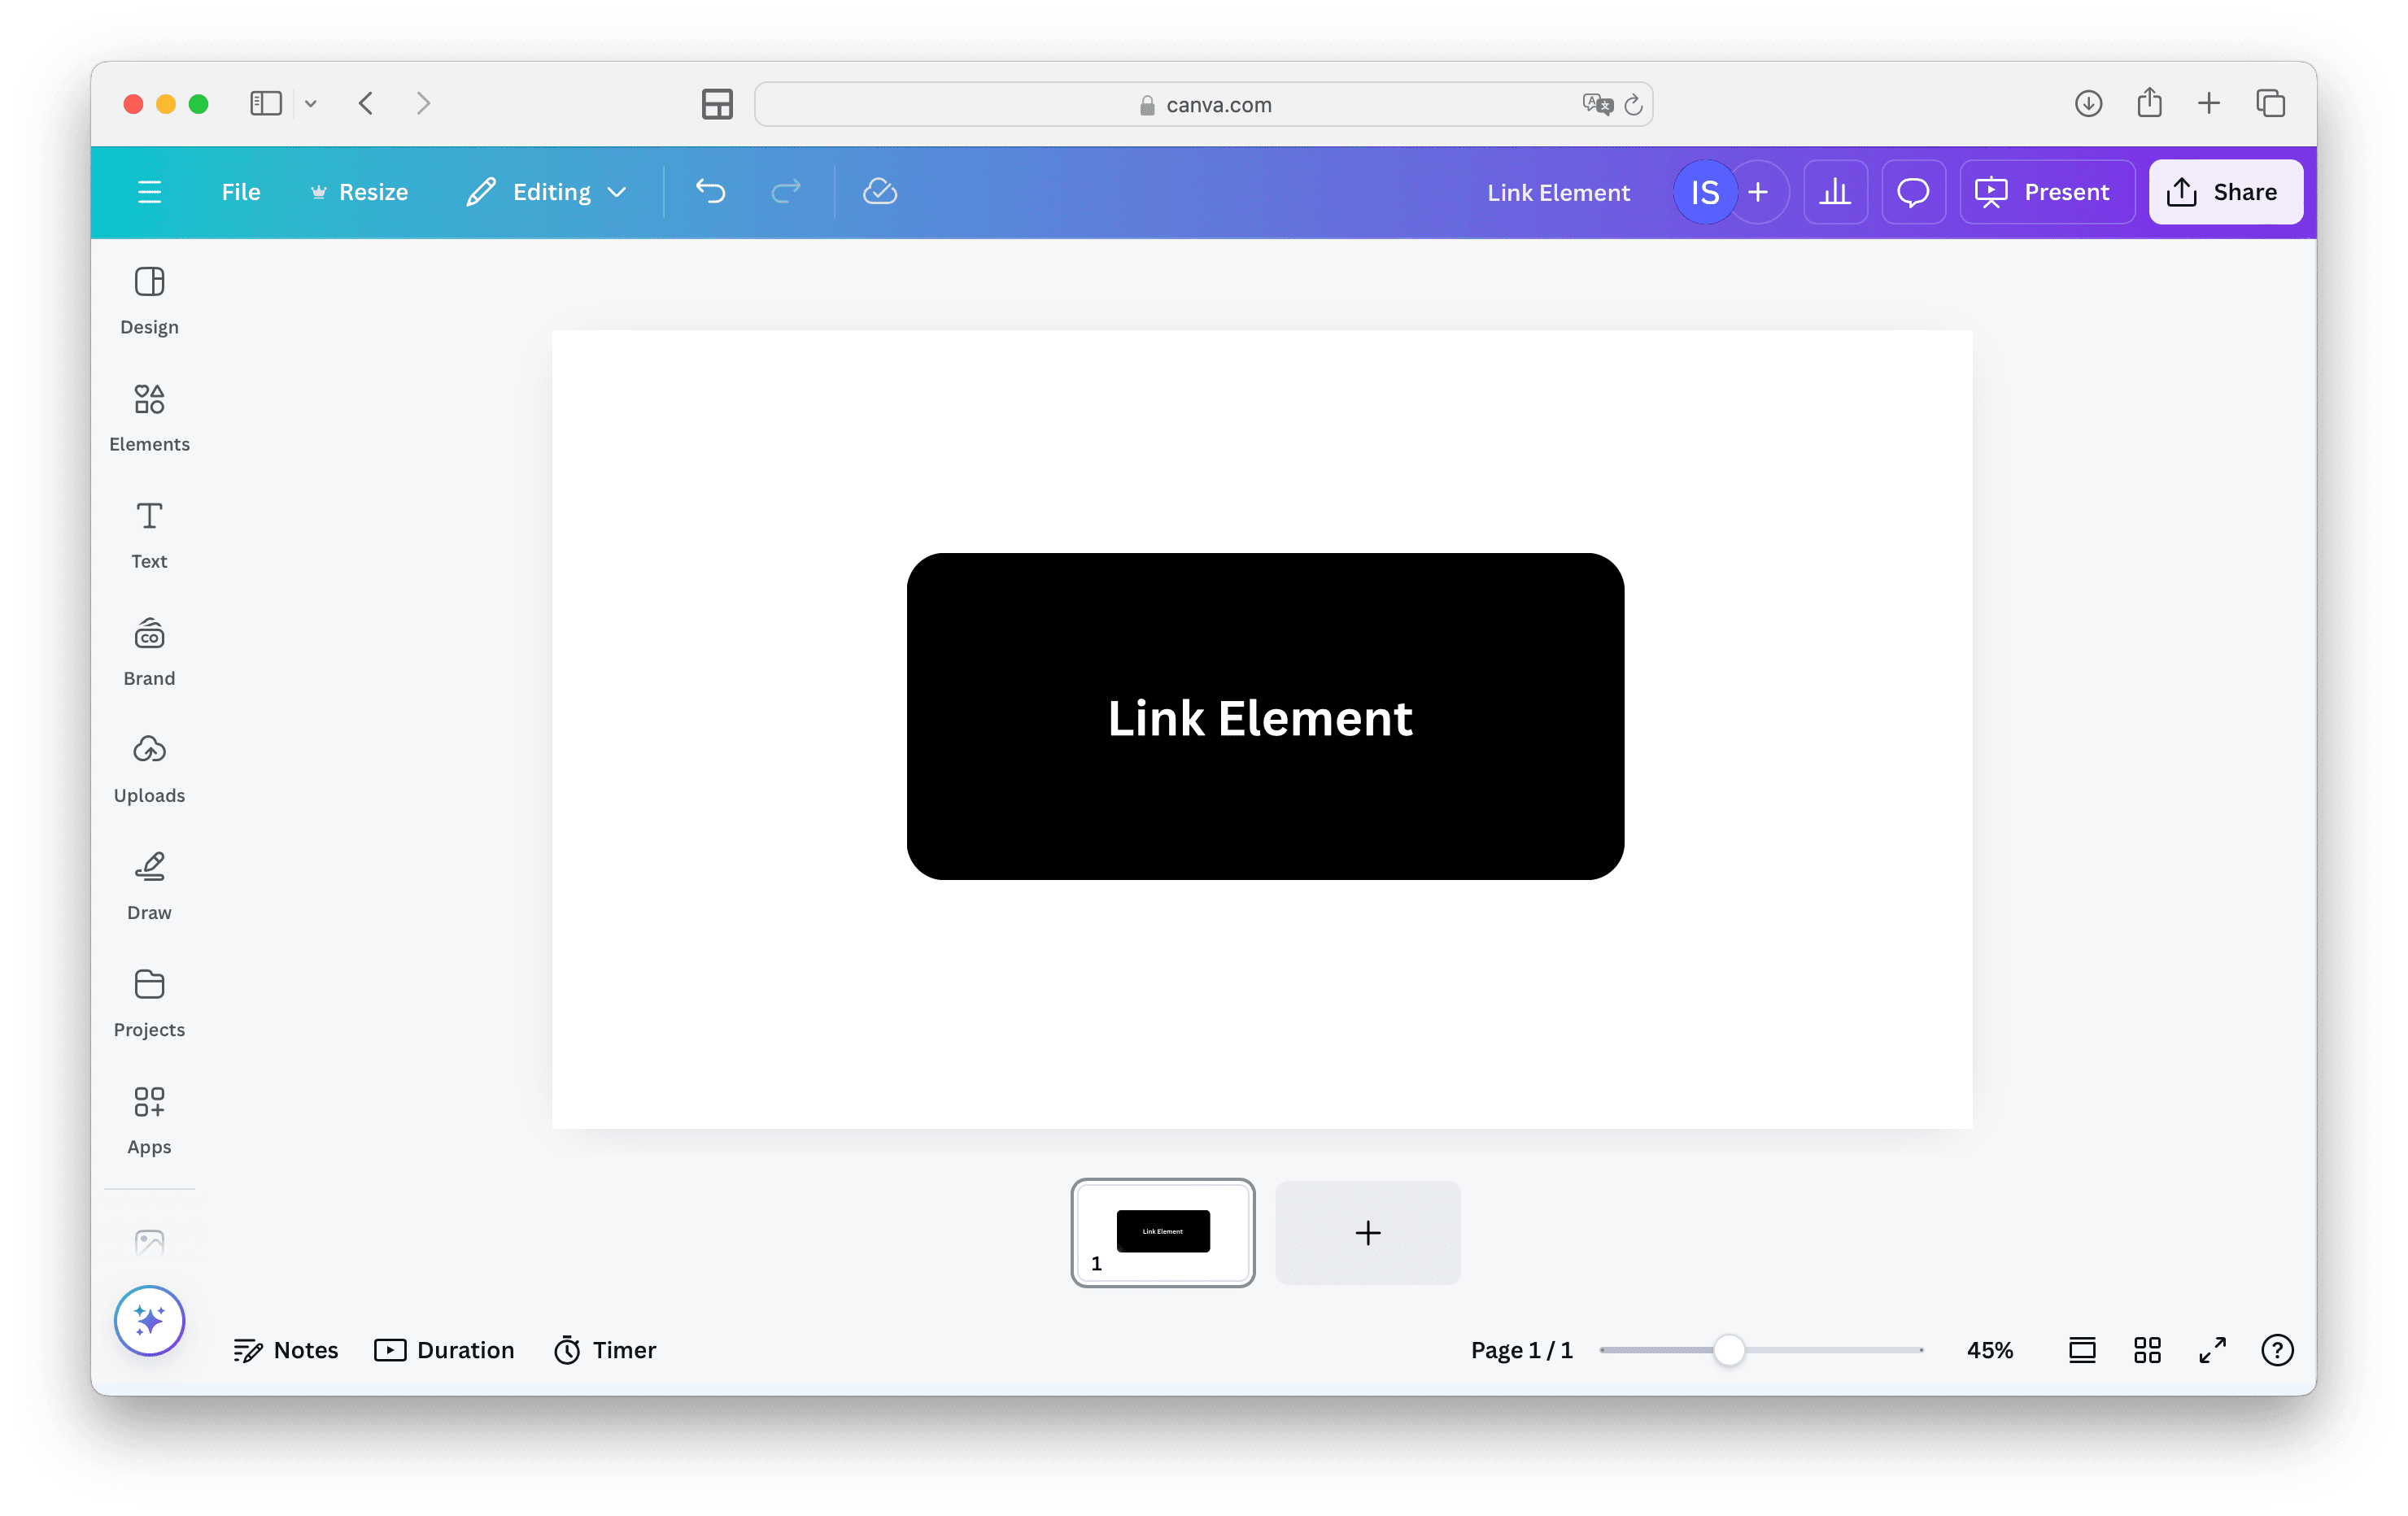
Open Your Canva Design: Access the project where you want to add the video link.
Select an Element: Choose text, button, or image to link.
Add the Link: Insert your video URL to the selected element.
Test Your Link: Ensure the link works properly before sharing.
Share Your Design: Distribute your Canva design with embedded video links.
Following these steps ensures your video links are properly integrated into your Canva designs for maximum impact.
Detailed steps to add video links to Canva
1. Prepare your video
Choose a Hosting Platform: Upload your video to a platform like YouTube, Vimeo, or use Papermark for secure, professional sharing.
Generate a Shareable Link: Obtain the URL that will be embedded in your Canva design.
Why video hosting matters
The platform you choose for hosting your video affects:
Load time and playback quality
Analytics and tracking capabilities
Privacy and security options
Professional appearance
For business presentations and sensitive content, using Papermark provides enhanced security features that generic hosting platforms lack.
2. Open your Canva design
Access Canva: Log into your Canva account and open the design where you want to add a video link.
Navigate to the Right Page: If working with a multi-page document, go to the specific page where the link will be placed.
3. Select an element for linking
Canva allows you to add links to various elements:
Text: Turn words or phrases into clickable links
Buttons: Create dedicated call-to-action buttons
Images: Make entire images clickable
Shapes: Use geometric shapes as clickable elements
Best practices for linkable elements
When choosing which element to link:
Use clear visual cues that indicate clickability
Ensure sufficient size for easy clicking
Consider the user experience and expectations
Maintain consistent design language
4. Add the video link
Select the Element: Click on the text, button, image, or shape you want to make clickable.
Access Link Options:
With the element selected, click the link icon in the top toolbar
Or right-click and select "Link" from the context menu
Insert Video URL: Paste your video link in the URL field and click "Apply"
5. Test your link
Preview Mode: Use Canva's preview functionality to test if your link works correctly.
Check on Different Devices: Ensure your link functions properly across desktop and mobile devices.
6. Share your design
Export Options: Decide whether to share as a Canva link, PDF, or other format.
Consider Link Preservation: Some export formats may not preserve interactive links.
Advanced techniques for video links in Canva
Creating QR codes for video links
For print materials or presentations where viewers might want to access videos on their own devices:
Generate a QR Code: Use Canva's QR code generator or a third-party tool
Link the QR Code: Connect it to your video URL
Add Instructions: Include brief text explaining what the QR code leads to
Using Papermark for secure video linking
When adding videos to business presentations or sensitive materials, security becomes paramount:
With Papermark, you can:
Password-protect your videos before linking them in Canva
Track who views your video content
Set expiration dates for temporary access
Prevent unauthorized downloads
Embedding vs. linking videos
Understanding the difference between embedding and linking:
Embedding: Placing a playable video directly within your Canva design (limited to Canva Pro)
Linking: Adding a clickable element that opens the video in a separate window or tab
Each approach has specific use cases:
Embedding works well for presentations delivered live
Linking is better for designs that will be shared digitally
Tracking video link performance
One key advantage of using Papermark for your video links is comprehensive analytics:
Benefits include:
View counts: Track how many people clicked your video links
Engagement metrics: See how long viewers watched your content
Geographic data: Understand where your audience is located
Device information: Learn which devices are most commonly used
For individual viewer insights:
Conclusion
Adding video links to your Canva designs enhances engagement and provides a richer experience for your audience. By following the steps outlined in this guide, you can effectively incorporate video links into presentations, marketing materials, and other Canva projects. For maximum security and analytics capabilities, consider using Papermark to host your videos before linking them in Canva.