document-sharing
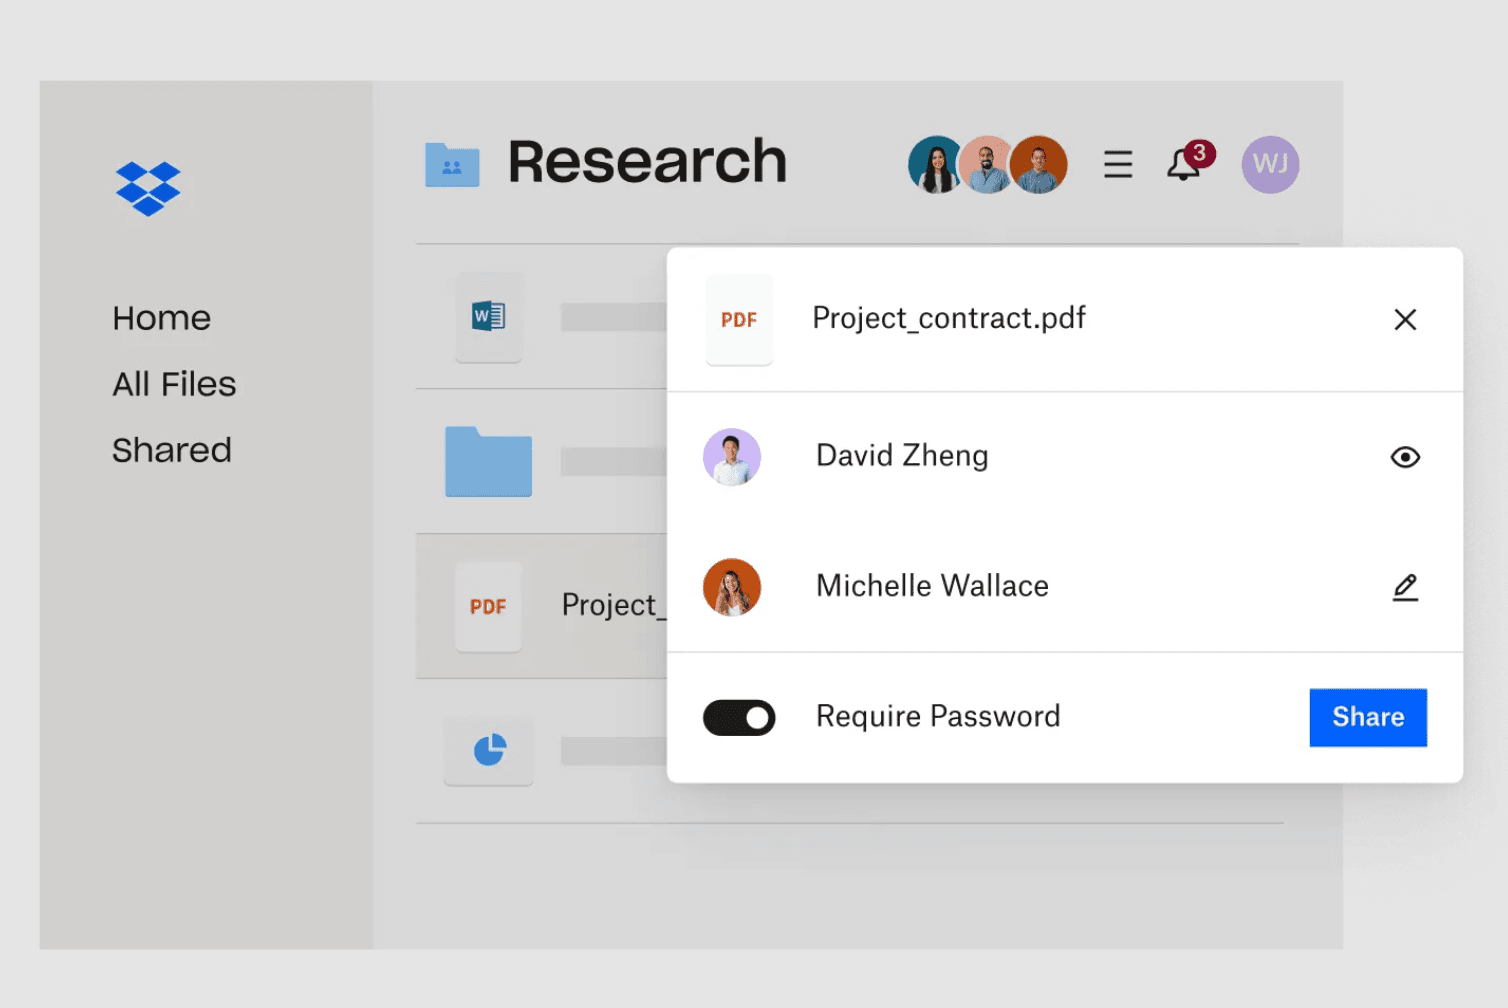
How to Send a Password Protected PDF (FREE)
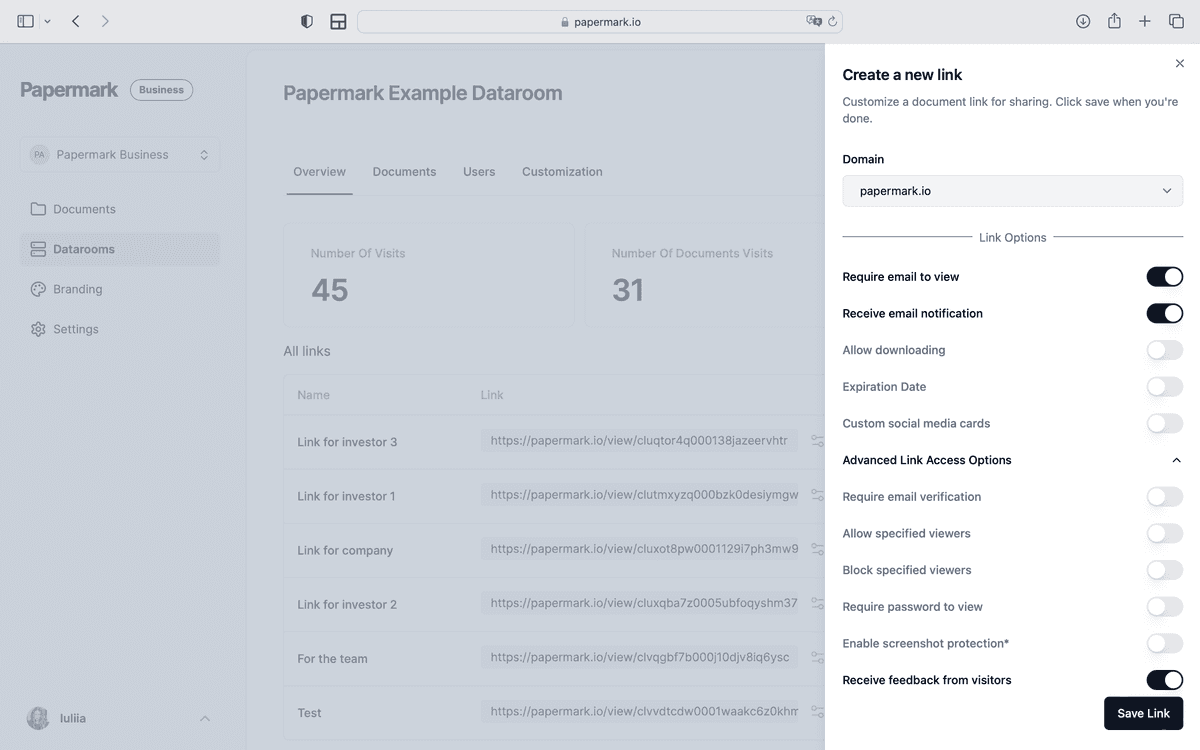
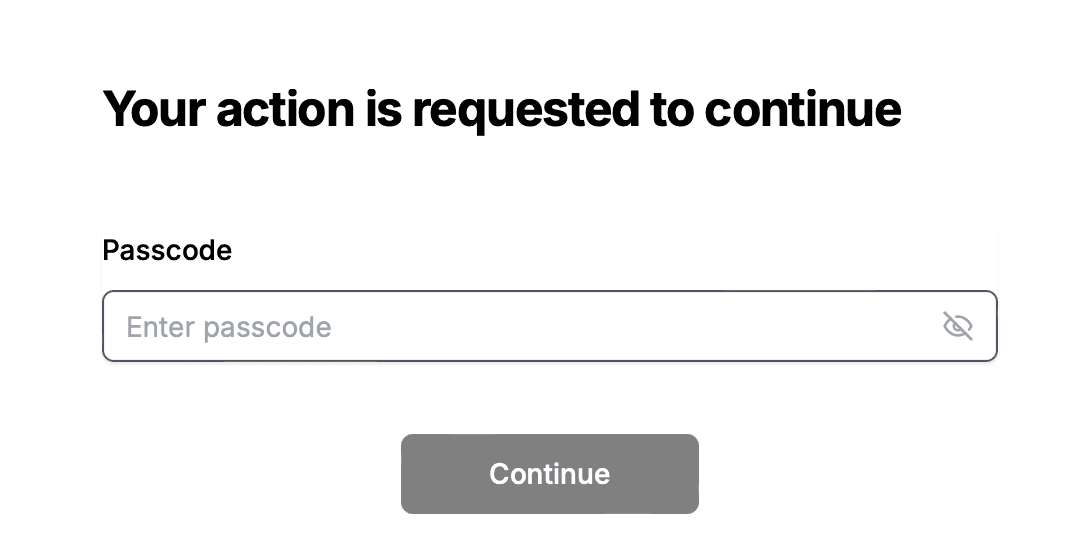
Learn how to securely share sensitive documents by sending password-protected PDFs using Papermark. This guide provides step-by-step instructions on creating, sharing, and managing secure PDF links with customizable access controls.