BlogFile SecurityHow to Share Files Securely in 2026 (COMPLETE GUIDE)
How to Share Files Securely in 2026 (COMPLETE GUIDE)
·4 min read
Marc Seitz
In an era where data breaches cost companies an average of $4.45 million per incident and cyber attacks have increased by 44% globally, knowing how to share files securely isn't just good practice-it's essential for protecting your business and personal information. Whether you're sharing financial documents, legal contracts, client information, or intellectual property, every file transfer represents a potential security vulnerability.
Recent studies reveal that 83% of data breaches involve access to unprotected files, while 65% of data leaks stem from improperly shared documents. With remote work and digital collaboration becoming the norm, secure file sharing has evolved from a convenience to a critical security requirement. This comprehensive guide will show you the most effective methods to share files securely, protect sensitive information, and maintain complete control over your documents.
Quick Overview of Secure File Sharing Methods
Papermark Secure Links: Password-protected, trackable links with advanced security features
Encrypted Cloud Storage: Secure file sharing through encrypted cloud platforms
Secure Data Rooms: Protected spaces for sharing multiple sensitive documents
Email Encryption: Encrypted attachments for confidential email communications
Secure File Transfer Services: Specialized platforms for large file transfers
Protect your documents with advanced security
No credit card required
Page by page analytics
Require email verification
Require password to view
Allow/Block specified viewers
Apply Watermark
Require NDA to view
Custom Welcome Message
Secure File Sharing Methods Compared
Before diving into the step-by-step instructions, here's a comparison to help you choose the best method for your needs:
Feature
Papermark
Cloud Storage
Email Encryption
File Transfer Services
Password protection
Advanced
Basic
Limited
Basic
Access tracking & analytics
Detailed insights
✗ Limited
✗
✗
Document watermarking
Dynamic
✗
✗
✗
Access expiration
⚠️ Limited
✗
Email verification
✗
✗
✗
Custom permissions
Granular
Basic
✗
⚠️ Limited
Download prevention
⚠️ Limited
✗
✗
Audit trail
Complete
⚠️ Basic
✗
⚠️ Limited
Best for
Confidential business documents
General file storage
Quick secure messages
Large files
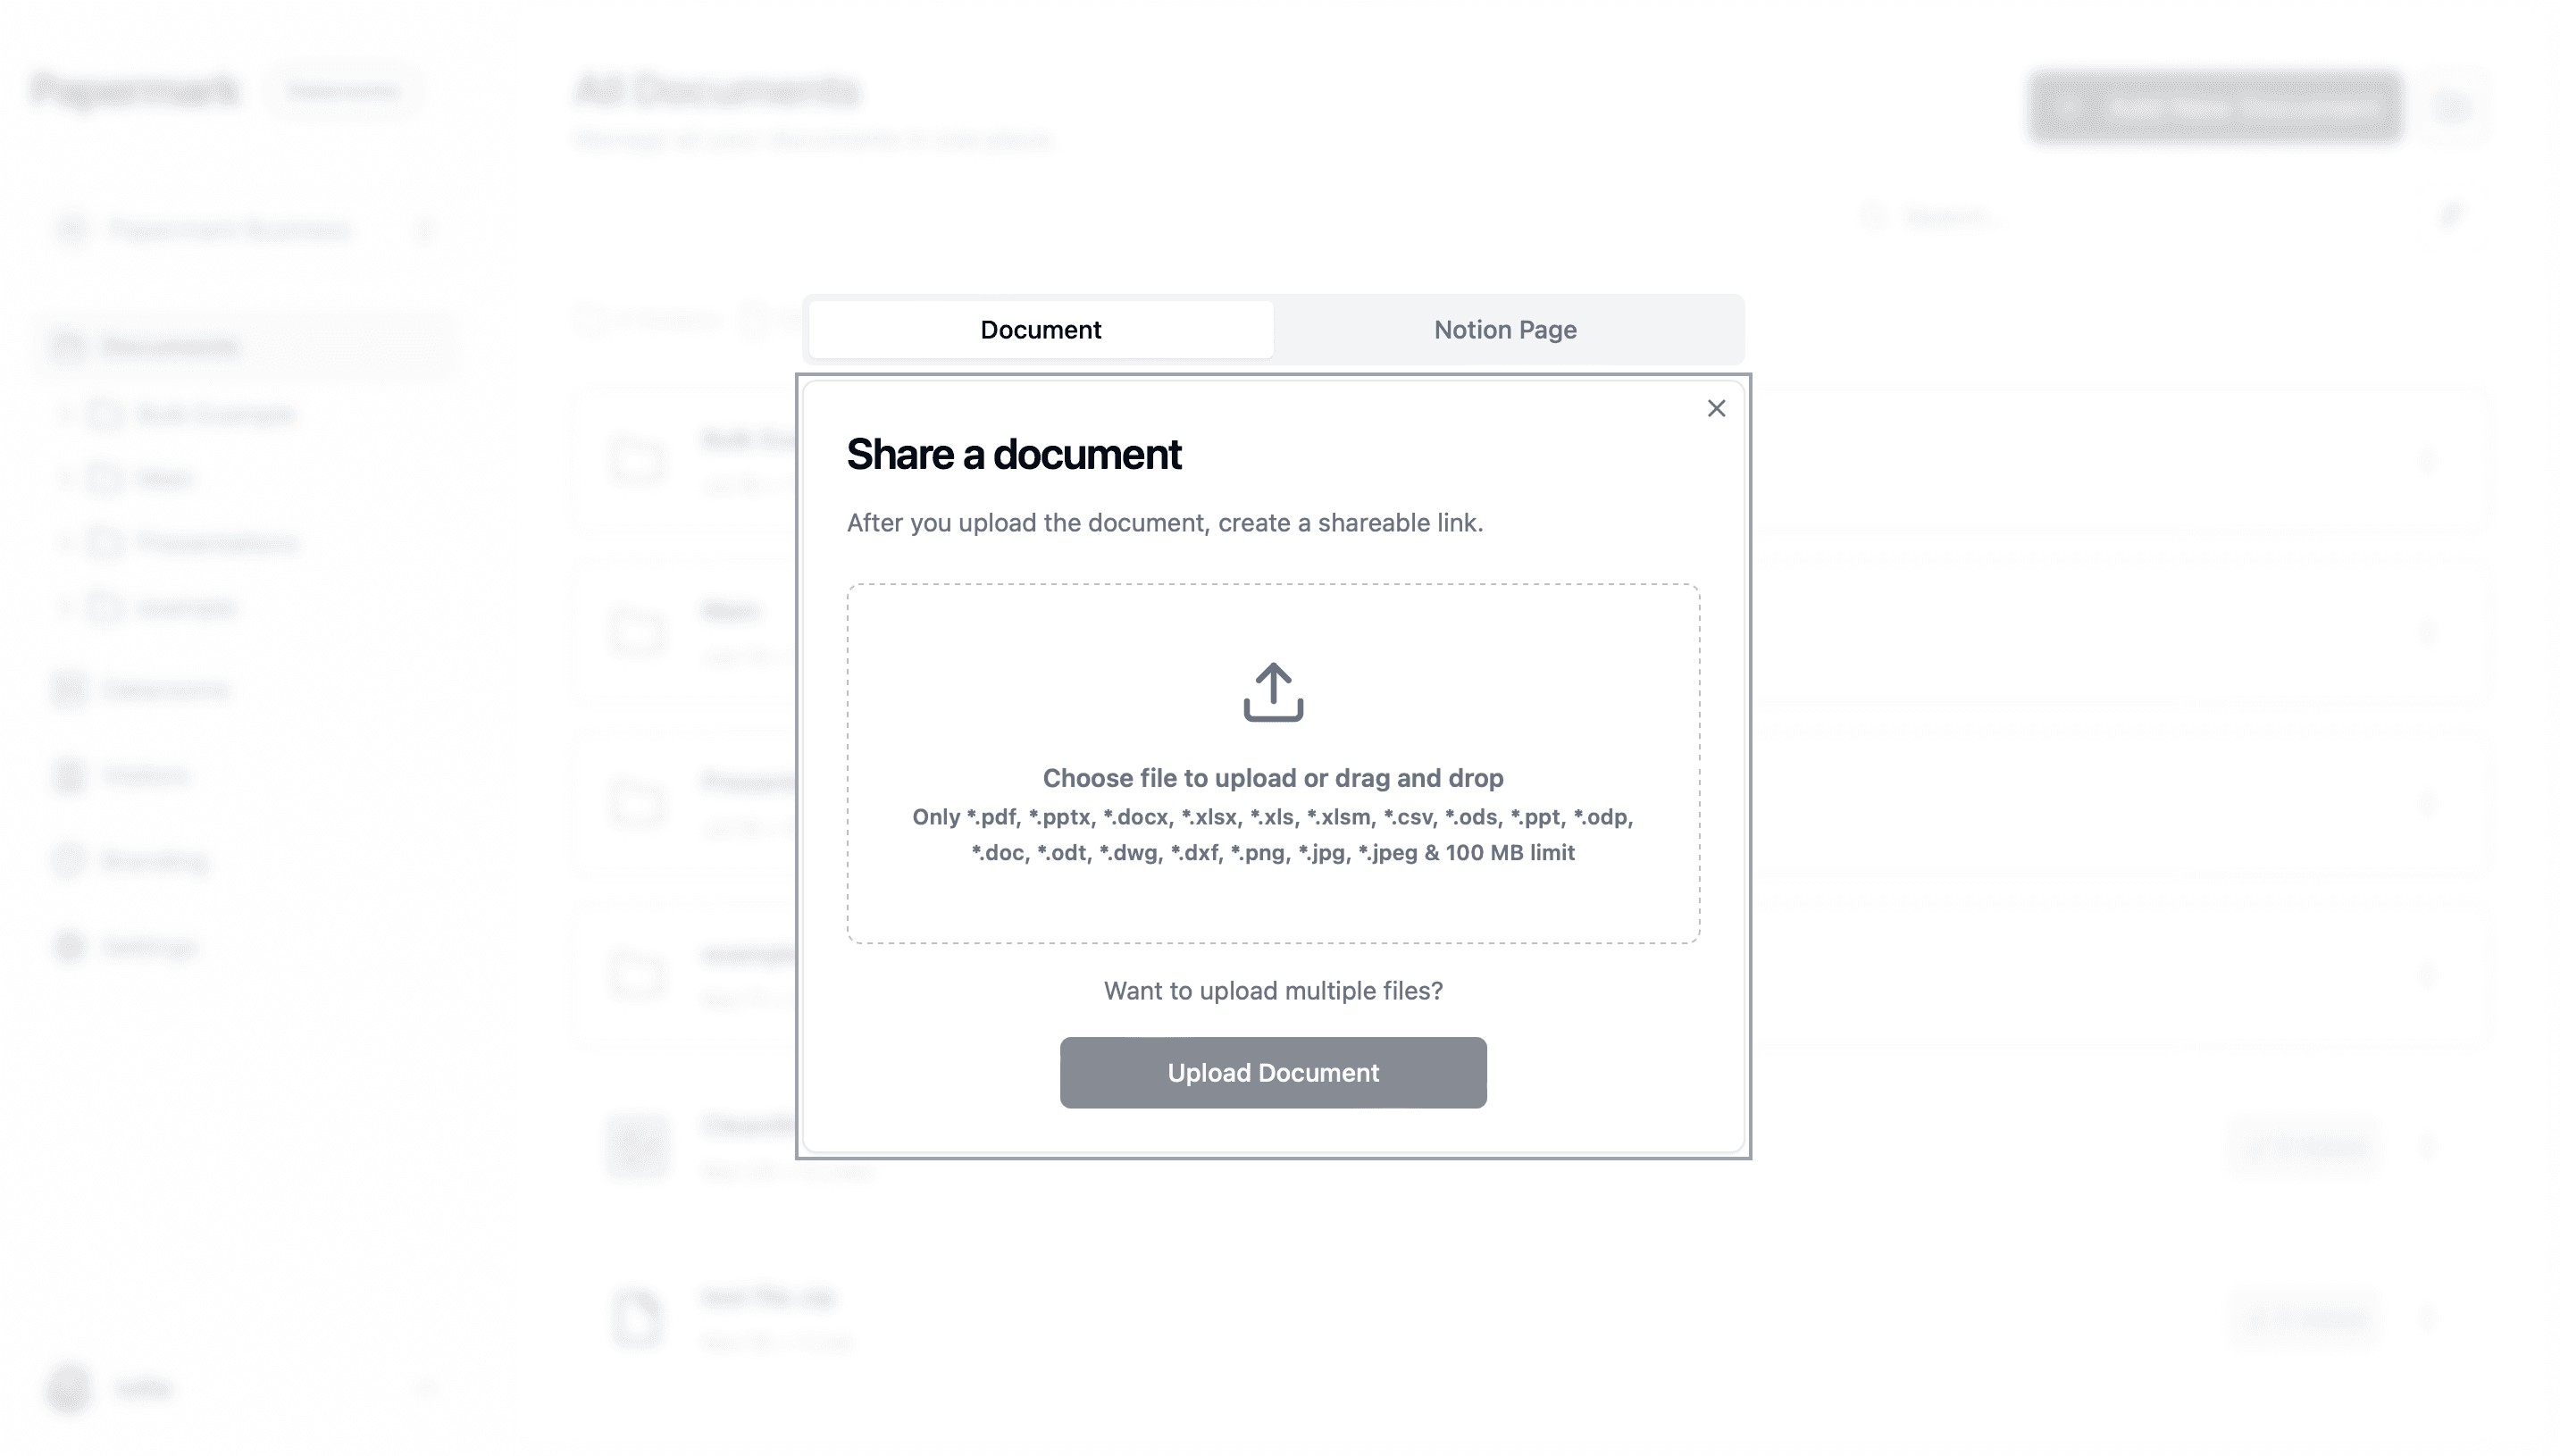
Method 1: Using Papermark for Secure File Sharing
Papermark provides the most comprehensive and secure solution for sharing sensitive files, offering enterprise-grade security features combined with detailed tracking and analytics.
Step-by-step guide for Papermark secure file sharing:
Verify the file is properly encrypted before sending
Compose your secure email:
Enable email encryption in your email client
Attach the encrypted file
Keep attachment sizes reasonable (under 25MB for most providers)
Write clear instructions for accessing the file
Share decryption credentials:
Send the password through a different channel
Use SMS, phone call, or secure messaging app
Never include passwords in the same email as the attachment
Provide clear decryption instructions
Note: Email encryption can be complex for non-technical users and lacks the tracking and control features of dedicated secure sharing platforms.
Method 5: Secure File Transfer Services
For large files that exceed email attachment limits, secure file transfer services provide temporary secure storage.
Step-by-step guide for secure file transfer services:
Select a secure transfer service:
Choose reputable services like Internxt Send, Firefox Send alternatives
Verify the service offers encryption and password protection
Check maximum file size limits and storage duration
Upload your file securely:
Visit the service website (ensure HTTPS connection)
Upload your file using the provided interface
Wait for the upload to complete and encryption to process
Configure security options:
Set a strong password for file access
Choose download limits (e.g., max 5 downloads)
Set expiration time (24 hours to 7 days)
Enable notifications for downloads if available
Share the download link:
Copy the generated unique link
Send to recipients via email or messaging
Share password through separate communication
Inform recipients about link expiration
Verify transfer completion:
Confirm recipients successfully downloaded the file
Delete the file from the service once transfer is complete
Check for download notifications or confirmations
Limitations: File transfer services typically provide temporary storage only and lack comprehensive access controls, detailed analytics, and long-term document management features.
Best Practices for Secure File Sharing
Follow these essential practices to maximize file sharing security:
Password Management:
Use unique, strong passwords for each shared file
Combine letters, numbers, and special characters (minimum 12 characters)
Never share passwords in the same communication as the file link
Use password managers to generate and store complex passwords
Change passwords immediately if you suspect compromise
Access Control:
Apply the principle of least privilege (grant minimum necessary access)
Regularly review and update access permissions
Remove access for users who no longer need it
Set appropriate expiration dates for time-sensitive documents
Use email verification to confirm recipient identities
Communication Security:
Share links and passwords through different channels
Verify recipient identity before sharing sensitive files
Use secure communication channels (encrypted messaging, phone calls)
Confirm successful file receipt with recipients
Provide clear instructions for accessing protected files
Monitoring and Compliance:
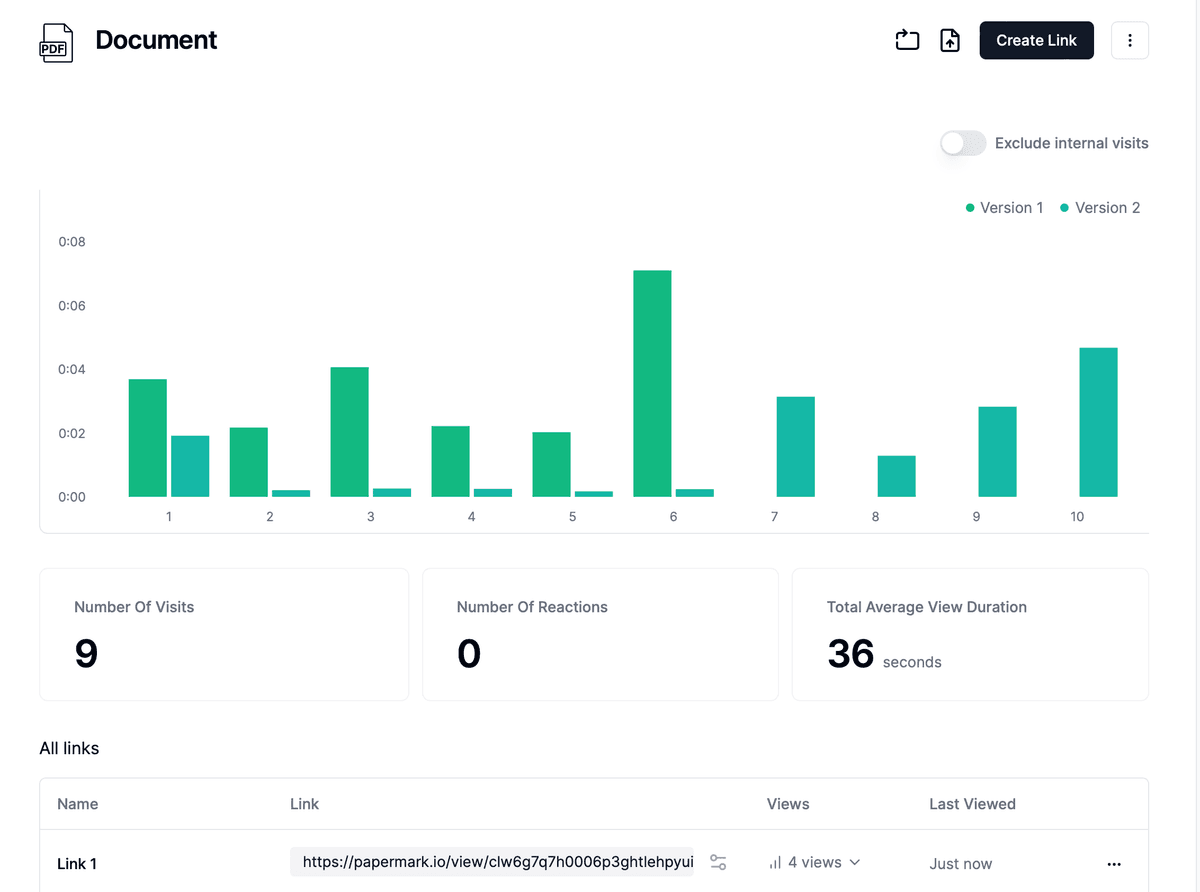
Regularly review access logs and analytics
Set up alerts for suspicious access attempts
Maintain audit trails for compliance requirements
Document all file sharing activities for sensitive documents
Review and update security policies quarterly
File Preparation:
Remove metadata and hidden information before sharing
Use appropriate file formats (PDF for read-only documents)
Apply watermarks to discourage unauthorized distribution
Encrypt files before uploading to any platform
Verify file integrity after uploading
Platform Selection:
Choose platforms with proven security track records
Verify encryption standards (AES-256 minimum)
Ensure compliance with relevant regulations (GDPR, HIPAA, SOC 2)
Check for security certifications and audits
Read privacy policies and terms of service carefully
Key Takeaways
Secure file sharing is essential in 2026, with 83% of data breaches involving unprotected files
Papermark offers the most comprehensive solution with password protection, tracking, and dynamic watermarking
Always use encryption, strong passwords, and separate communication channels for credentials
Implement access expiration dates and monitor file access through detailed analytics
Choose sharing methods based on sensitivity level, file size, and compliance requirements
Regular security audits and access reviews are critical for maintaining document security
Conclusion
Sharing files securely requires a combination of the right tools, best practices, and ongoing vigilance. While various methods exist for secure file sharing, Papermark stands out as the most comprehensive solution, offering enterprise-grade security features, detailed analytics, and user-friendly controls that make protecting sensitive documents effortless.
Whether you're sharing confidential business documents, client information, financial records, or intellectual property, implementing proper security measures isn't optional-it's a critical business necessity. By following the methods outlined in this guide and choosing the right platform for your needs, you can significantly reduce the risk of data breaches while maintaining seamless collaboration.
Start protecting your sensitive files today with Papermark's advanced security features and gain complete visibility into how your documents are accessed and used.
FAQ
When secure file sharing graduates to a virtual data room
Secure file sharing covers one document or one folder going to one trusted recipient. The moment you need to share sensitive documents with multiple external parties under deal-grade pressure (M&A bidders, institutional investors, auditors, regulators), the requirements change. You need NDA enforcement before access, per-bidder scoped permissions, dynamic per-session watermarking, structured Q&A, and a legally defensible audit trail.
That is what a virtual data room (VDR) provides on top of secure file sharing's foundation. For deal workflows, encryption + password is necessary but not sufficient. A VDR is the right tool when documents move to high-stakes external counterparties whose accountability matters.