Making the switch from Notion to Papermark can enhance your document sharing capabilities with professional features like engagement analytics and dynamic watermarking. You can migrate via a native Papermark × Notion integration that makes the process simple and fast.
What you need to know about migrating from Notion (native integration available)
There is a native Papermark × Notion integration for direct import and sync
If you prefer exports, Notion supports PDF, HTML, Markdown & CSV
Export options differ for pages vs. databases; images/assets are included
Some views (e.g., Form) are not directly exportable
Upload to Papermark (Native Papermark × Notion integration available)
You can learn more about the native Notion integration and setup in our Help Center.
Export options to consider:
Include subpages (Business/Enterprise plans)
Include content (files and images)
Page format selection for PDFs
Scale percentage adjustment
For databases:
Full-page databases export as CSV files
Individual database pages export as Markdown
Export from Table view instead of Form view
Callout blocks export as HTML
Step 2: Prepare your files for Papermark
Before uploading to Papermark, organize your exported files. Papermark supports:
PDF documents (.pdf)
Microsoft Office files (.doc, .docx, .xls, .xlsx, .ppt, .pptx)
Spreadsheets (.csv, .ods)
Images (.png, .jpg, .jpeg)
Videos (.mp4, .mov, .avi, .webm)
CAD files (.dwg, .dxf)
Compressed files (.zip)
And more
Papermark team listens to their users and build what they need. Thanks for solving a big pain point. Docsend monopoly will end soon!
Jaski
Founder
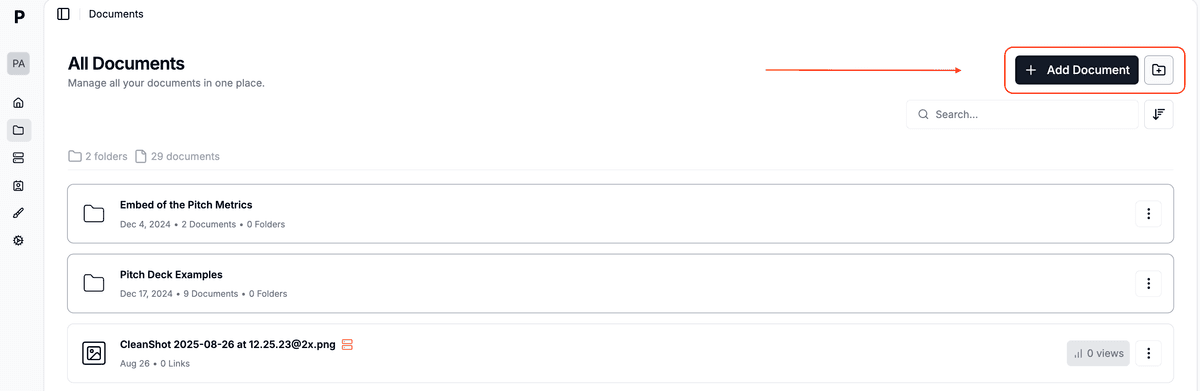
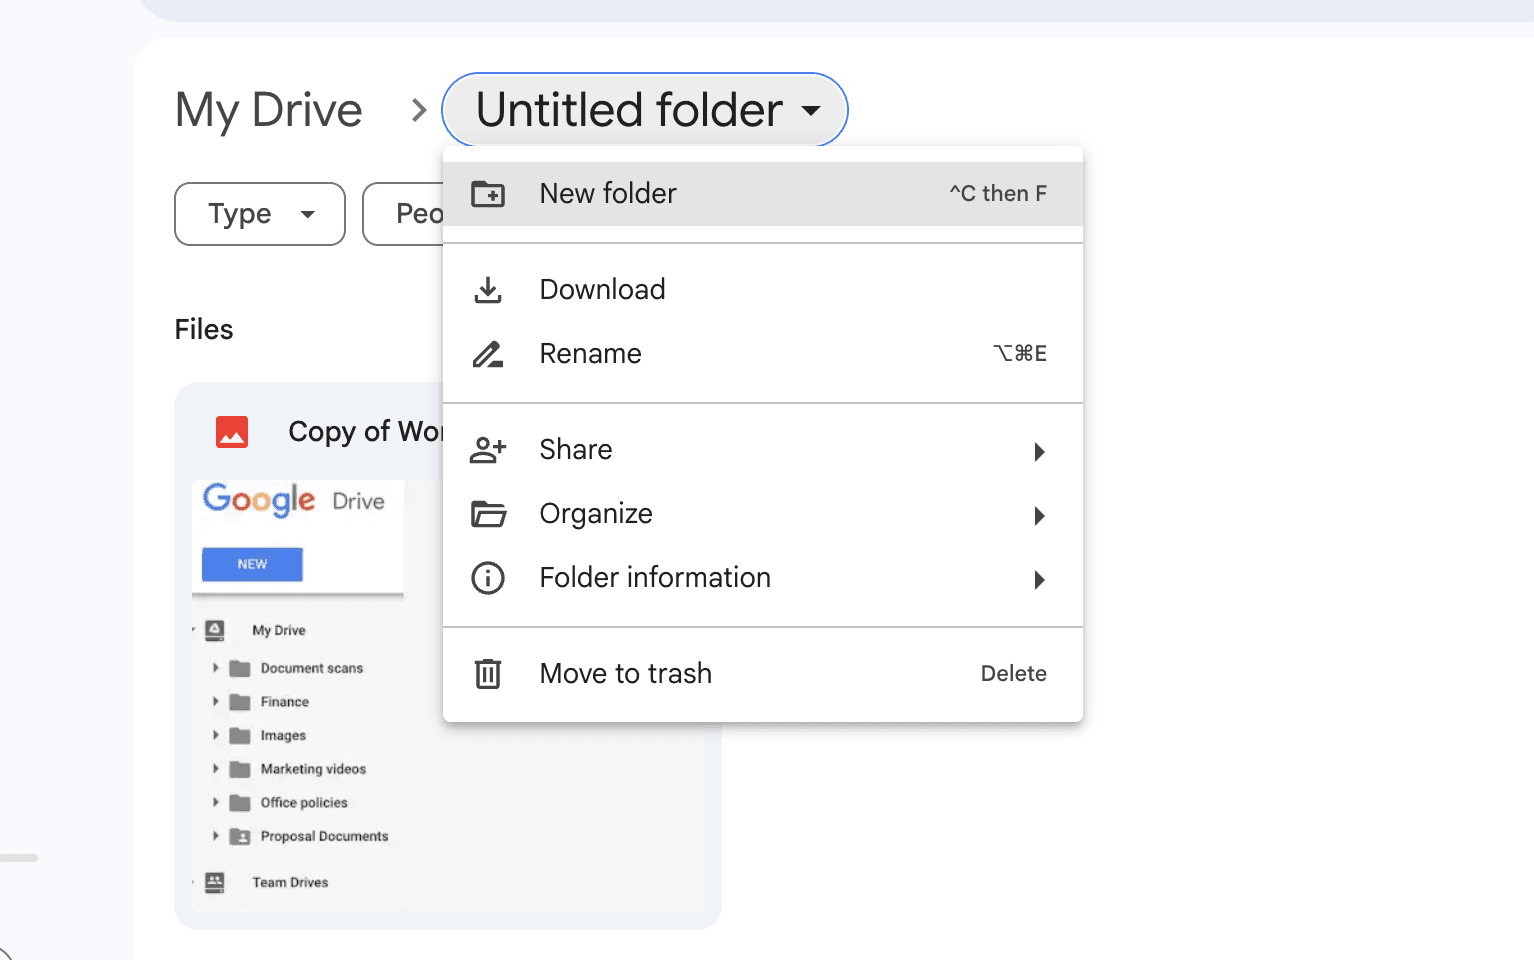
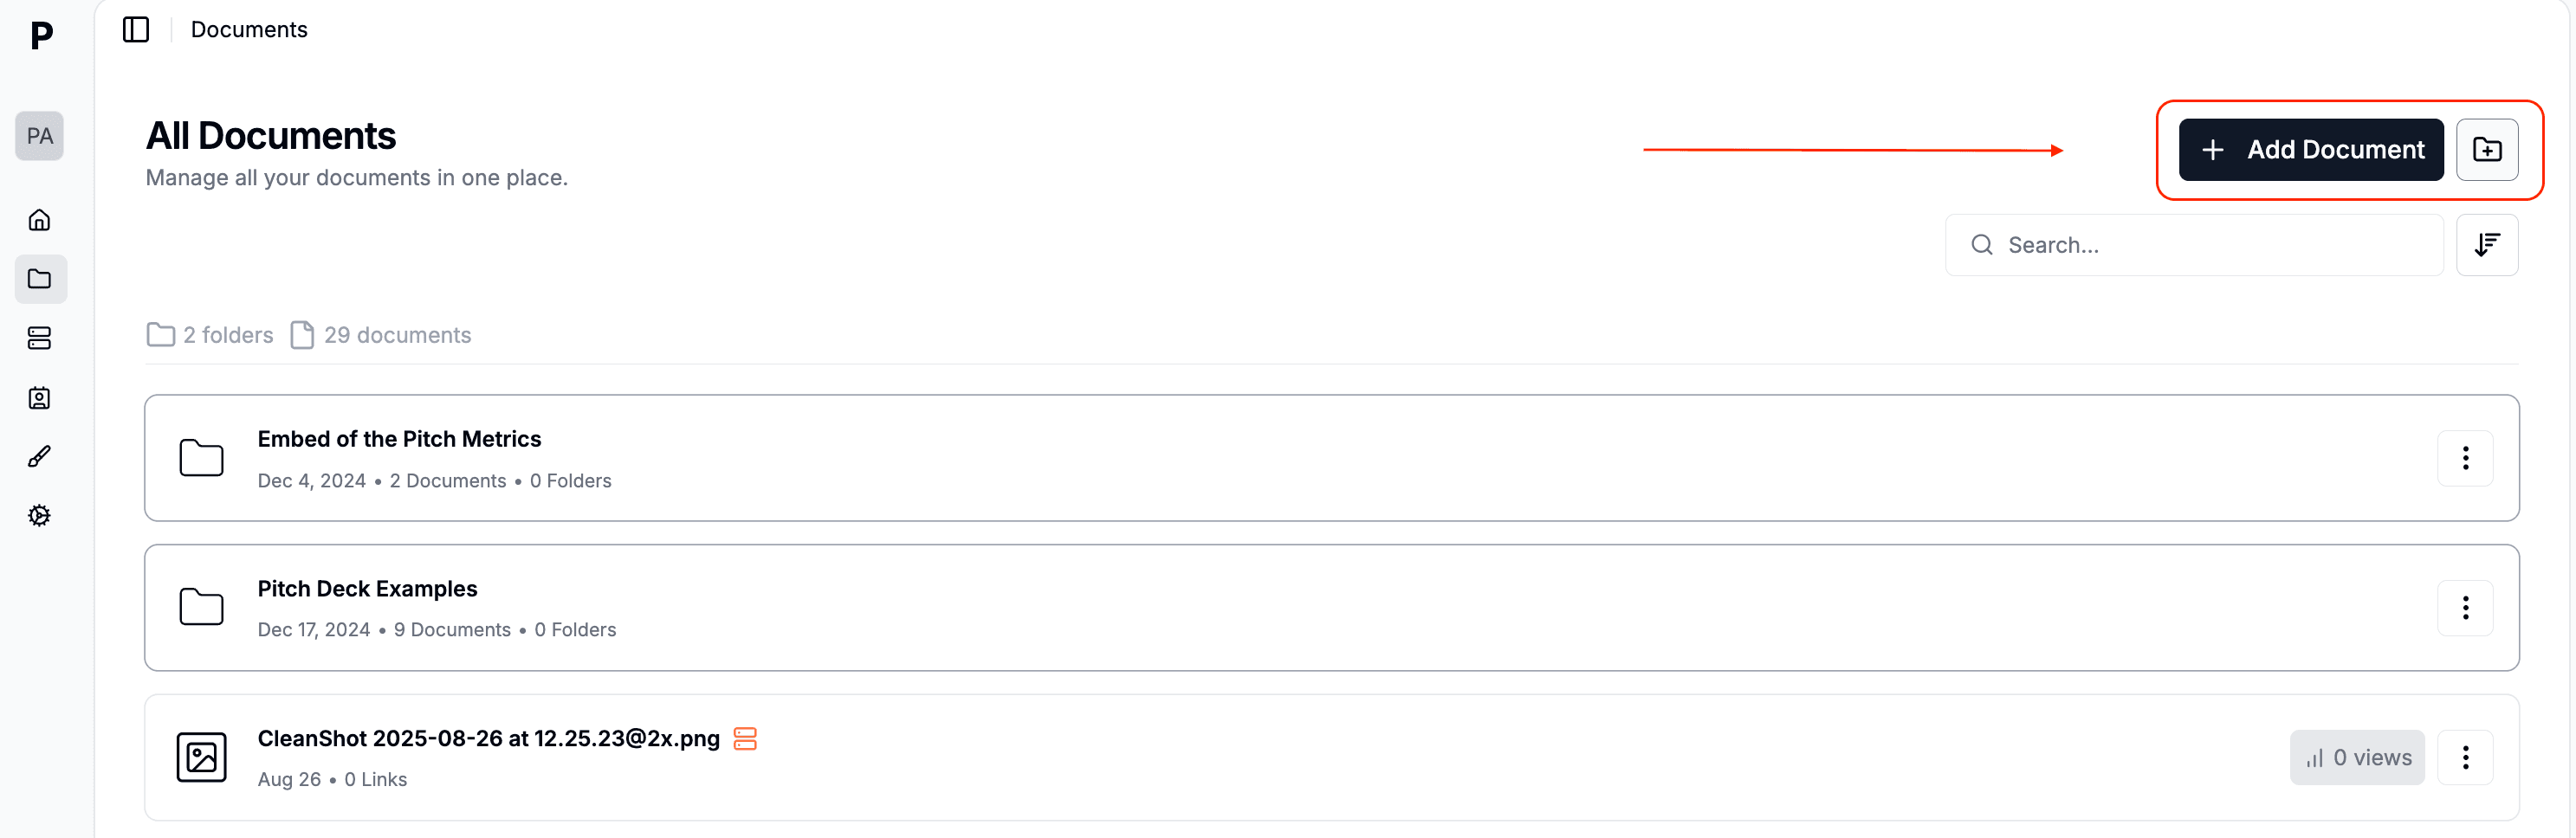
Step 3: Upload to Papermark
Log in to your Papermark account
Navigate to "Documents" in the sidebar
Click "Add Document" in the top right corner
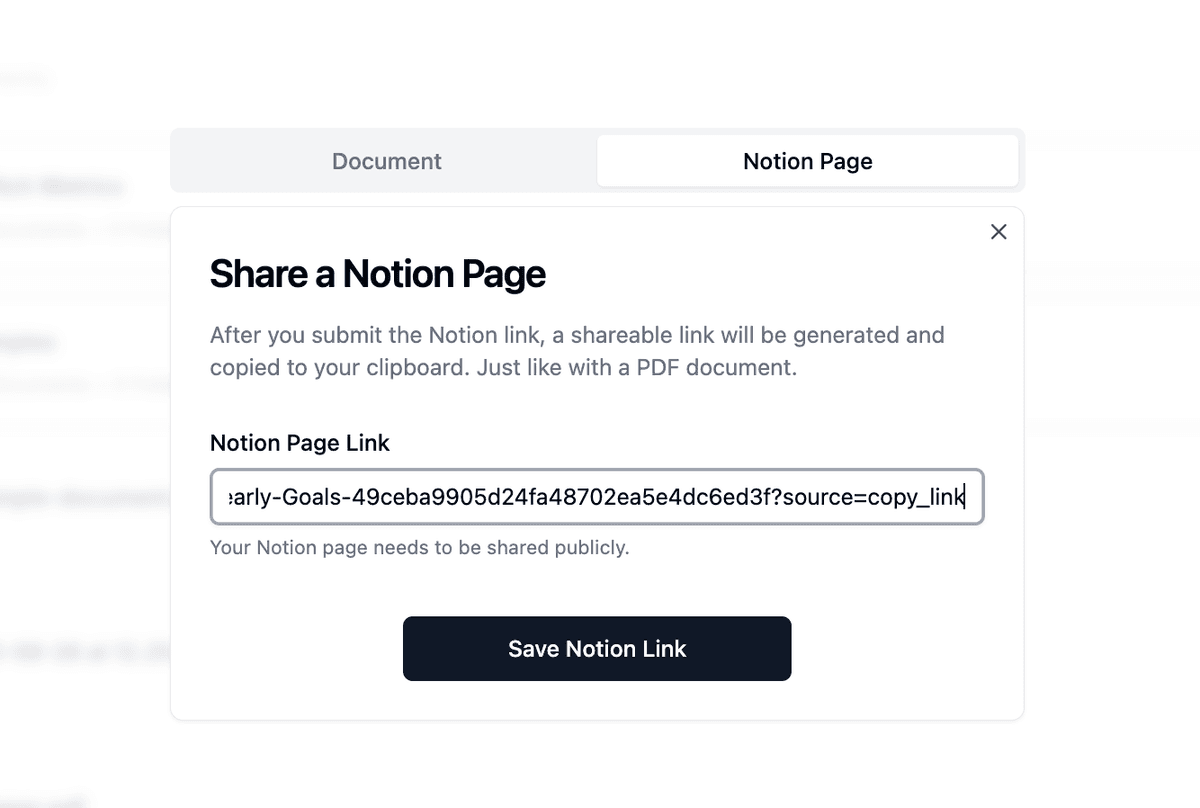
Upload a Notion page via the native integration
Once connected, pick a Notion page (or database) to import. Papermark will fetch the content and keep it in sync.
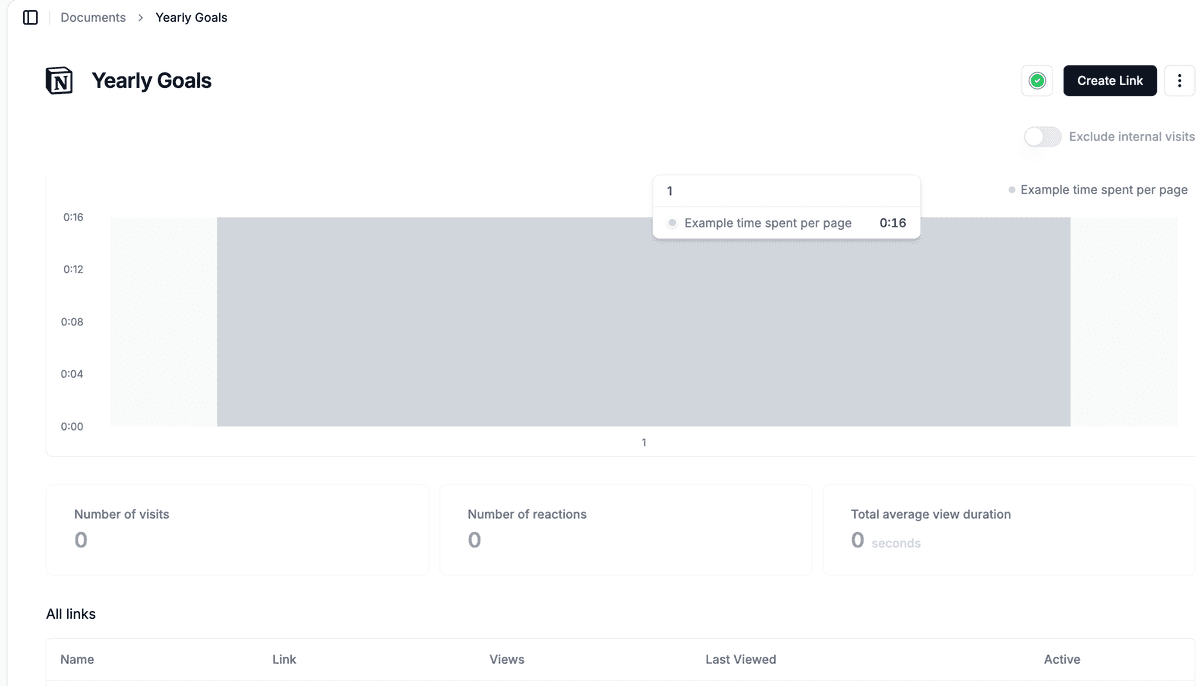
Work with the uploaded Notion page like any document
After import, you can share a link, require email/NDA, apply dynamic watermark, and track page‑by‑page analytics—exactly like with other documents.
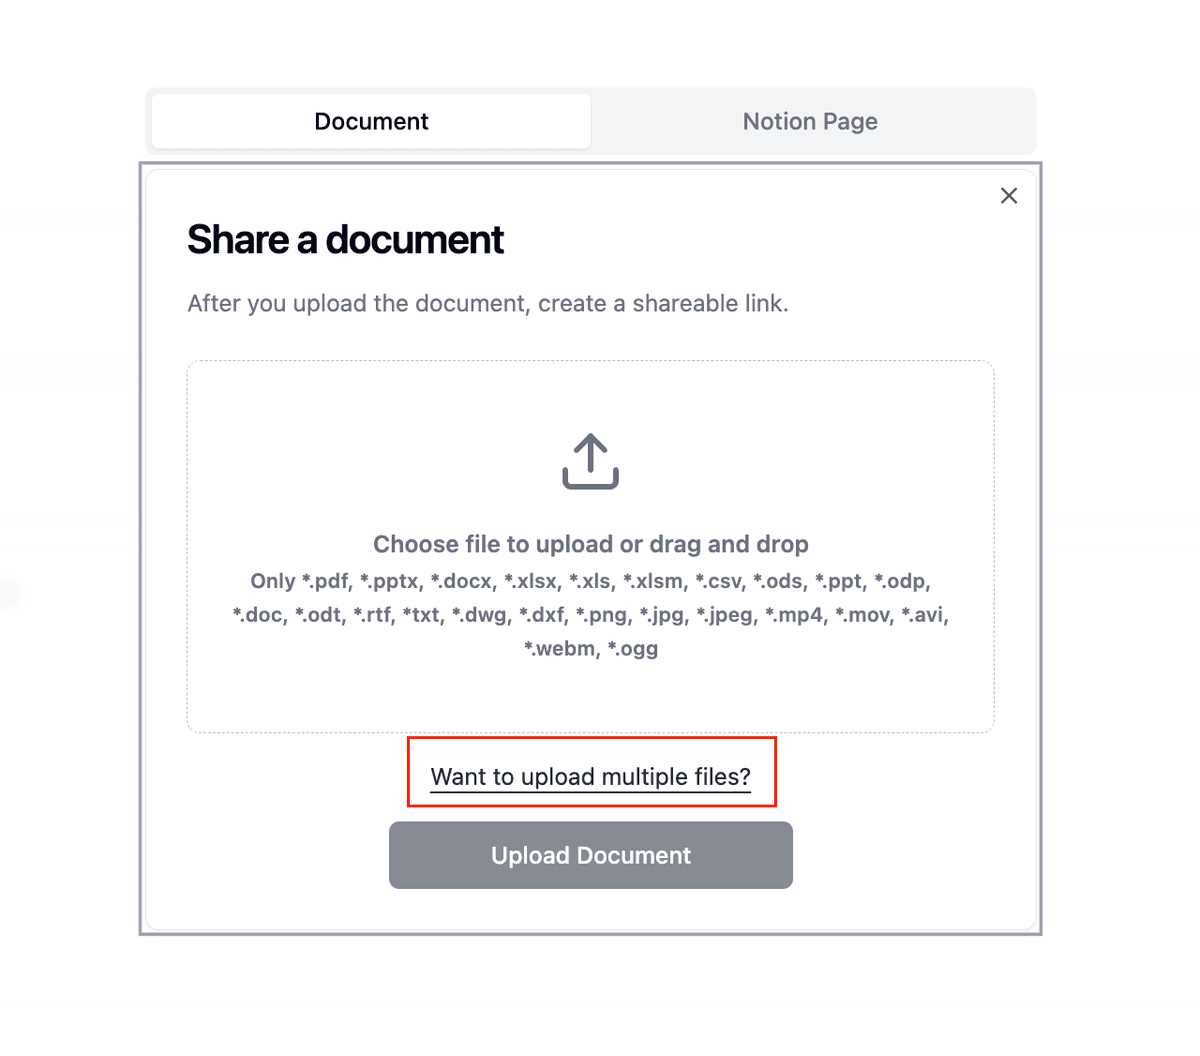
You can then:
Upload individual files by clicking or dragging
Create folders to organize your documents
Upload multiple files simultaneously
Maintain folder structure when dragging folders
Notion vs Papermark comparison
Feature
Notion
Papermark
Document sharing
Basic page sharing
Professional sharing with analytics
Export options
Multiple formats, some plan restrictions
Native document handling
Analytics
Basic page analytics
Detailed engagement tracking
Security
Basic access controls
Dynamic watermarking and NDA support
Data rooms
Manual folder organization
Purpose-built data rooms
Professional features
Workspace-focused
Document sharing-focused
File handling
Requires export for sharing
Direct file sharing and tracking
Use cases for migration
Investment teams: Share pitch decks with engagement analytics
Sales teams: Track prospect engagement on materials
Due diligence: Create professional data rooms
Legal teams: Secure document sharing with audit trails
Client portals: Share documents with branded experience
FAQ
Conclusion
Transitioning from Notion to Papermark offers an opportunity to upgrade your document sharing workflow with professional features while maintaining organization. With Papermark's intuitive interface and powerful analytics, you can manage your documents more effectively and gain valuable insights into document engagement.