
uncategorized
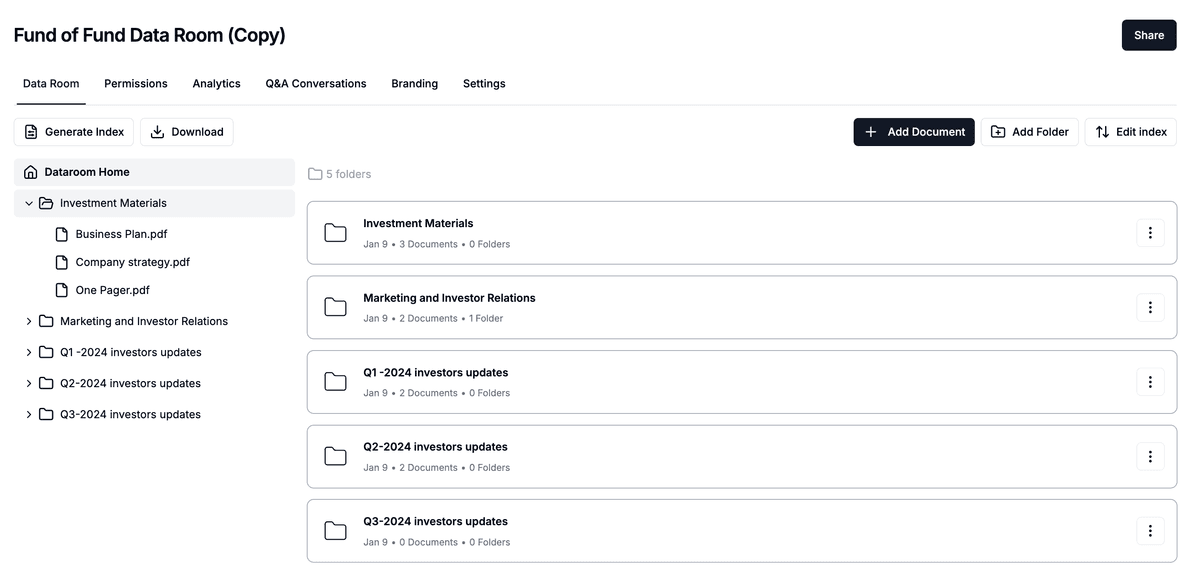
How to Transition from Google Drive to Papermark
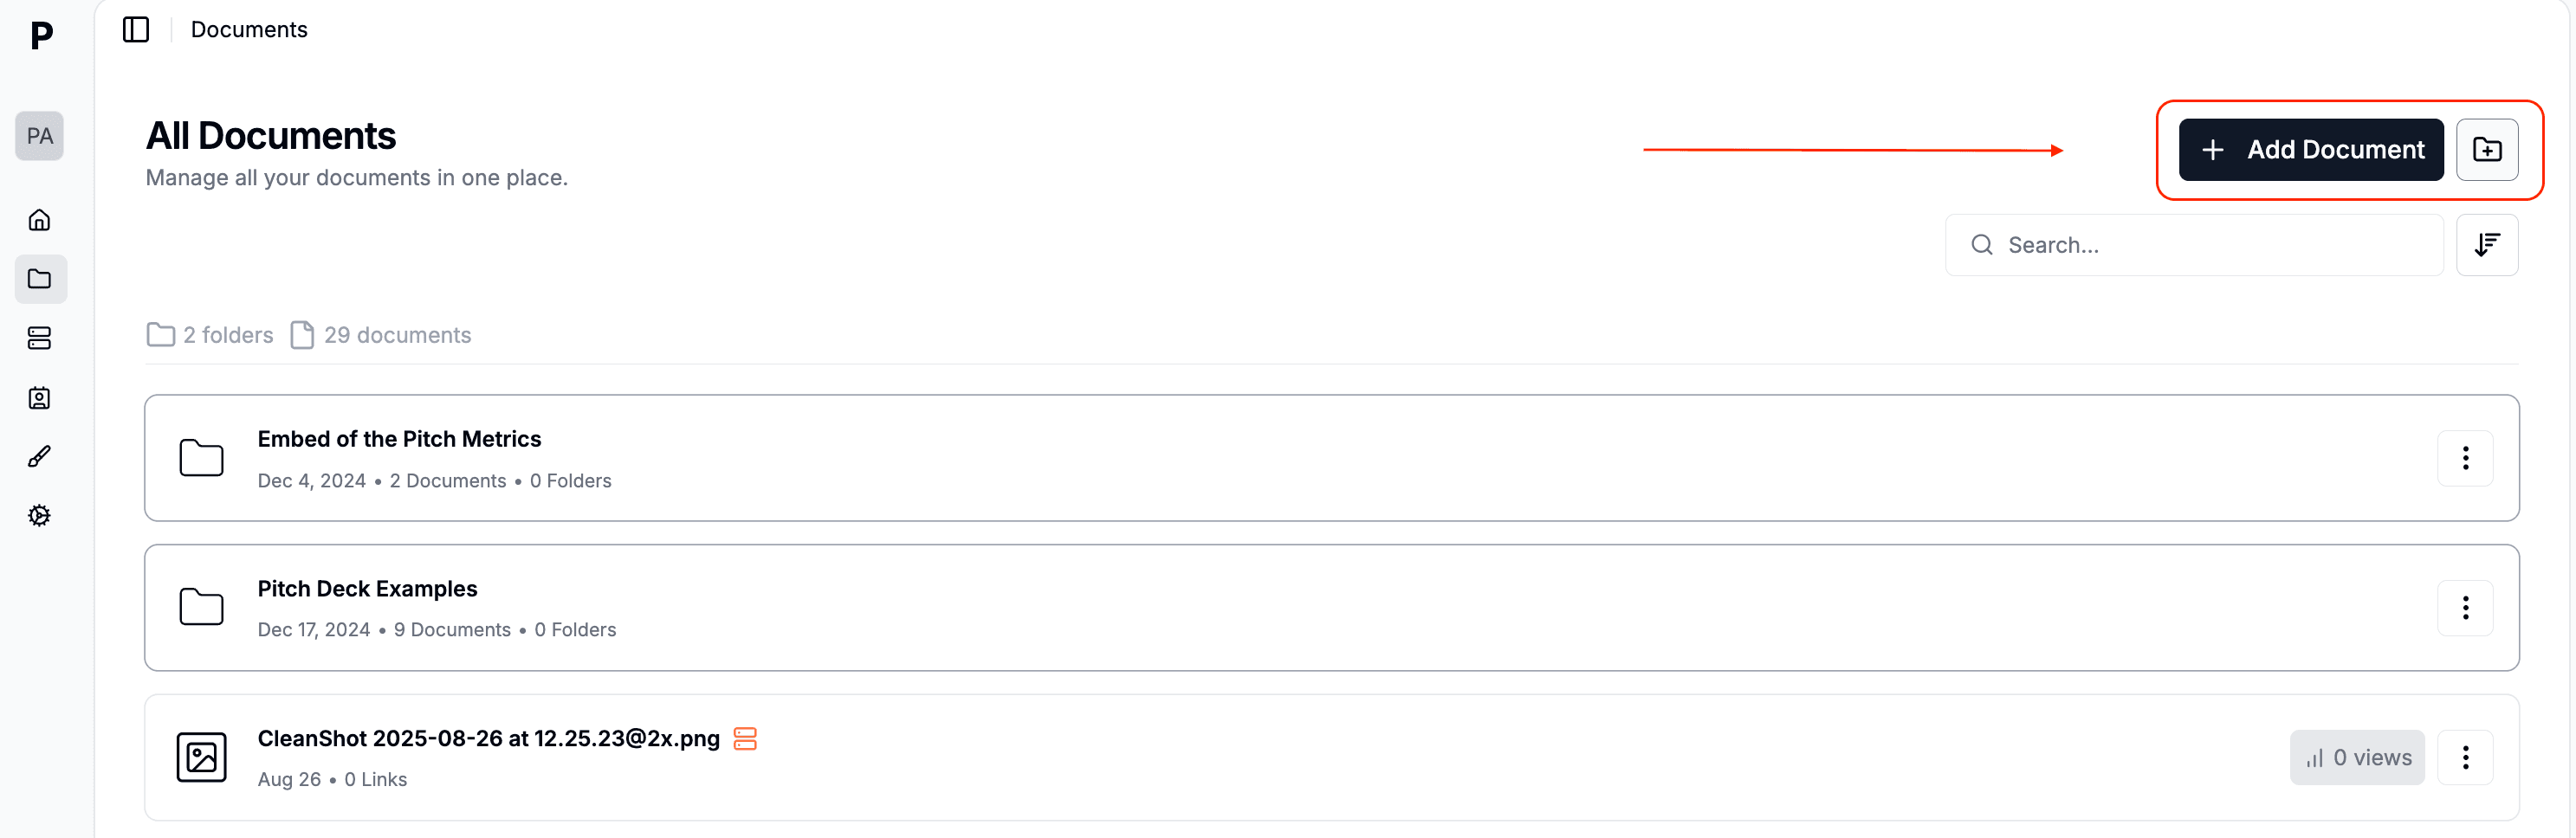
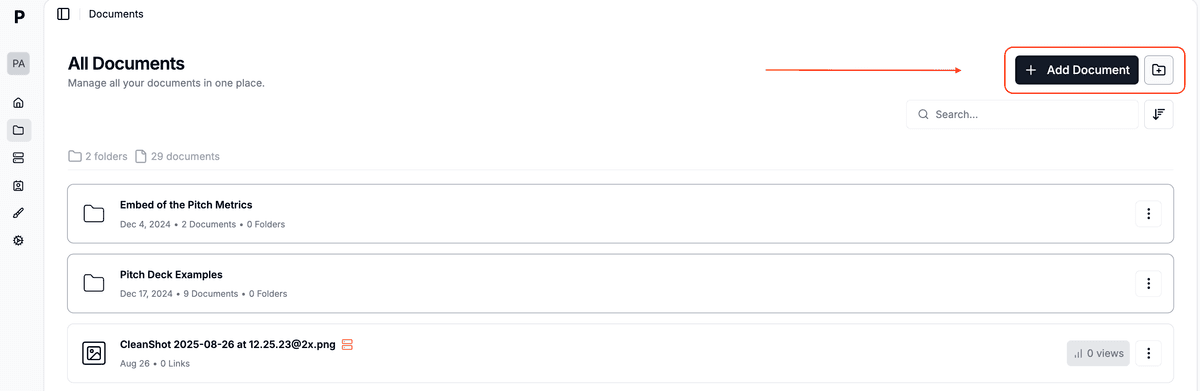
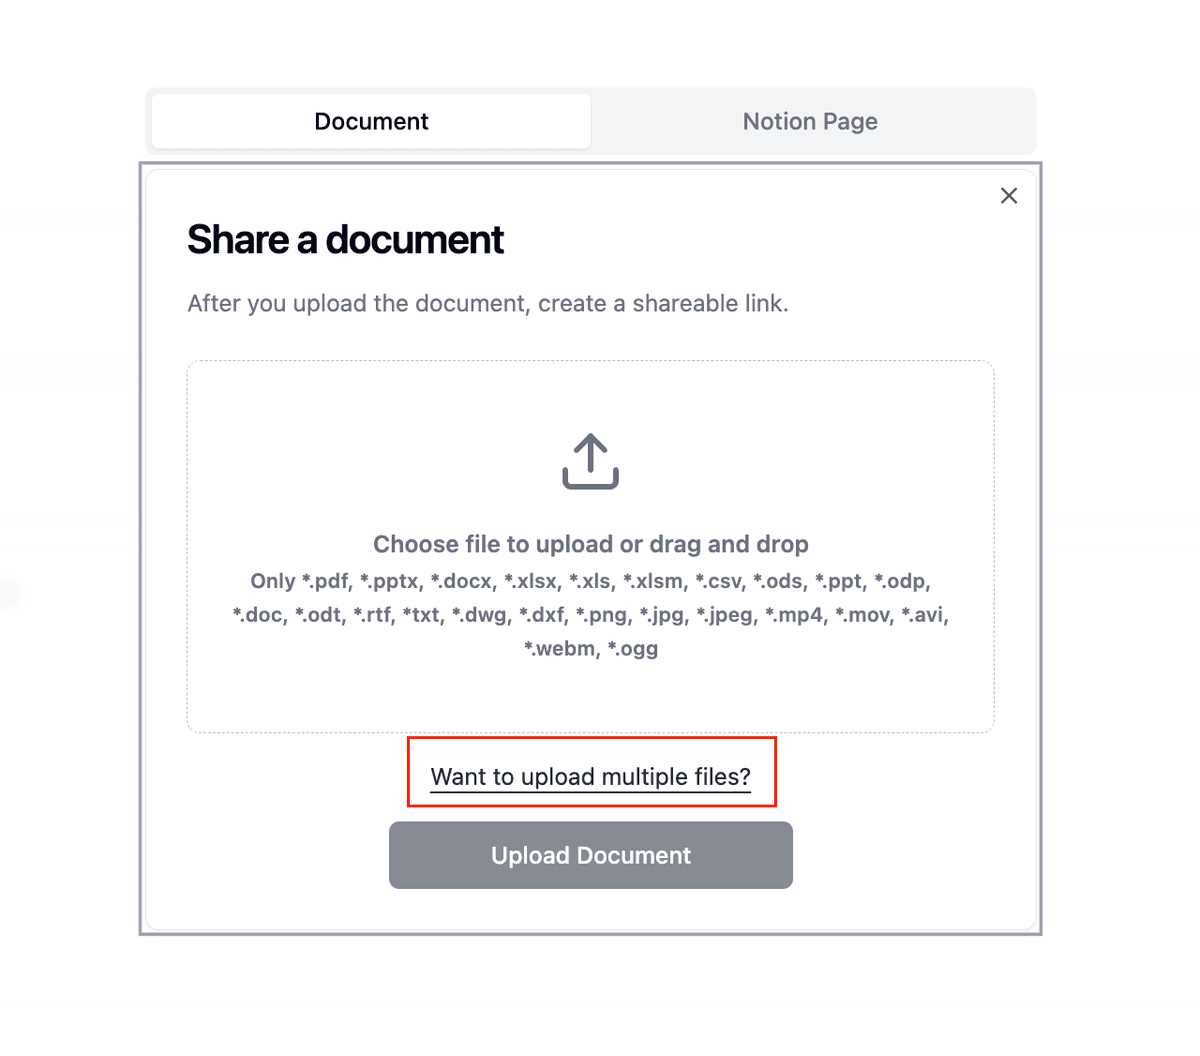
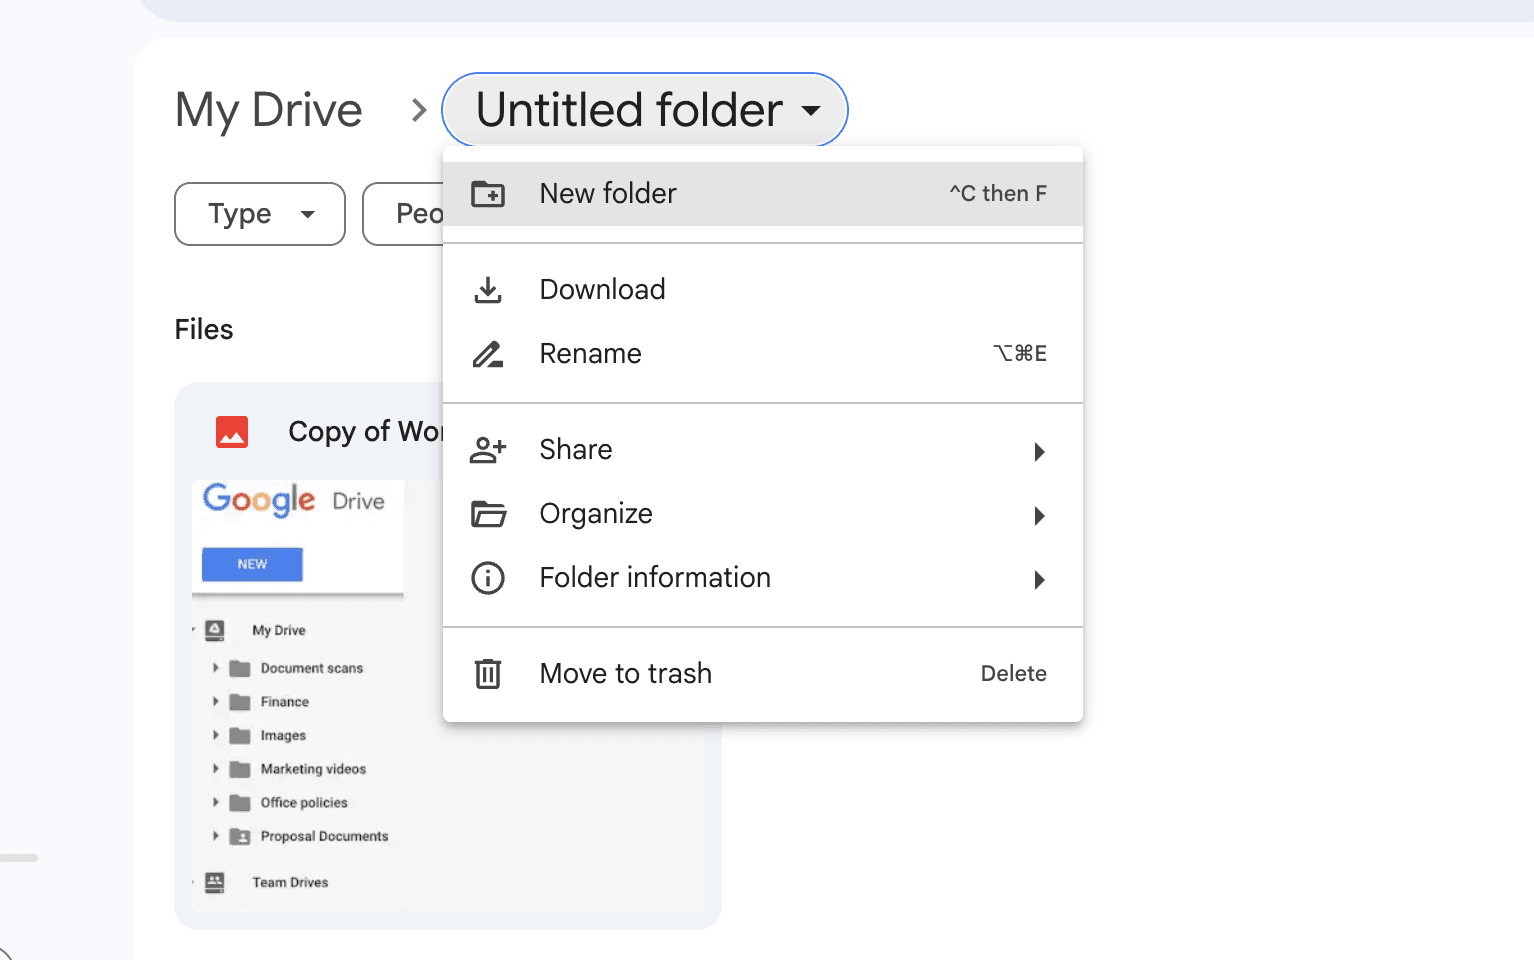
Learn how to seamlessly migrate your files and folders from Google Drive to Papermark. This comprehensive guide covers downloading your Google Drive content and setting up a more secure, analytics-driven document sharing environment.