Centro de ayudaCómo añadir un mensaje de bienvenida personalizado al enlace de tu sala de datos
Cómo añadir un mensaje de bienvenida personalizado al enlace de tu sala de datos
Una breve nota de bienvenida ayuda a establecer el tono adecuado antes de que los visitantes entren en tu sala de datos. Puedes añadir o actualizar este texto desde la pestaña Branding de cualquier sala de datos. Esta función está disponible en los planes DataRooms y DataRooms Plus.
Antes de empezar
• Asegúrate de que tu espacio de trabajo tiene un plan compatible con DataRooms.
• Necesitas acceso de Propietario o Editor a la sala de datos.
Paso a paso
- Abre la pestaña de salas de datos – En la barra lateral izquierda, haz clic en Salas de datos.
- Elige tu sala – Selecciona la sala de datos que quieres actualizar.
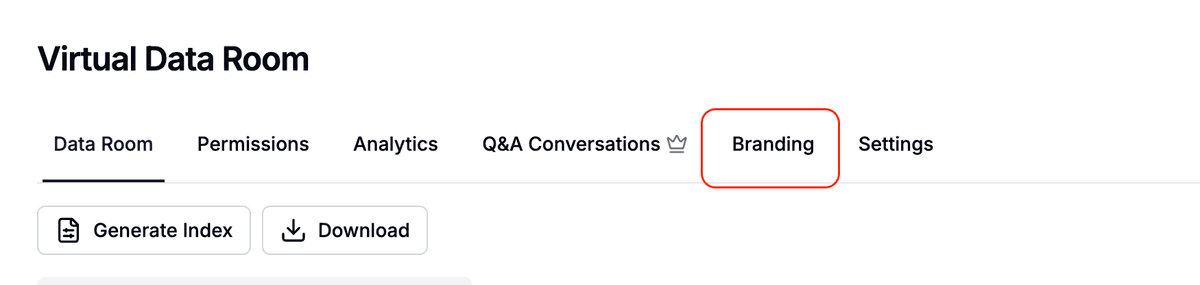
- Abre Branding – En el menú de opciones de la sala (área superior), haz clic en Branding.
- Desplázate hasta "Mensaje de bienvenida" – El campo se encuentra justo debajo de la configuración de color y banner.
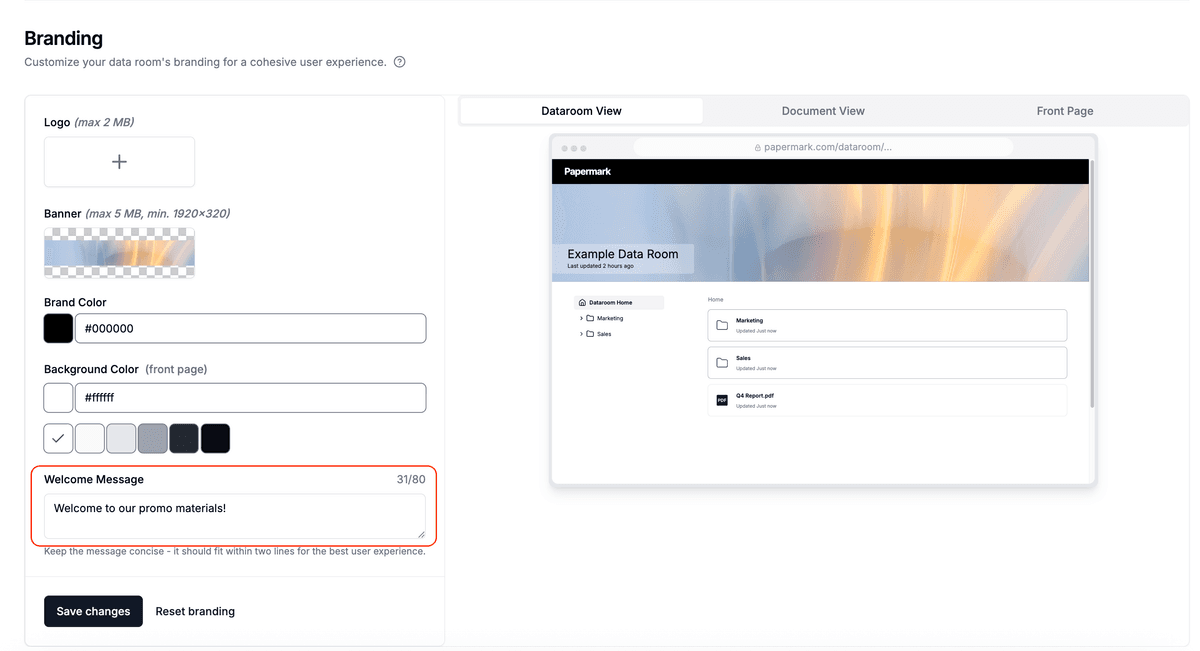
- Introduce tu mensaje – Escribe hasta 150 caracteres.
- Guarda los cambios – Haz clic en Guardar cambios en la parte inferior. Una notificación confirma la actualización.
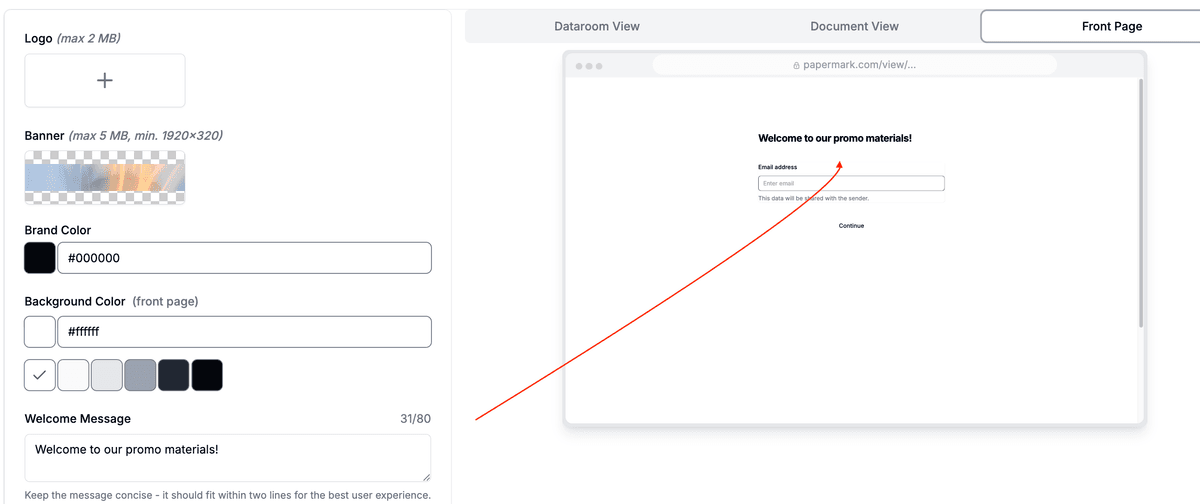
- Previsualízalo – En la parte superior derecha del panel de branding, cambia a la pestaña Página principal para ver el mensaje de bienvenida en contexto.
Consejo: Mantén el mensaje breve y orientado a la acción – por ejemplo, "¡Bienvenido! Por favor, introduce tu email para continuar."
Dónde aparece el mensaje
El mensaje de bienvenida se muestra:
- En la puerta principal de cada enlace de sala de datos que compartas (antes de la recopilación de correo electrónico/contraseña).
- Tanto en vistas de escritorio como móviles.
Mejores prácticas
- Adapta el tono de tu marca – mantente amigable y conciso.
- Si requieres un NDA o cuestionario, aclaralo aquí.
- Actualiza el mensaje para diferentes audiencias duplicando una sala y personalizando el texto.