
security
How to Add a Watermark to PDF in 2026
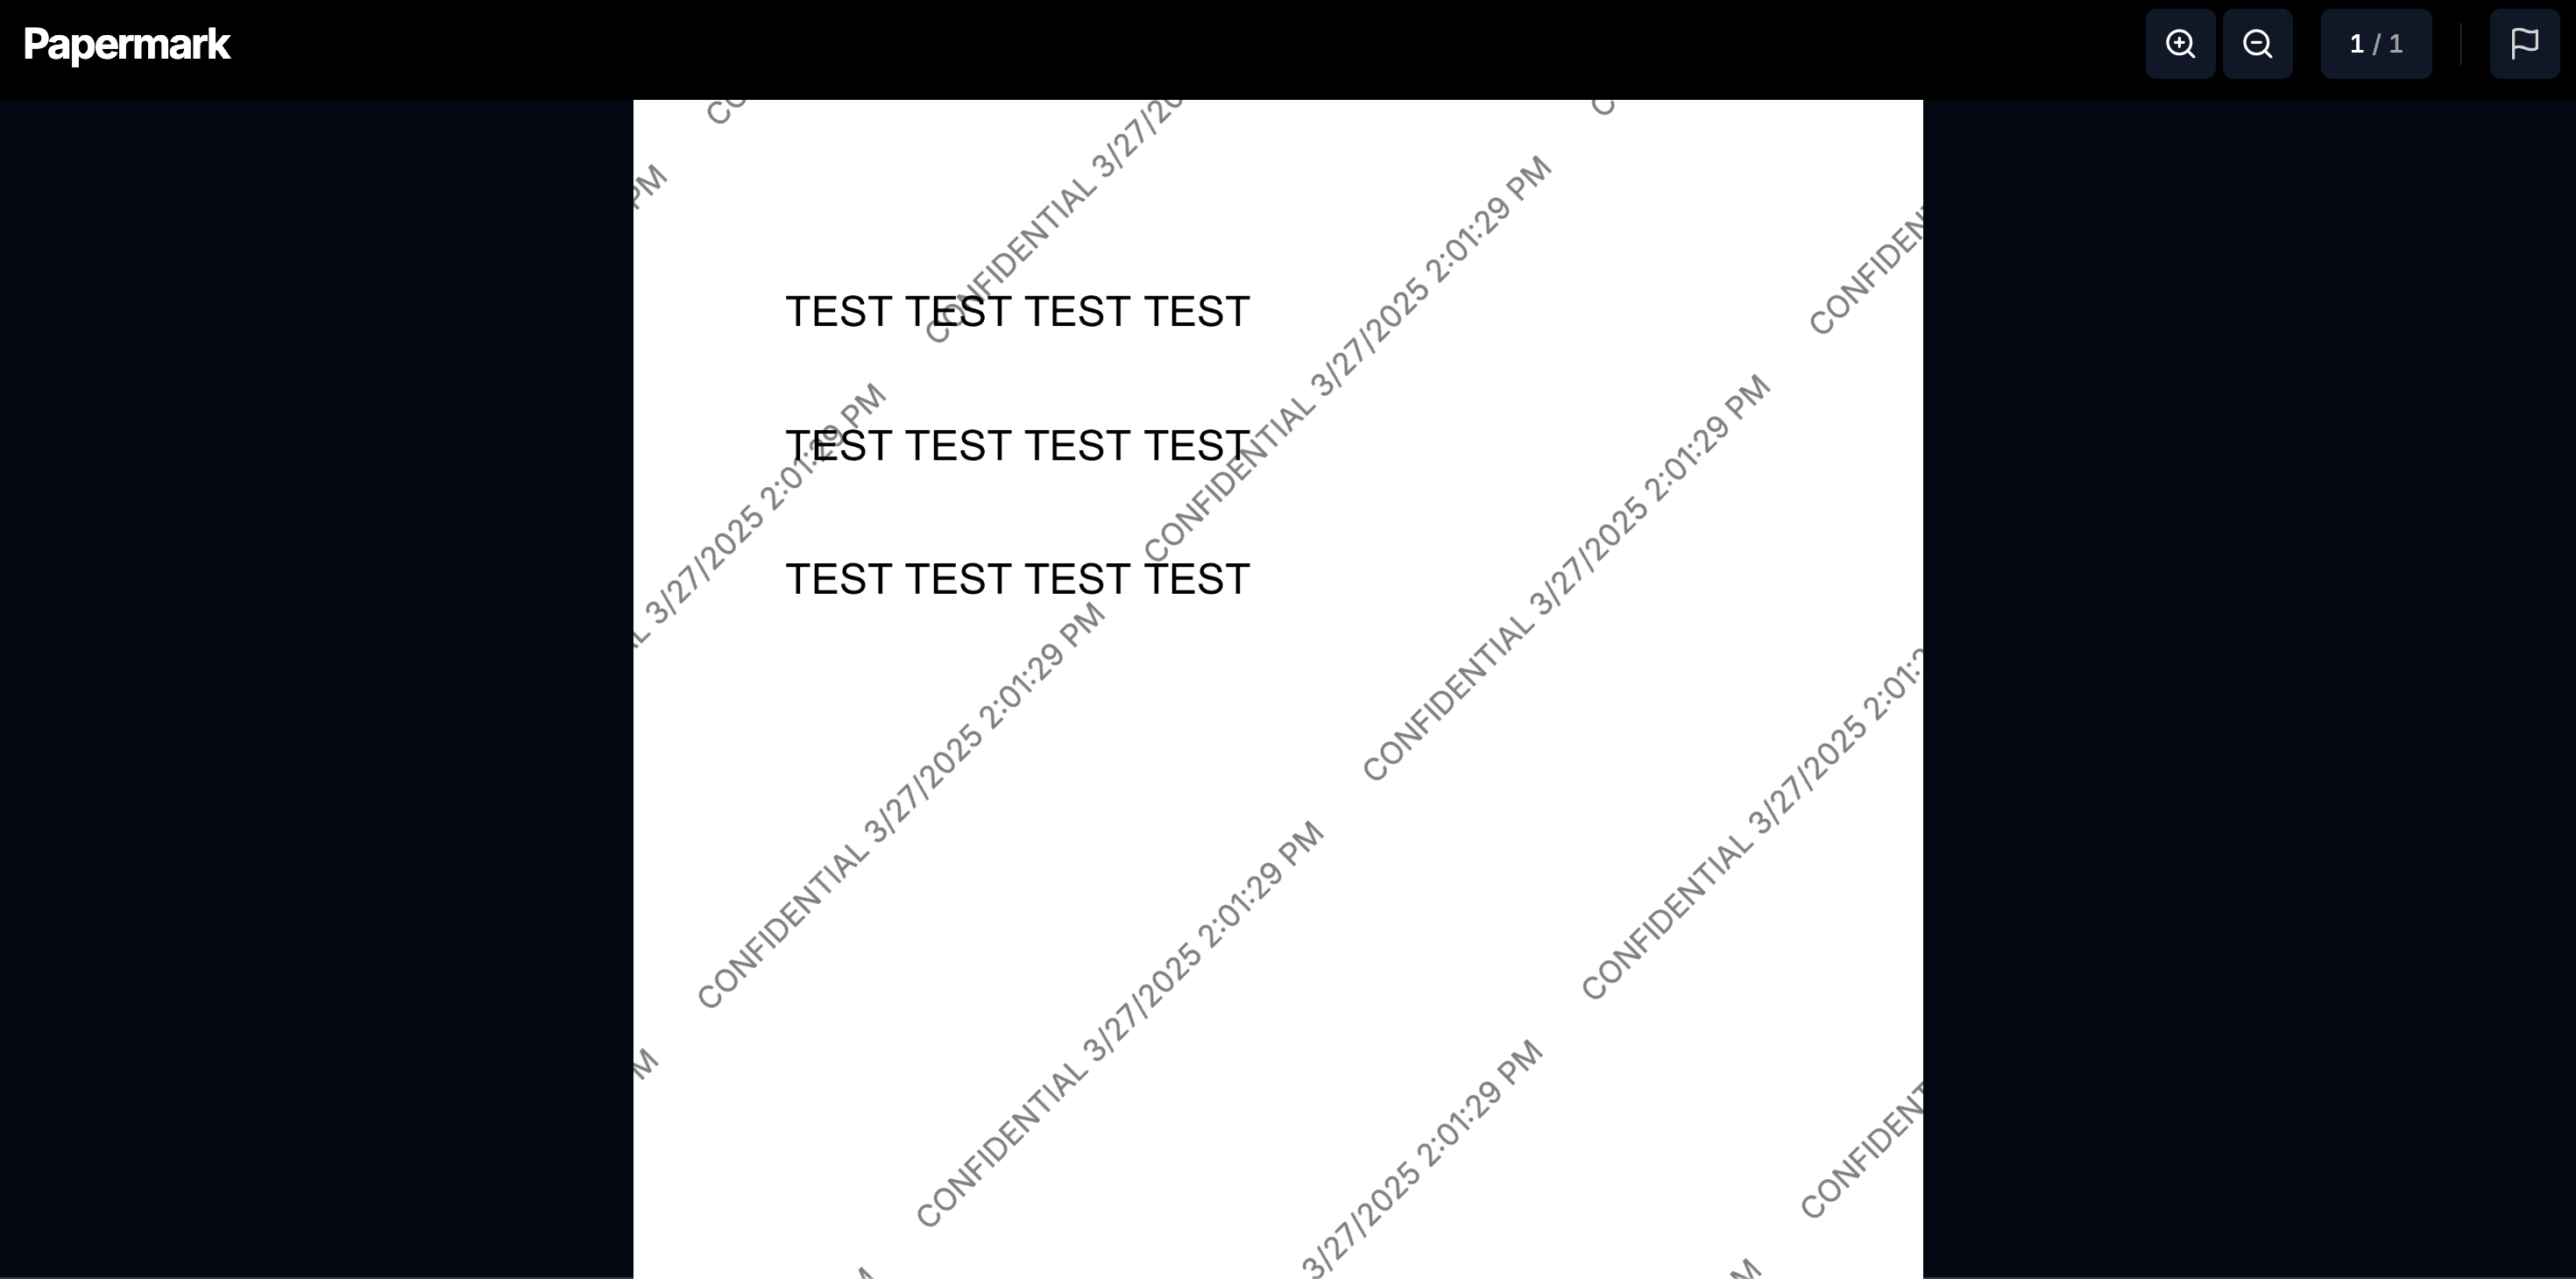
Learn three effective methods to add watermarks to your PDF documents. Protect your confidential documents and intellectual property when sharing with clients or stakeholders.
Watermarks in PowerPoint presentations are essential for protecting sensitive information when sharing slides with investors, clients, or team members. Whether you're sending a pitch deck to potential investors, sharing confidential business strategies, or distributing company presentations, watermarks provide a layer of security by discouraging unauthorized sharing and clearly marking your intellectual property.
Watermarking your PowerPoint slides can help you track who viewed your presentation, mark documents as confidential, and add a professional branded appearance to your content.
Before diving into the step-by-step instructions for each method, here's a quick comparison to help you choose the best approach for your needs:
| Feature | Papermark | Powerpoint built-in | Picture watermark |
|---|---|---|---|
| Dynamic personalization | (recipient info, date, time) | ✗ | ✗ |
| Tracking capabilities | ✗ | ✗ | |
| Ease of implementation | ✓✓ (web-based) | ✓ (built-in) | (manual) |
| Removal difficulty | ✓✓ (very difficult) | ✓ (moderate) | (easy) |
| Works across all devices | (only with powerpoint) | (only with powerpoint) | |
| Analytics on viewer behavior | ✗ | ✗ | |
| Cost | Available in paid plans | Included with powerpoint | Free |
| Best for | Investor pitches, confidential documents | Internal presentations | Quick watermarking needs |
Now, let's explore each method in detail.
Papermark offers the most comprehensive and secure watermarking solution for PowerPoint presentations, with the unique ability to create dynamic watermarks that display the viewer's information, making each copy traceable.


Configure watermark settings:
Customize your watermark:
{{email}} - Shows the viewer's email address{{date}} - Shows the current date{{time}} - Shows the current time{{link}} - Shows the specific link used to access{{ipAddress}} - Shows the viewer's IP address

Share your watermarked presentation:
Track viewer access:

Papermark's solution is ideal for high-value content like investor pitch decks, confidential business plans, or any presentation where you need to know exactly who viewed your content and when.
Microsoft PowerPoint offers several built-in options for adding watermarks to your presentations. While not as dynamic as papermark's solution, it's convenient for quick watermarking needs.
Open Your PowerPoint Presentation:
Access the slide master view:
Insert text as watermark:
Format your watermark:
Position and rotate (optional):
Apply to all slides:
Exit slide master view:
Save your presentation:
This method is best for internal presentations or when you need a quick watermarking solution without additional tools.
For brand-focused watermarks or when you want to use a custom image, the picture watermark method provides flexibility and visual appeal.
Prepare Your Image:
Open Your PowerPoint Presentation:
Access the slide master view:
Insert your picture:
Adjust the image properties:
Send to back (important):
Lock the image (optional):
Close master view:
Save your presentation:
This method is particularly effective for branding purposes or when you want to use your company logo as a subtle watermark.
Adding watermarks to your PowerPoint presentations protects your intellectual property when sharing with investors, clients, or team members. Choose papermark for dynamic watermarking with maximum security and tracking, PowerPoint's built-in options for convenience, or a custom picture watermark for branding.
For sensitive business information and investor pitches, papermark's dynamic watermarking capabilities provide superior protection while giving you visibility into who accessed your presentation and when.
Learn three effective methods to add watermarks to your PDF documents. Protect your confidential documents and intellectual property when sharing with clients or stakeholders.
Learn three effective methods to add watermarks to your Word documents. Protect your confidential documents and intellectual property when sharing with clients or stakeholders.
Learn three effective methods to add watermarks to your Excel spreadsheets. Protect your confidential documents and intellectual property when sharing with clients or stakeholders.