Different personnel have different clearance levels but you need one data room. Creating separate rooms for each level is operationally complex and creates document duplication.
With Papermark you can create one data room with per-folder access tied to email allowlists, so each clearance level sees only what they should.
How it works
Step by step
Step 1. Upload your briefings
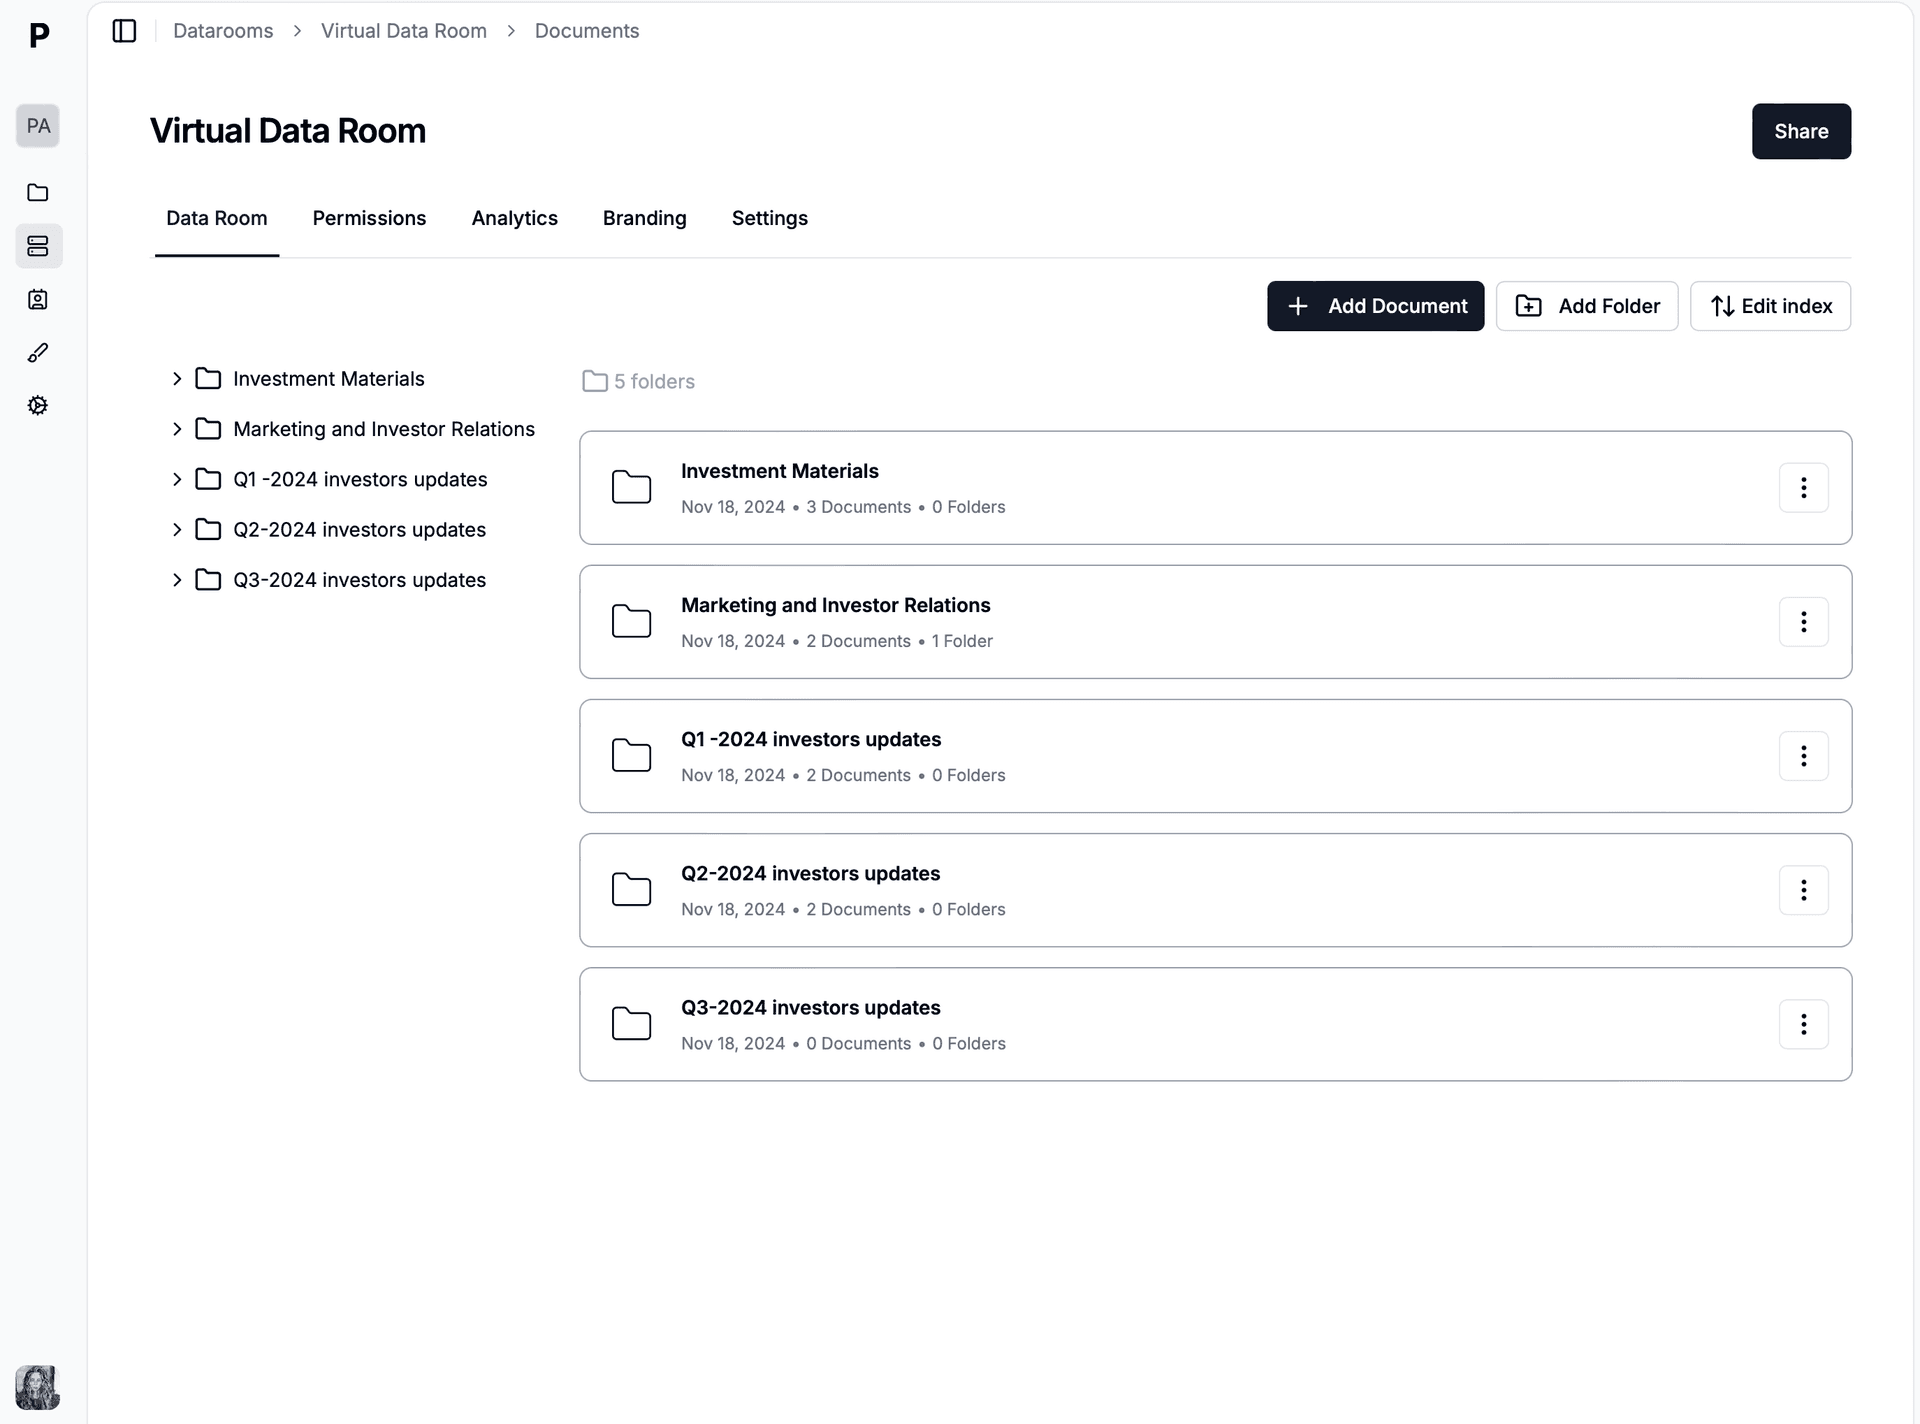
Open Papermark and create a new data room. Upload classified or sensitive documents. Use drag-and-drop to add files, then organize them into folders. Papermark automatically indexes everything and supports bulk upload of entire folder structures.
Step 2. Set up access controls for authorized personnel and committee members
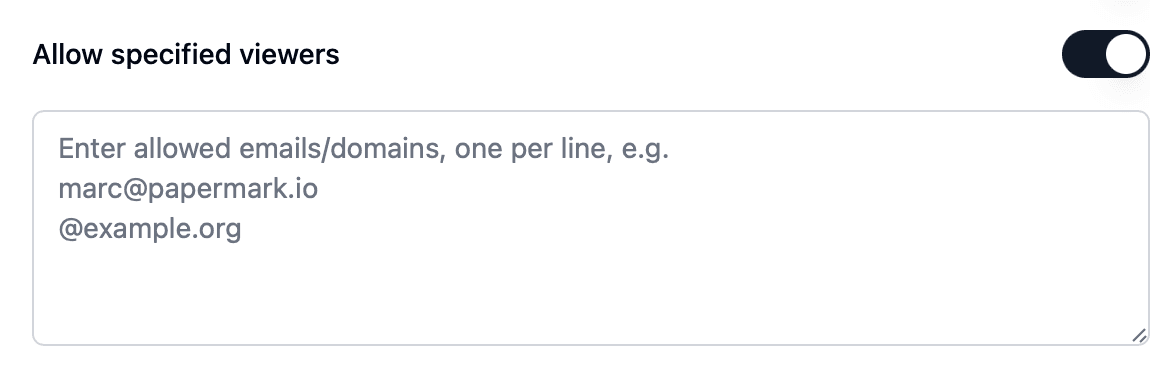
Configure your security settings. In Papermark link settings, enable Folder permissions, Email allowlist, Visitor groups, Single room. Every viewer is verified before they can access a single page. You control exactly who among your authorized personnel and committee members sees which documents.
Step 3. Distribute via email-verified, domain-restricted links and track engagement
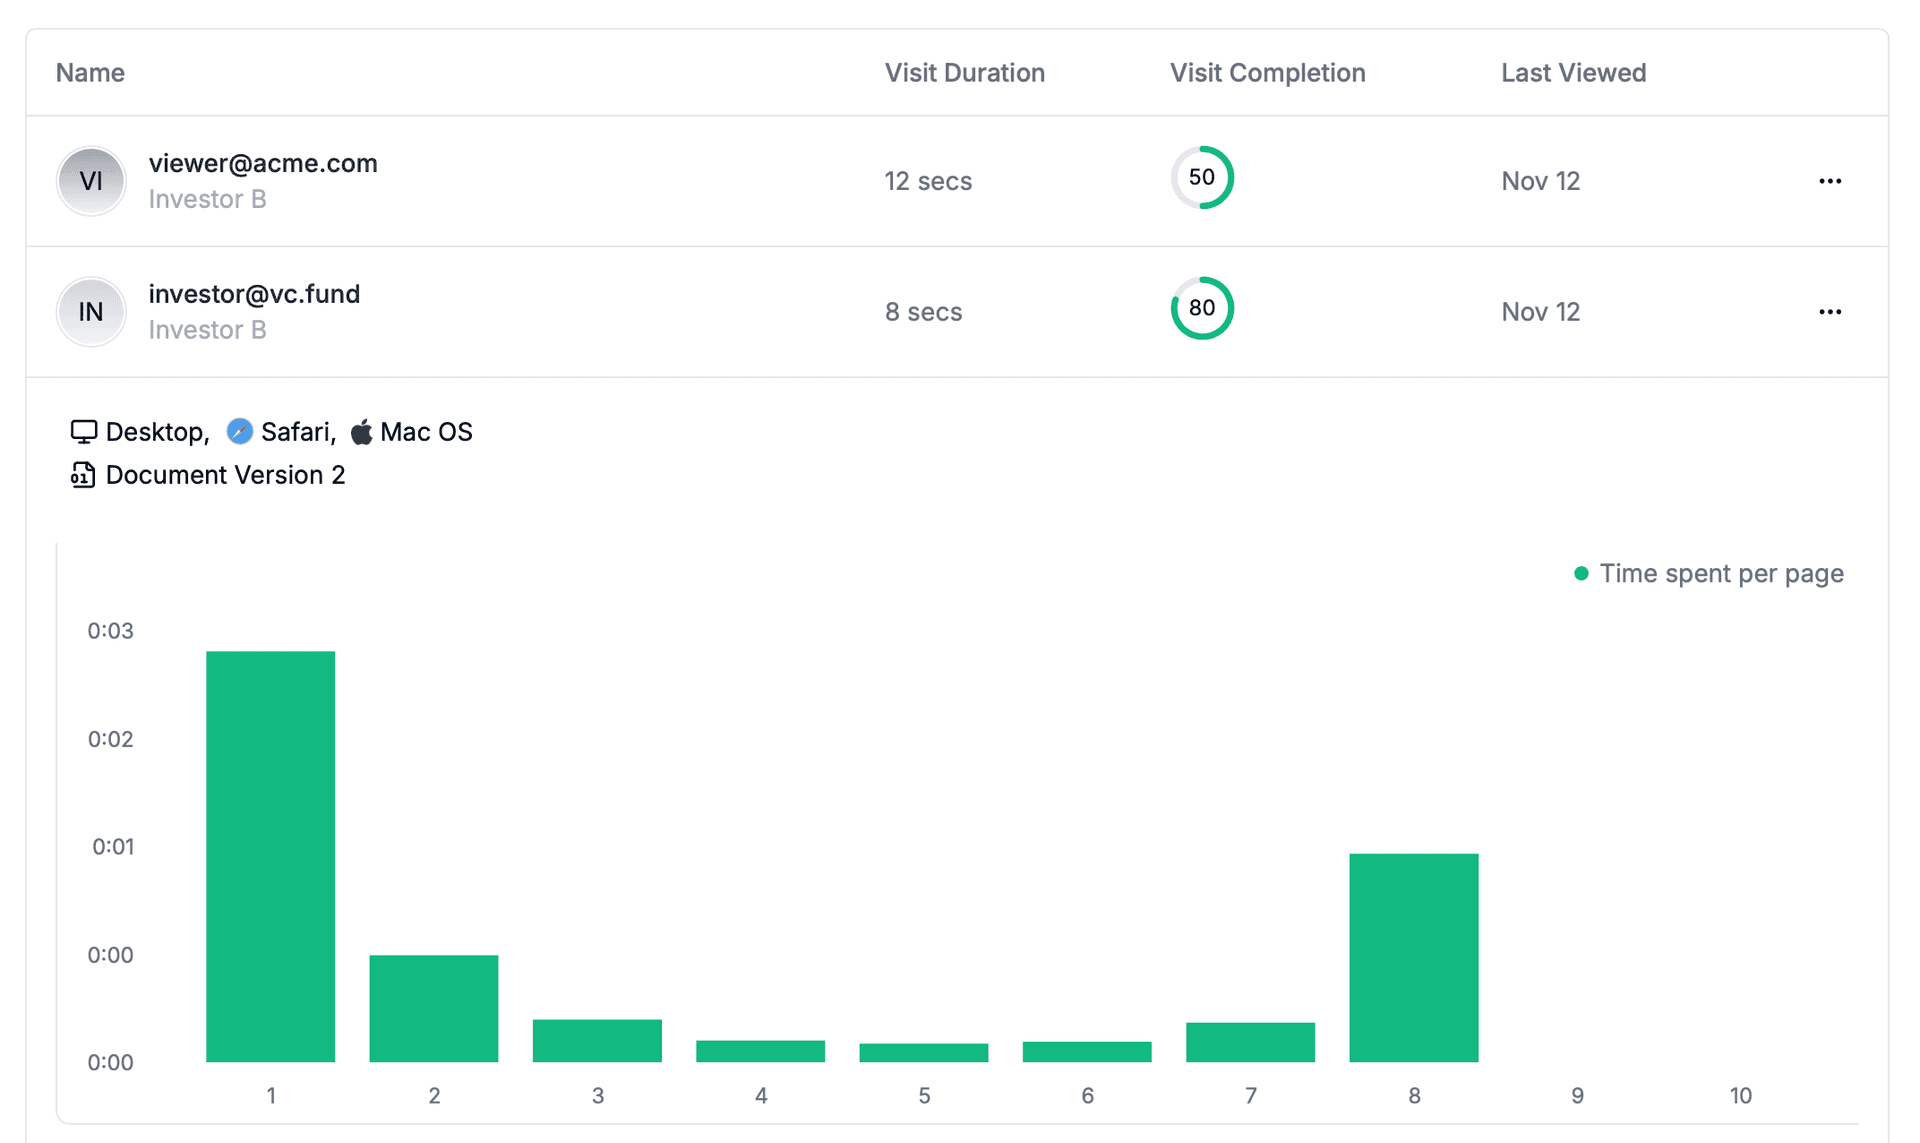
Generate a secure link and distribute via email-verified, domain-restricted links. Papermark tracks every interaction in real-time. Monitor who accessed each document with full IP and timestamp logging. Open the analytics dashboard to see all engagement data as it happens.
Tools and integrations
No external integrations required. This workflow uses Papermark's built-in features only.