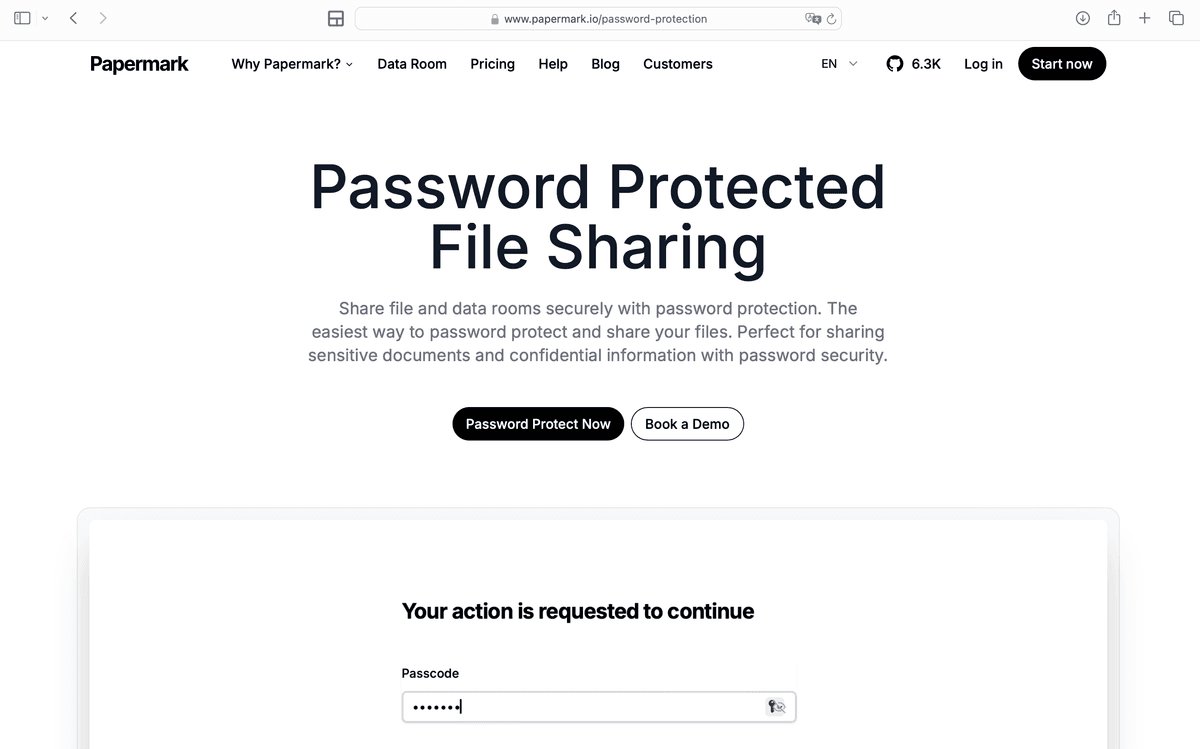
Encrypting files with a password is essential for protecting sensitive documents, whether you're sharing business contracts, financial reports, or personal information. While many tools offer basic password protection, Papermark provides comprehensive file encryption with password protection, access controls, and detailed analytics—all in one secure platform.
This guide walks you through encrypting files with passwords using Papermark, from creating your account to sharing encrypted files with advanced security features. You'll learn how to protect PDFs, Word documents, Excel spreadsheets, images, and more with enterprise-grade encryption and password protection.
Quick recap of password-protected file encryption with Papermark
With Papermark, you can encrypt files with passwords and access a comprehensive suite of security features:
Password protection: Set strong passwords to control who can access your encrypted files
Email verification: Require recipients to verify their email address before accessing files
Access expiration: Set automatic expiration dates to limit file accessibility
Allowlist and denylist: Control exactly who can access your files by email address
Dynamic watermarking: Add recipient-specific watermarks to identify who shared files if leaked
Download prevention: Prevent recipients from downloading files, allowing viewing only
Note: Papermark offers a free plan that includes file encryption with password protection. You can upgrade to paid plans for additional features like unlimited documents, advanced analytics, and custom branding.
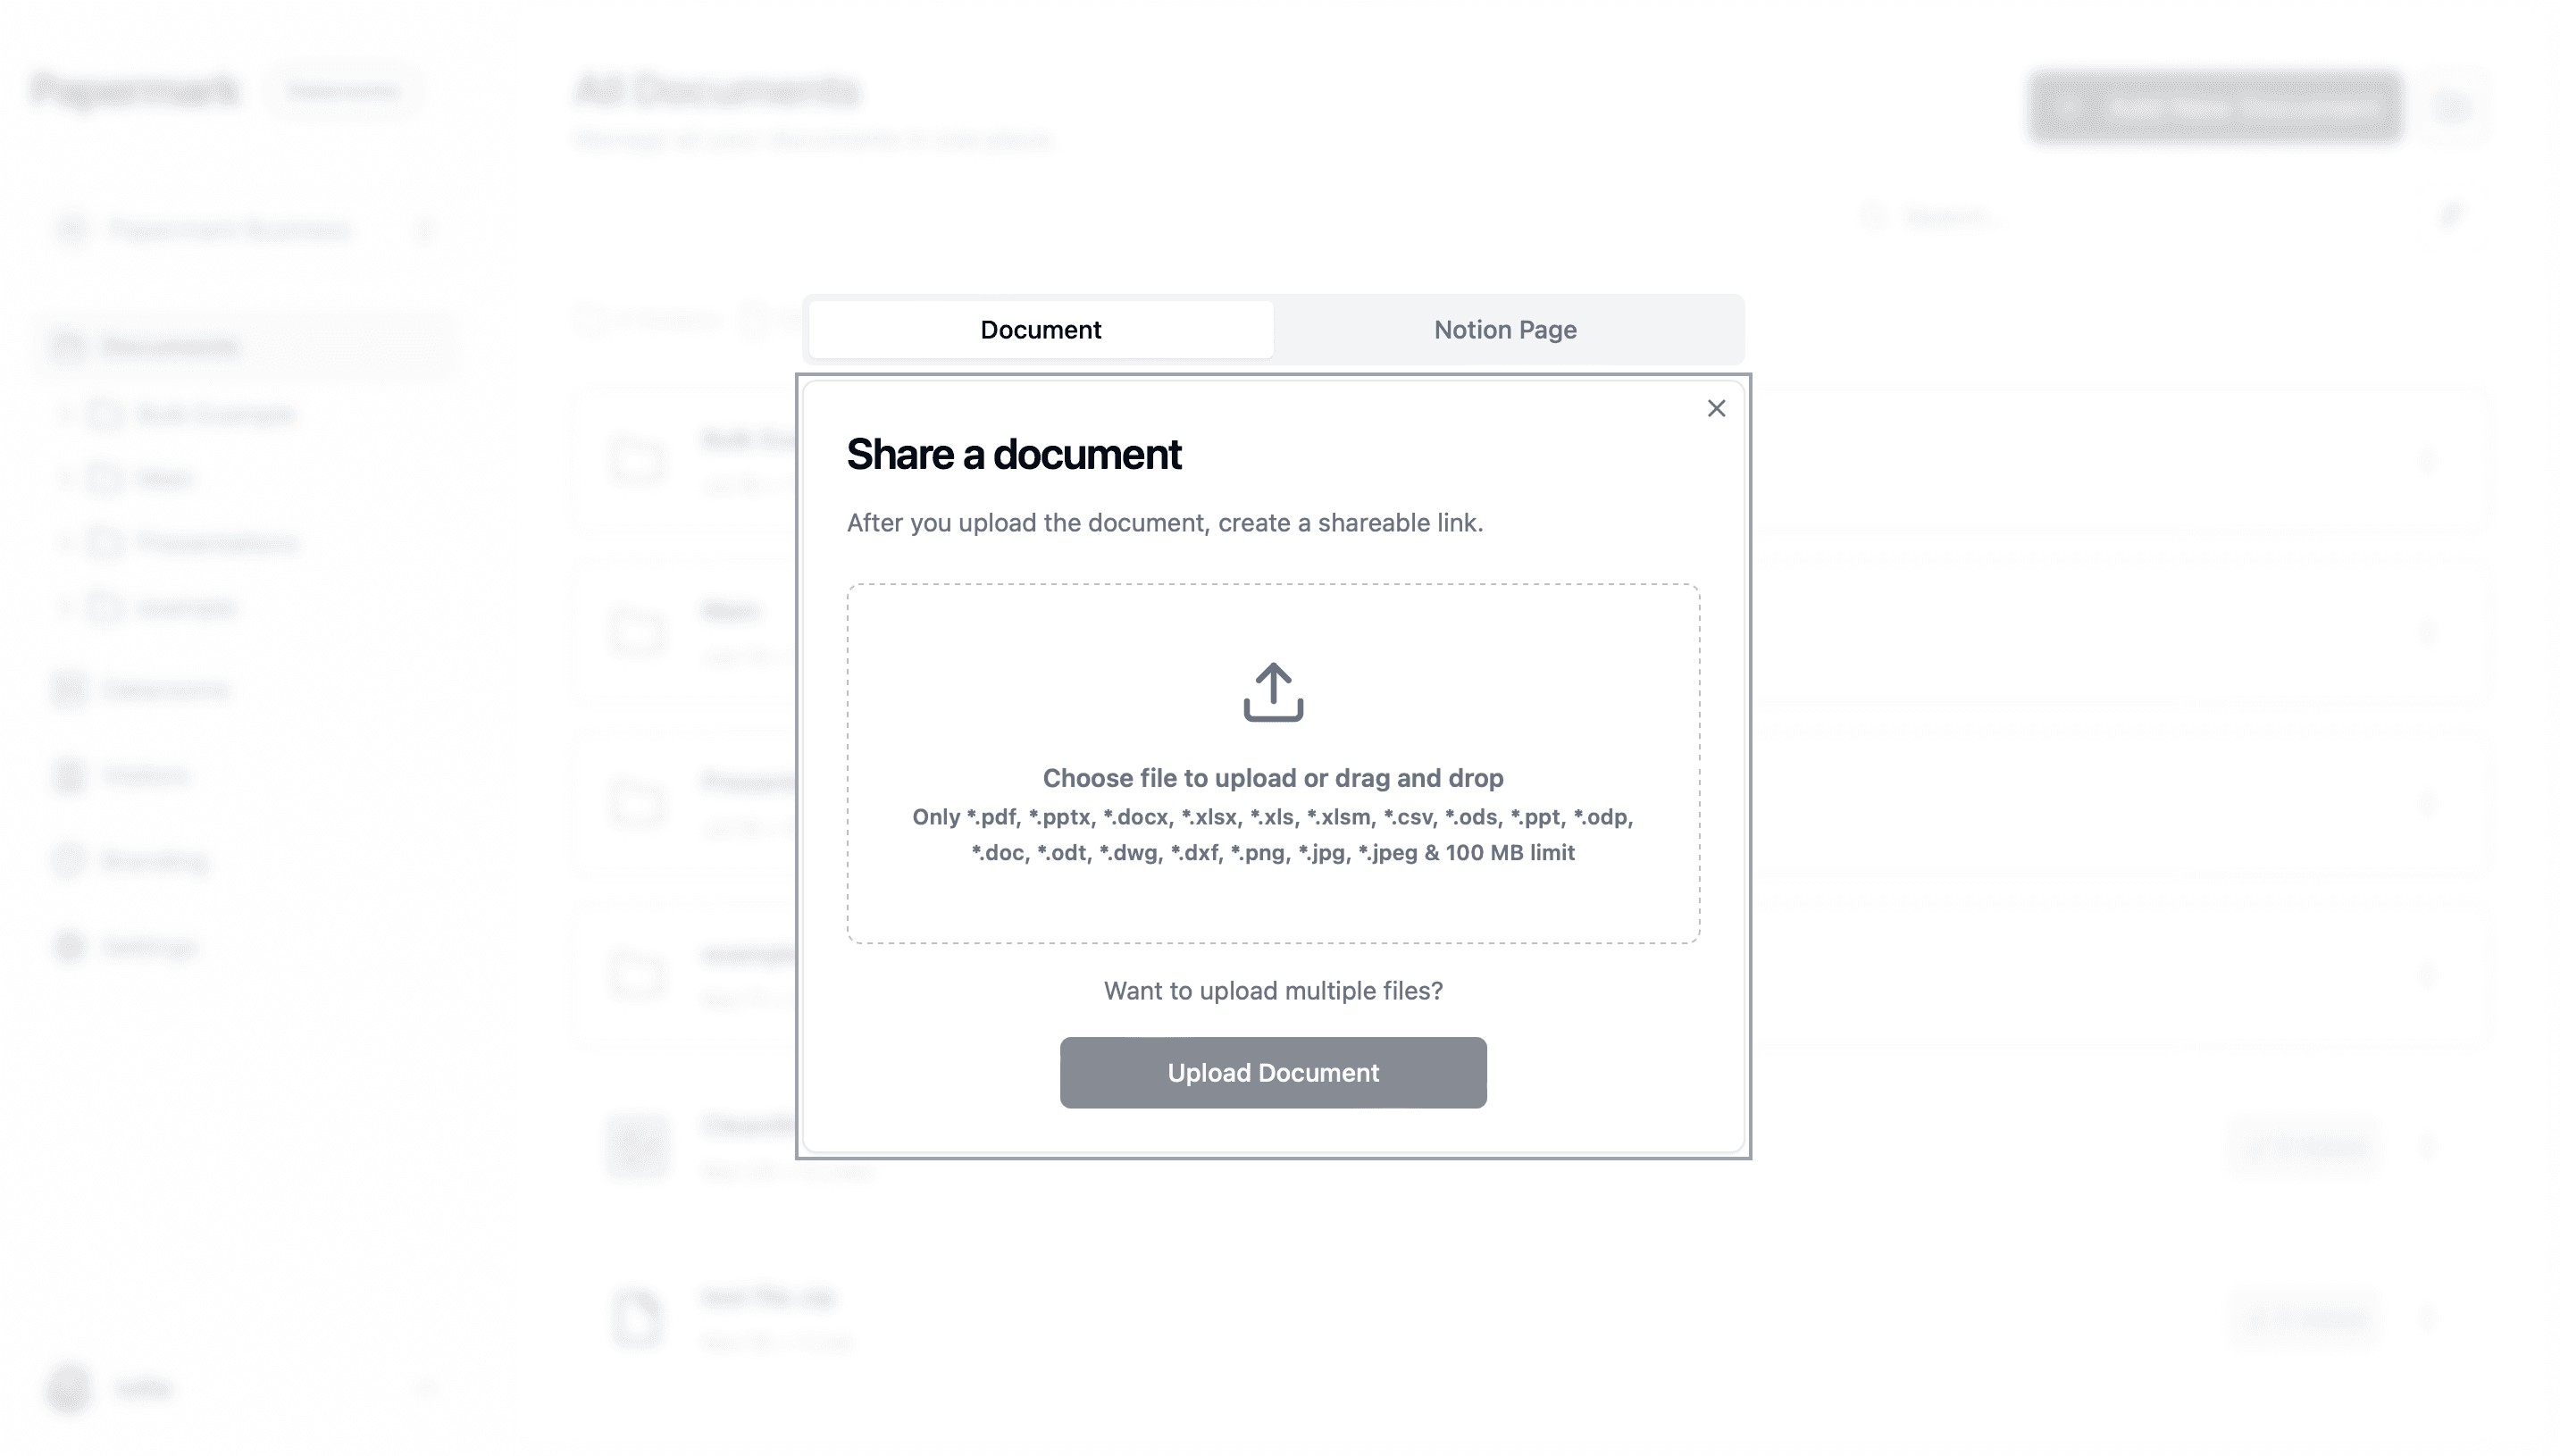
Step 2: Upload your file
Once you're logged into your Papermark account, you can start encrypting files with password protection. Papermark supports a wide variety of file types.
Click the "Upload Document" button in your dashboard
Or click "New Document" from the menu
You can also drag and drop files directly onto the dashboard
Select your file:
Choose the file you want to encrypt from your computer
You can upload multiple files at once
Files are automatically encrypted during upload using AES-256 encryption
Wait for processing:
Papermark processes your file and converts it to a secure, viewable format
PDFs are displayed directly
Office documents (Word, Excel, PowerPoint) are converted to PDF for secure viewing
Processing typically takes a few seconds to a minute depending on file size
Security note: All files are encrypted with AES-256 encryption during upload, even before you set a password. This means your files are protected from the moment they enter Papermark's secure servers.
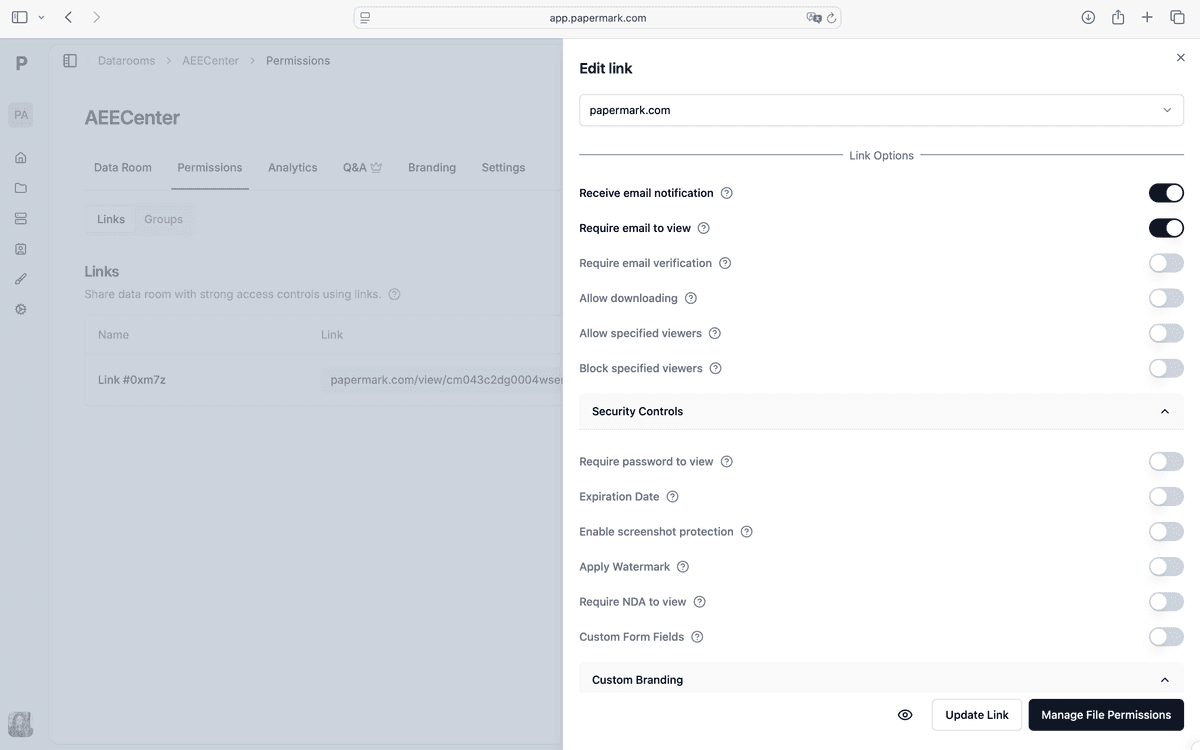
Step 3: Set password protection
After your file is uploaded, you can configure password protection and other security settings. This is where you add the password layer to your encrypted file.
Accessing security settings:
Open document settings:
Click on your uploaded file in the dashboard
Click "Settings" or the gear icon
Navigate to the "Security" or "Link Settings" tab
Enable password protection:
Find the "Password Protection" toggle
Turn it ON
A password field will appear
Set your password:
Enter a strong password in the password field
Papermark recommends passwords with at least 8 characters
Use a mix of uppercase, lowercase, numbers, and special characters
Confirm your password by entering it again
Save your settings:
Click "Save" or "Update"
Your file is now password-protected
The password is required for anyone trying to access the file
Password best practices: Create a unique, strong password for each encrypted file. Consider using a password manager to generate and store complex passwords. Never share passwords in the same email or message as the file link.
Step 4: Configure additional security settings
Beyond password protection, Papermark offers additional security features to enhance your file encryption. These settings work together with password protection to provide comprehensive security.
Email verification:
Enable email verification:
In the security settings, find "Email Verification"
Toggle it ON
This requires recipients to verify their email address before accessing the file
Benefits: Email verification ensures that only people with valid email addresses can access your encrypted file, adding an extra layer of identity confirmation beyond the password.
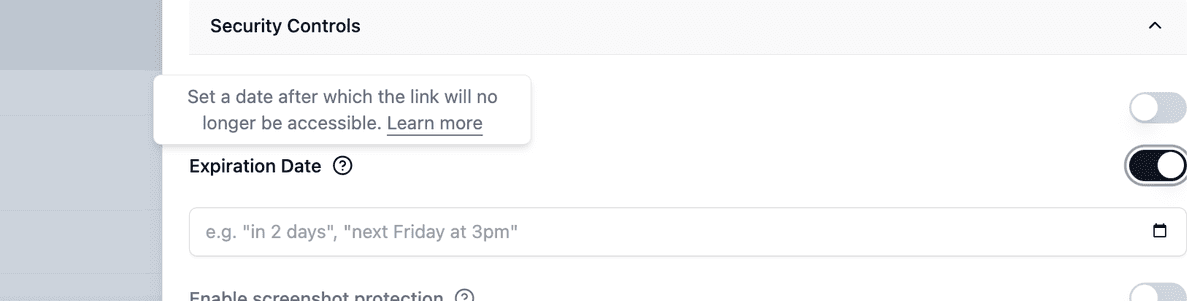
Access expiration:
Set expiration date:
Find "Expiration Date" in security settings
Toggle it ON
Select a date and time when access should expire
After expiration, the link becomes invalid even with the correct password
Use cases: Set expiration dates for time-sensitive documents, temporary access grants, or files that should only be available for a limited period.
Allowlist and denylist:
Control who can access:
Find "Allowlist" or "Denylist" settings
Allowlist: Only specified email addresses can access (even with password)
Denylist: Block specific email addresses from accessing
Security advantage: Combine allowlist with password protection to ensure only authorized recipients can access your encrypted files, even if someone else obtains the password.
Step 5: Enable advanced protection features
Papermark offers advanced protection features that work alongside password encryption to provide comprehensive file security.
Dynamic watermarking:
Activate watermarking:
Navigate to "Watermarking" in settings
Toggle "Dynamic Watermarking"ON
Choose what information to display (recipient email, IP address, date/time)
Customize watermark appearance:
Set watermark opacity and position
Choose font size and style
Preview how the watermark appears on your document
Security benefit: Dynamic watermarks add recipient-specific information to each page, making it easy to identify who shared the file if it's leaked. This deters unauthorized sharing even after someone gains access with the password.
Download prevention:
Disable downloads:
Find "Download Prevention" in settings
Toggle it ON
This prevents recipients from downloading the file, allowing viewing only
Use case: When you want recipients to view the encrypted file but prevent them from keeping a local copy, download prevention ensures they can only access it through the secure link.
Screenshot protection:
Enable screenshot protection:
Find "Screenshot Protection" in settings
Toggle it ON
This makes it more difficult for recipients to capture screenshots
Note: Screenshot protection cannot completely prevent all screenshot methods, but it discourages casual captures and adds another layer of security to your encrypted files.
NDA gate:
Require NDA acceptance:
Find "NDA Gate" in settings
Toggle it ON
Recipients must accept a non-disclosure agreement before accessing the file
Legal protection: The NDA gate creates a legal record that recipients agreed to confidentiality terms before accessing your encrypted file, providing additional legal protection beyond password encryption.
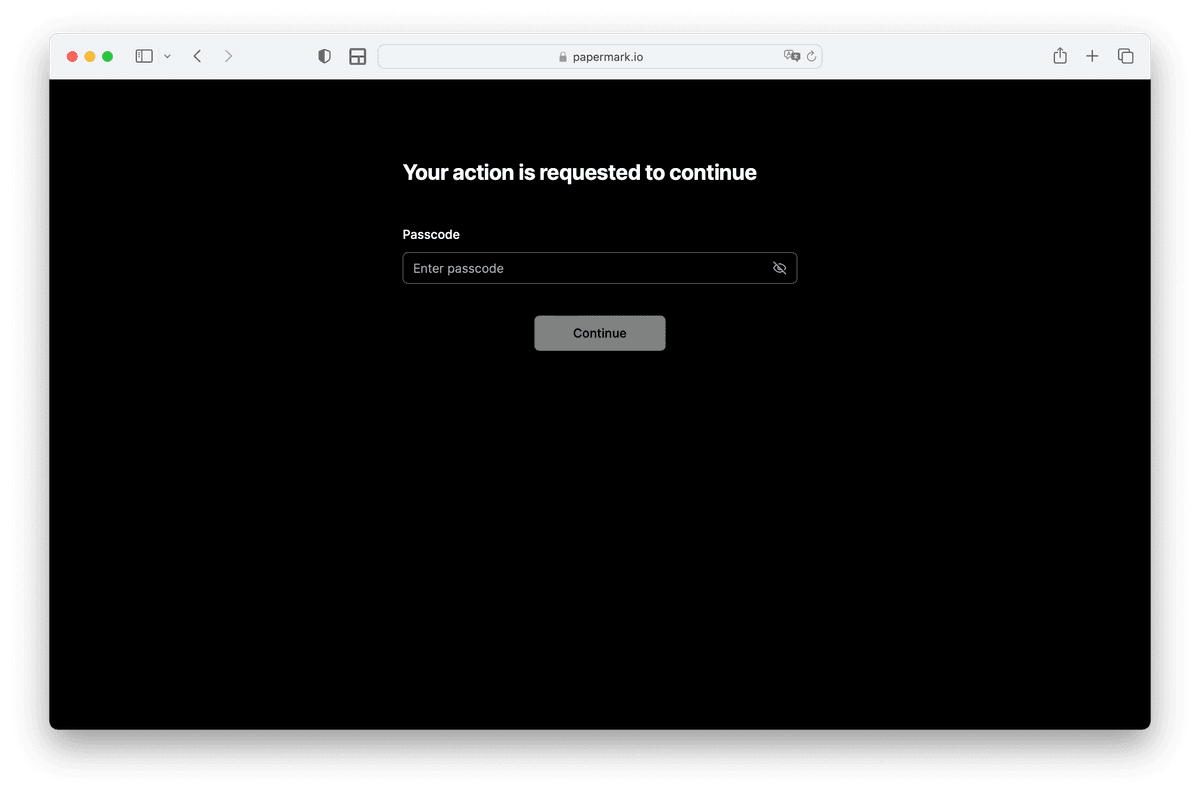
Step 6: Generate and share your encrypted file link
Once you've configured password protection and security settings, you can generate a secure link to share your encrypted file.
Creating the share link:
Generate secure link:
In your document settings, click "Get Link" or "Share"
Papermark generates a unique, encrypted link
The link is secure and can only be accessed with the password you set
Copy the link:
Click "Copy Link" to copy the secure URL
The link looks like: https://www.papermark.com/view/[unique-id]
This link is encrypted and secure
Sharing securely:
Share the link:
Send the link via email, messaging app, or any communication method
The link itself is safe to share—it requires the password to access
Share the password separately:
Never share the password in the same message as the link
Use a different communication channel:
Phone call
Text message
Encrypted messaging app (Signal, WhatsApp)
In-person communication
Best practices for sharing:
Share the link first, then the password through a different channel
Verify the recipient's identity before sharing passwords
Consider using a password manager's secure sharing feature
Set expiration dates for time-sensitive files
Security reminder: The link is encrypted and secure, but the password is the key to access. Always share passwords through a separate, secure channel to maintain maximum security.
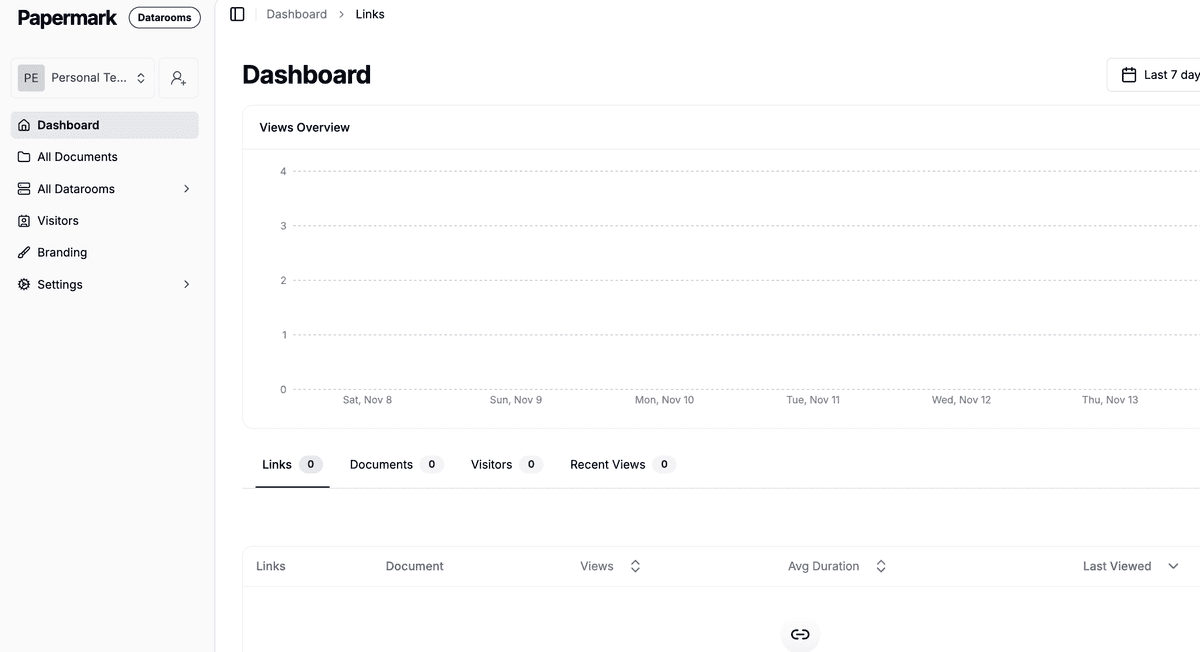
Step 7: Monitor file access and analytics
One of Papermark's unique advantages is the ability to track who accesses your encrypted files and when, even with password protection enabled.
Viewing access analytics:
Access analytics dashboard:
Click on your encrypted file in the dashboard
Navigate to "Analytics" or "Views" tab
See detailed information about file access
View access details:
See who accessed the file (if email verification is enabled)
View access times and dates
See page-by-page engagement for PDFs
Track how long recipients spent viewing the file
Monitor security events:
See failed password attempts
Track access from different locations
Monitor access patterns and anomalies
Benefits: Analytics help you verify that authorized recipients accessed your encrypted files and identify any suspicious activity, even when password protection is enabled.
Step 8: Revoke access if needed
If you need to revoke access to an encrypted file, Papermark allows you to do so instantly, even after sharing the link and password.
Revoking access:
Disable the link:
Go to your document settings
Toggle "Link Active" to OFF
The link becomes invalid immediately
Change the password:
Update the password in security settings
Old password no longer works
Share new password only with authorized recipients
Delete the file:
Permanently delete the file from your dashboard
This removes all access permanently
Use cases: Revoke access if a password is compromised, if a recipient no longer needs access, or if you discover unauthorized sharing.
Best practices for password-protected file encryption
Follow these best practices to maximize the security of your password-protected encrypted files.
Use strong, unique passwords: Create passwords with at least 16 characters, mixing uppercase, lowercase, numbers, and special characters. Use a different password for each encrypted file.
Share passwords securely: Always share passwords through a different channel than the file link. Use phone calls, encrypted messaging apps, or in-person communication.
Combine password with other security features: Use email verification, allowlists, and expiration dates alongside password protection for defense in depth.
Enable dynamic watermarking: Add recipient-specific watermarks to identify who shared the file if it's leaked, even after password access.
Monitor access regularly: Check analytics regularly to verify authorized access and identify any suspicious activity or unauthorized sharing attempts.
Set appropriate expiration dates: Use expiration dates for time-sensitive files to automatically revoke access after a set period, even if the password is known.
Revoke access when needed: If a password is compromised or access is no longer needed, revoke it immediately through Papermark's settings.
Conclusion
Encrypting files with password protection using Papermark provides comprehensive security for your sensitive documents. The platform combines AES-256 encryption with password protection, access controls, analytics, and advanced security features—all in one easy-to-use interface. Whether you're protecting business documents, personal files, or confidential information, Papermark's password-protected file encryption ensures your files remain secure while remaining accessible to authorized recipients.