Groups and granular permissions in data rooms
Groups in Papermark provide a powerful way to manage access to your data room documents. By creating groups and setting granular permissions, you can control exactly who sees what and what actions they can perform. This guide will walk you through managing groups and configuring their permissions.
Understanding groups and permissions
Groups are the foundation of access control in Papermark data rooms. Each group can have:
- Multiple members with shared access rights
- Specific permissions for different documents and folders
- Custom access levels for viewing and downloading content
- Domain-based restrictions for added security
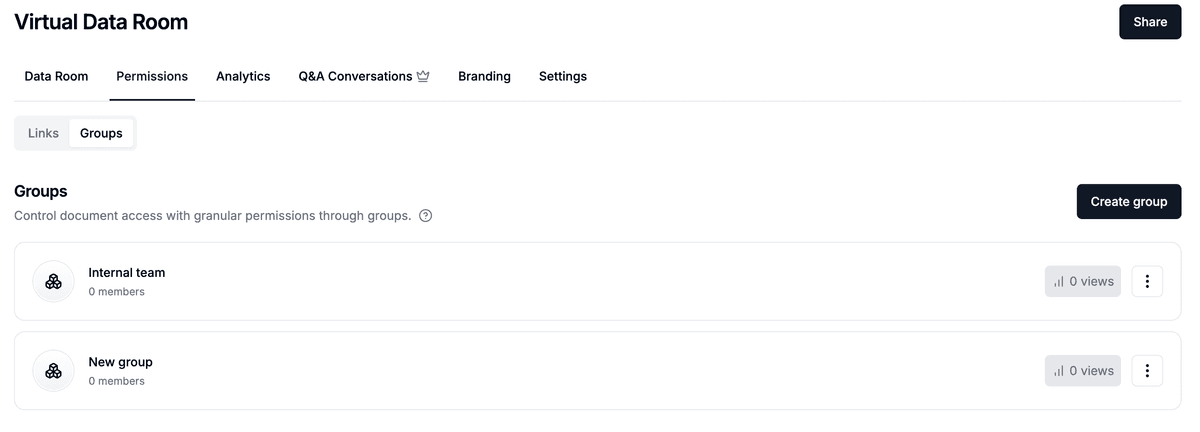
Creating and managing groups
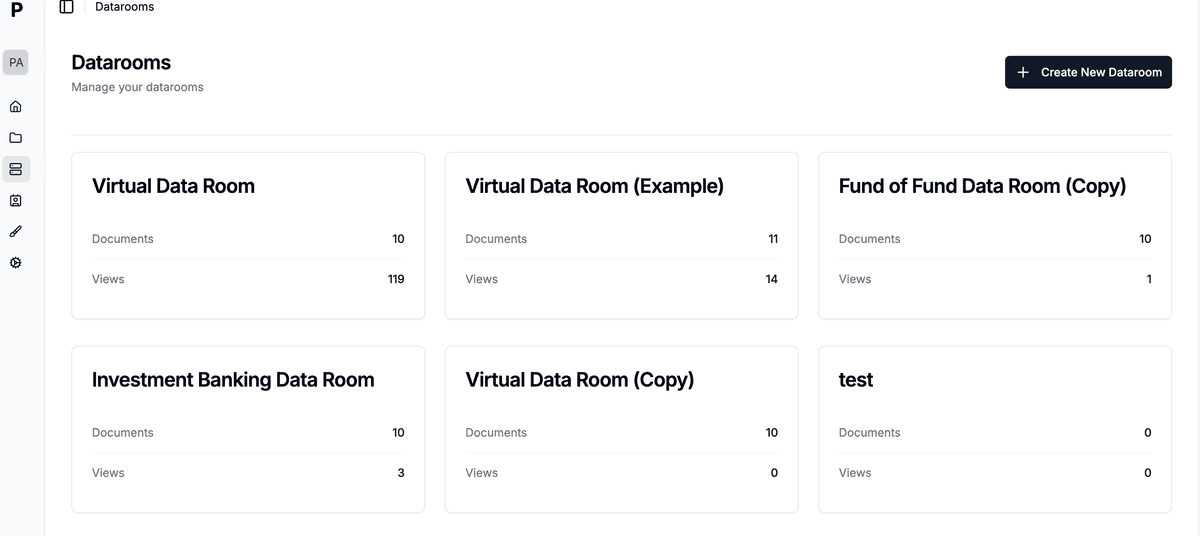
- Navigate to your data room
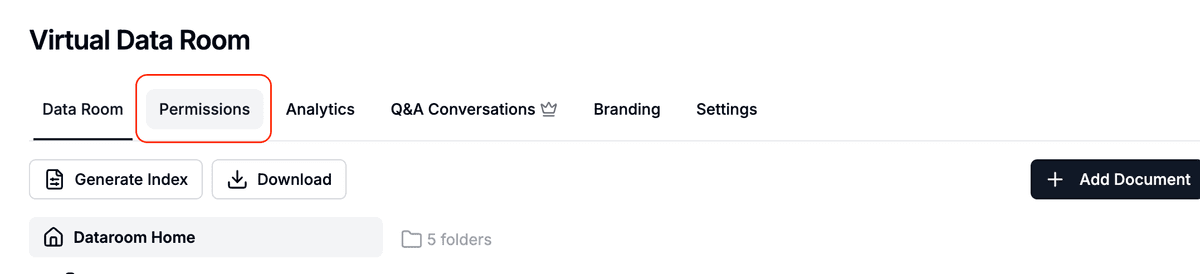
- Click on the "Permissions" menu next to the data room name
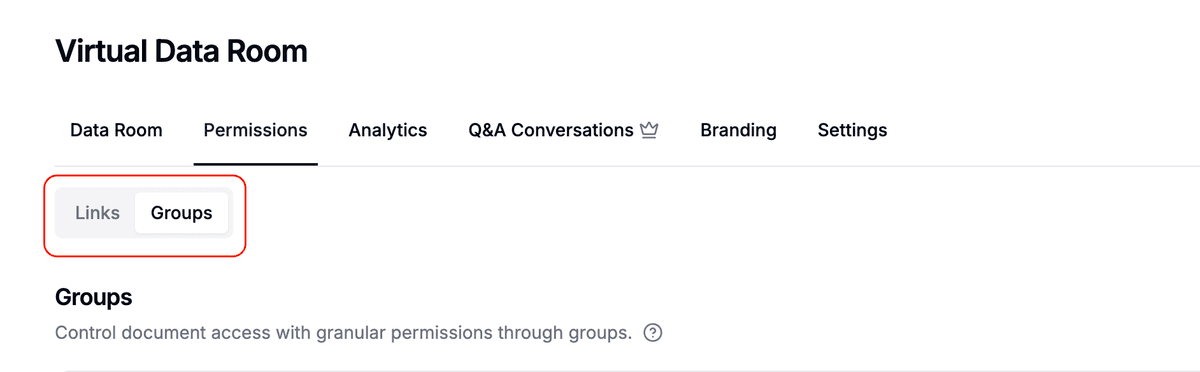
- In the tabs interface, switch to "Groups" (from "Links")
- To create a new group:
- Click the "Create group" button on the right
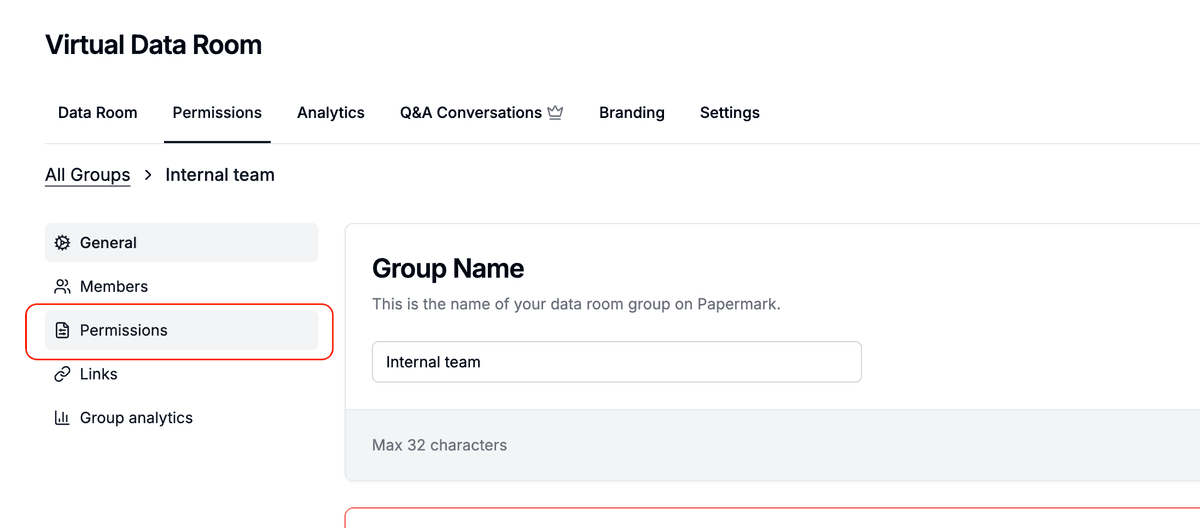
- Enter a name for your group (minimum 3 characters)
- Click "Add new group"
- To manage an existing group, click on it from the groups list
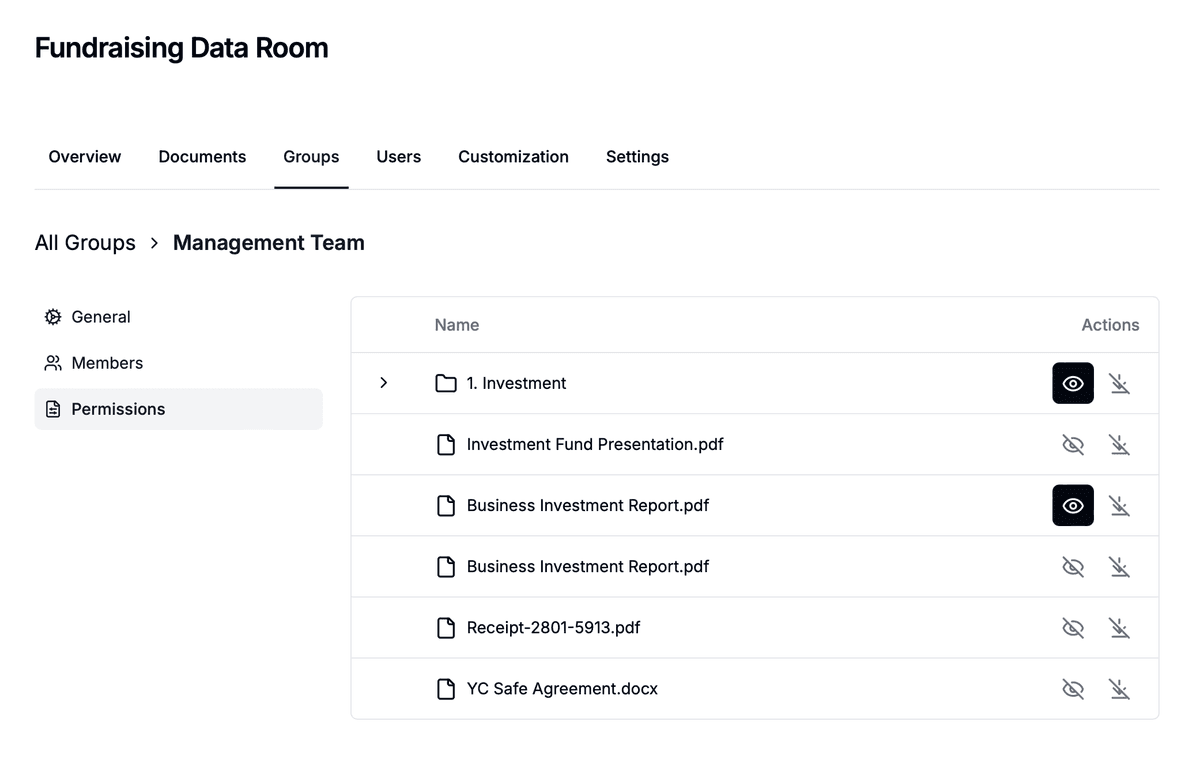
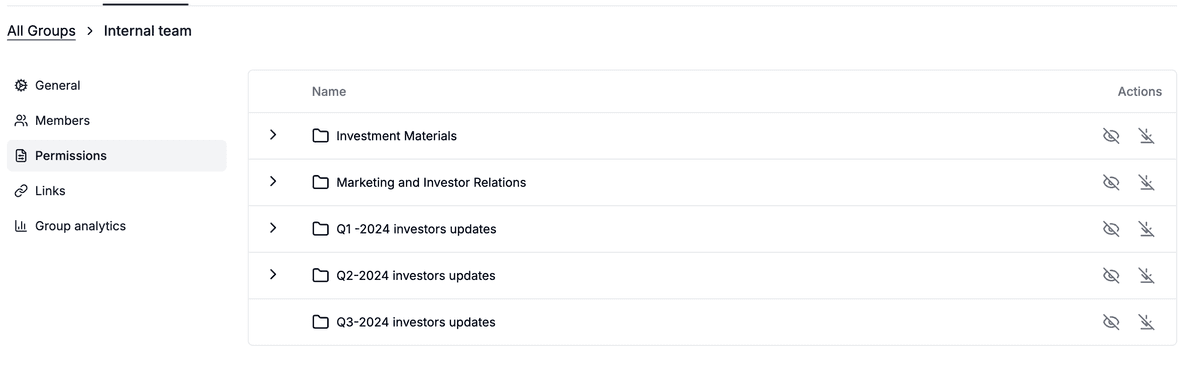
Setting up group permissions
- Select a group from your groups list
- Navigate to the "Permissions" tab
- You'll see a hierarchical view of your data room's folders and files
- For each folder or file, you can set:
- View permission: Controls who can view the content
- Download permission: Controls who can download the content
Quick share option
When setting up permissions, you have two options:
- Share entire data room: Use this toggle to quickly grant access to all content
- Custom permissions: Configure specific access rights for individual folders and files

Permission hierarchy
Permissions in Papermark follow a hierarchical structure:
Folder-level permissions
- Apply to all contents within the folder
- Automatically cascade to subfolders and files
- Provide efficient management of multiple documents
- Can be overridden at the file level
File-level permissions

- Set specific permissions for individual files
- Override folder-level permissions when needed
- Control view and download rights separately
Sharing access
To share access with group members:
- Create a sharing link:
- Click the "Share" button in your data room
- Select "Create group link"
- Choose the group you want to share with
- Configure link settings:
- Set expiration date (optional)
- Add any access restrictions
- Share the generated link with group members
Recipients who access the data room through a group link will automatically inherit that group's permissions.
Best practices for group management
- Logical grouping: Create groups based on roles or access needs
- Minimal permissions: Grant only necessary access levels
- Regular review: Periodically audit group memberships and permissions
- Use folders: Structure your data room with folders to simplify permission management
- Test access: Verify permissions work as expected before sharing with users
Advanced features
- Bulk permissions: Update multiple items simultaneously using folder permissions
- Access logs: Track group activity and document access
- Permission inheritance: Understand how permissions flow from folders to files
Visitor groups for managing many visitors at once
When you have many visitors who share the same permissions (for example, all investors in a fundraising round, or all employees of a buyer in M&A), the Groups tab makes it easy to manage them in bulk.
Visitor groups let you:
- Group visitors by deal role: buyers, sellers, advisors, legal counsel
- Group by organization: all visitors from the same company
- Group by access tier: tier 1, tier 2, full access
- Group by custom criteria: whatever fits your workflow
Once visitors are grouped, you can:
- Grant folder access to entire groups at once instead of clicking through visitor by visitor
- Send bulk invitations to every group member with one action
- Track analytics by group to compare engagement between buyer tiers or investor cohorts
- Update permissions for all group members simultaneously when access requirements change
- Apply default permissions strategies through upload visibility and document defaults
Step-by-step: create and use visitor groups
- Open your data room and click the Permissions menu.
- Switch to the Groups tab.
- Click Create group and give it a name (for example, "Lead investors" or "Legal counsel").
- Add visitors to the group either manually or by inviting them by email.
- Switch to the Permissions tab for the group and grant folder or file access.
- Share the group's invitation link or send bulk invitations.
Every member of the group inherits the group's permissions automatically. When you add a new visitor to the group later, they get the same access without extra configuration.
Conclusion
Groups and granular permissions in Papermark provide a flexible and secure way to manage document access. By carefully structuring your groups and permissions, you can ensure that sensitive information is only accessible to the right people while maintaining efficient collaboration.