You run courses with rolling cohorts that need access to the same materials. Manually managing access for each new class and revoking it when they finish is time-consuming and error-prone.
With Papermark you can assign visitor groups per cohort and revoke access for an entire class when the course ends.
How it works
Step by step
Step 1. Upload your course materials
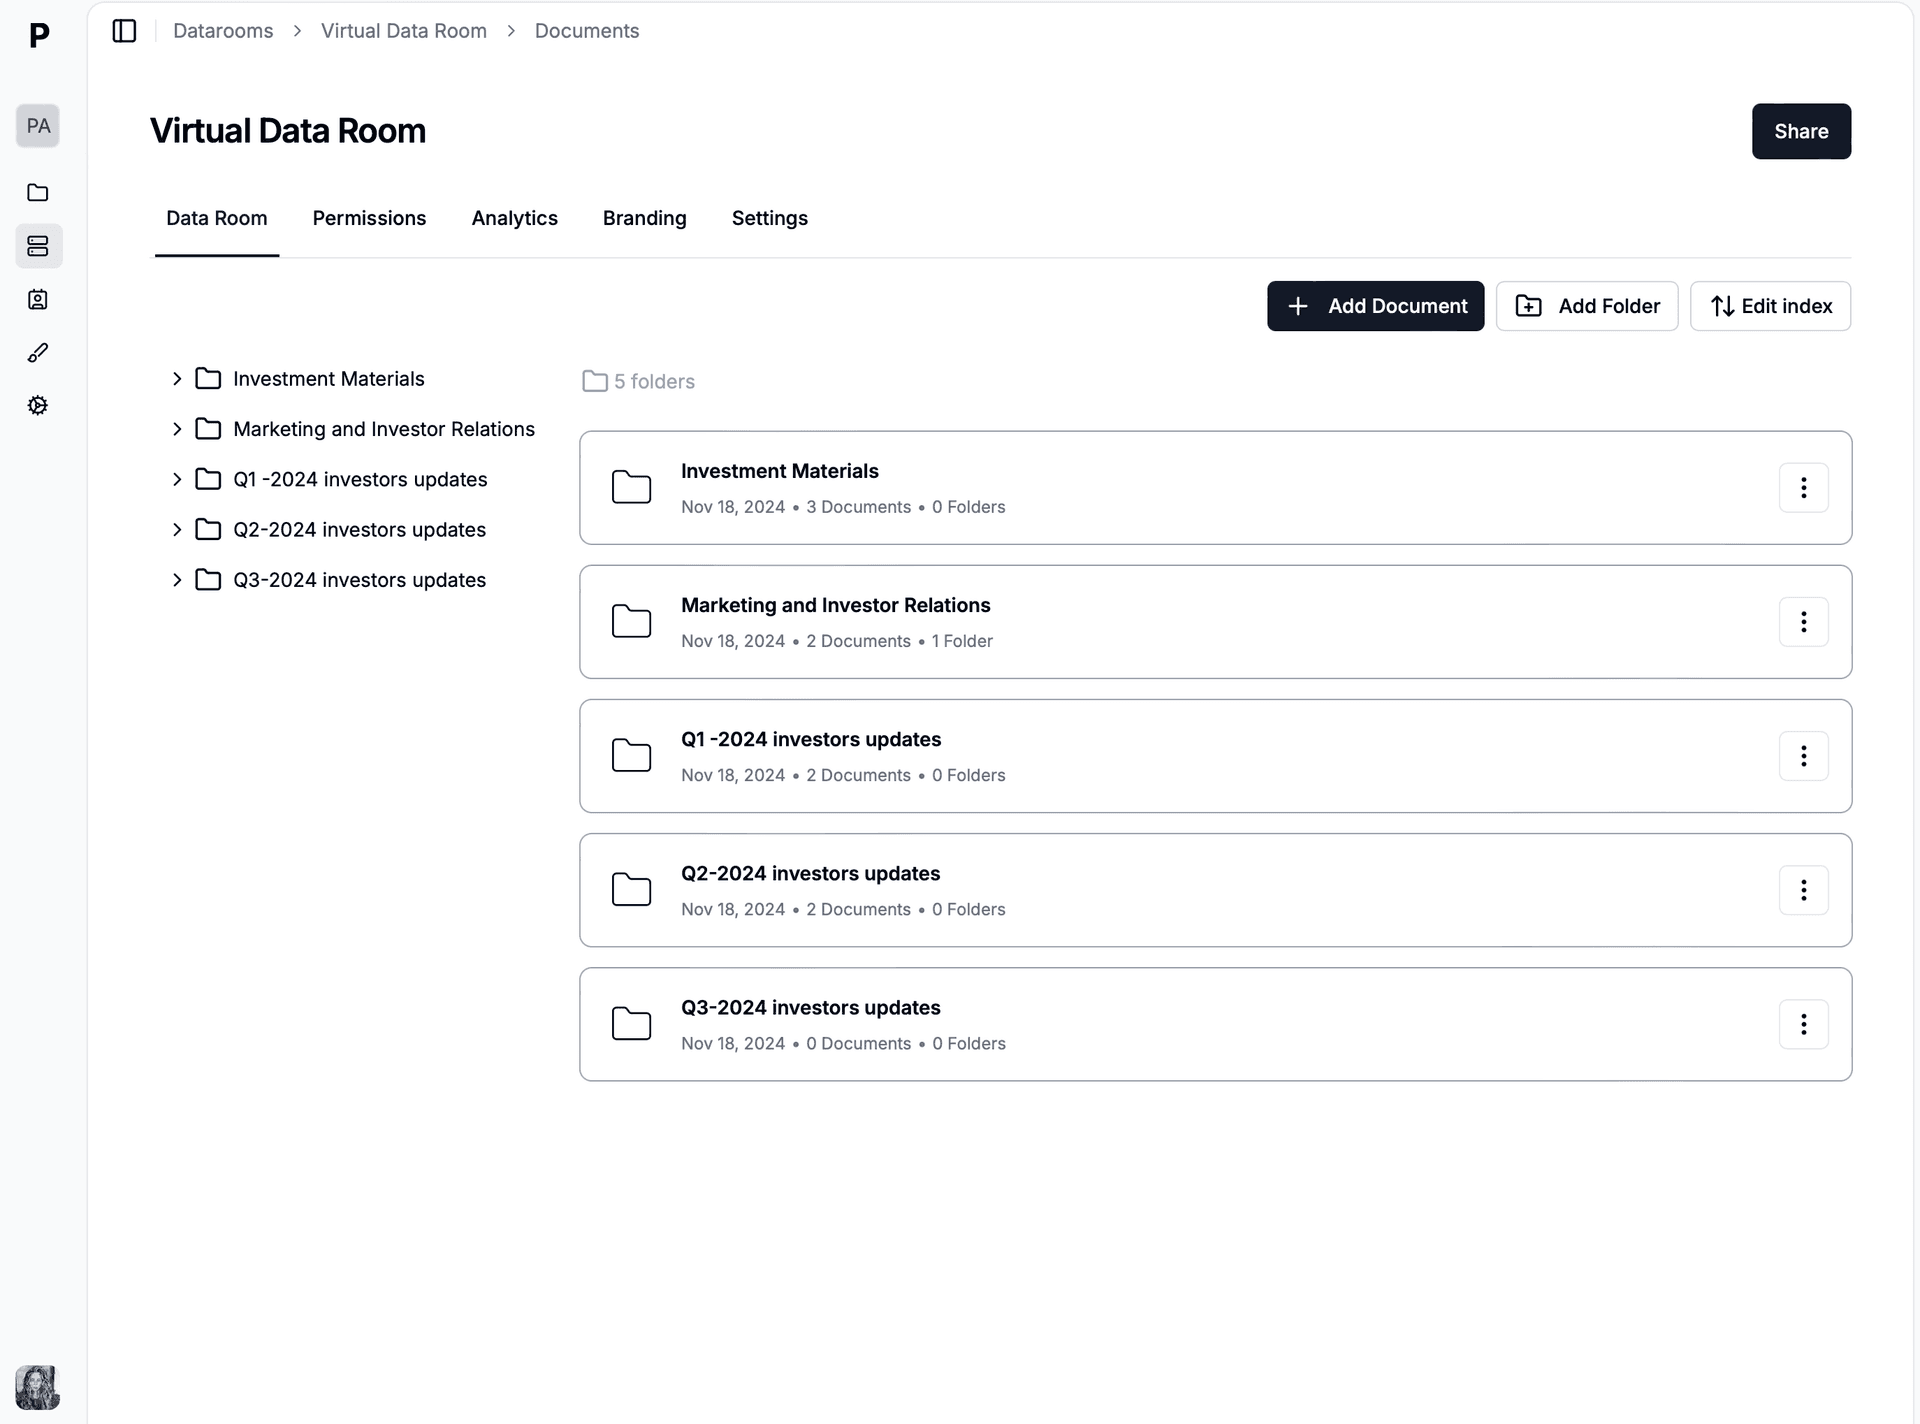
Open Papermark and create a new data room. Upload your course PDFs and learning materials. Use drag-and-drop to add files, then organize them into folders. Papermark automatically indexes everything and supports bulk upload of entire folder structures.
Step 2. Set up access controls for enrolled students and subscribers
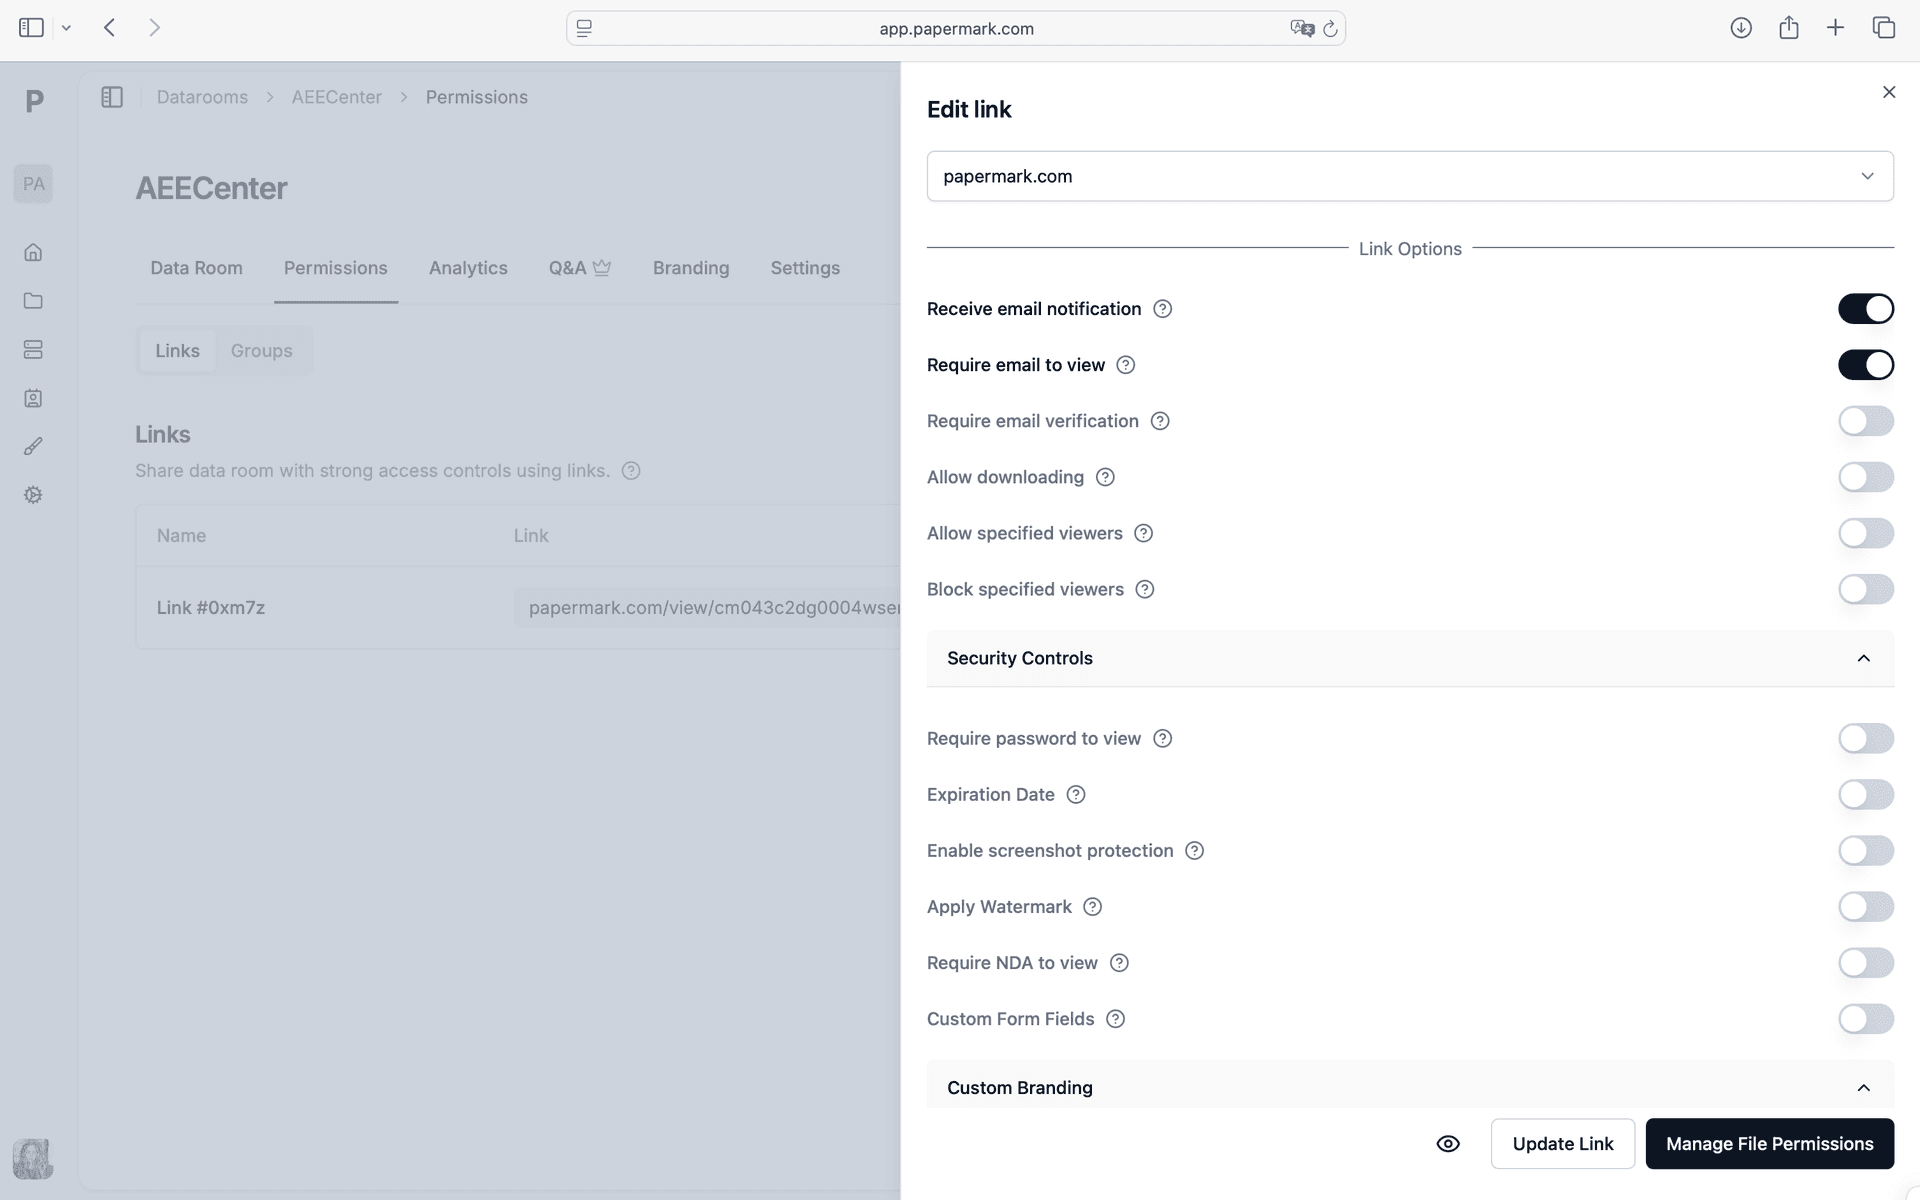
Configure your security settings. In Papermark link settings, enable Visitor groups, Bulk access control, Link expiration, Reusable materials. Every viewer is verified before they can access a single page. You control exactly who among your enrolled students and subscribers sees which documents.
Step 3. Share gated links with verified subscribers and track engagement
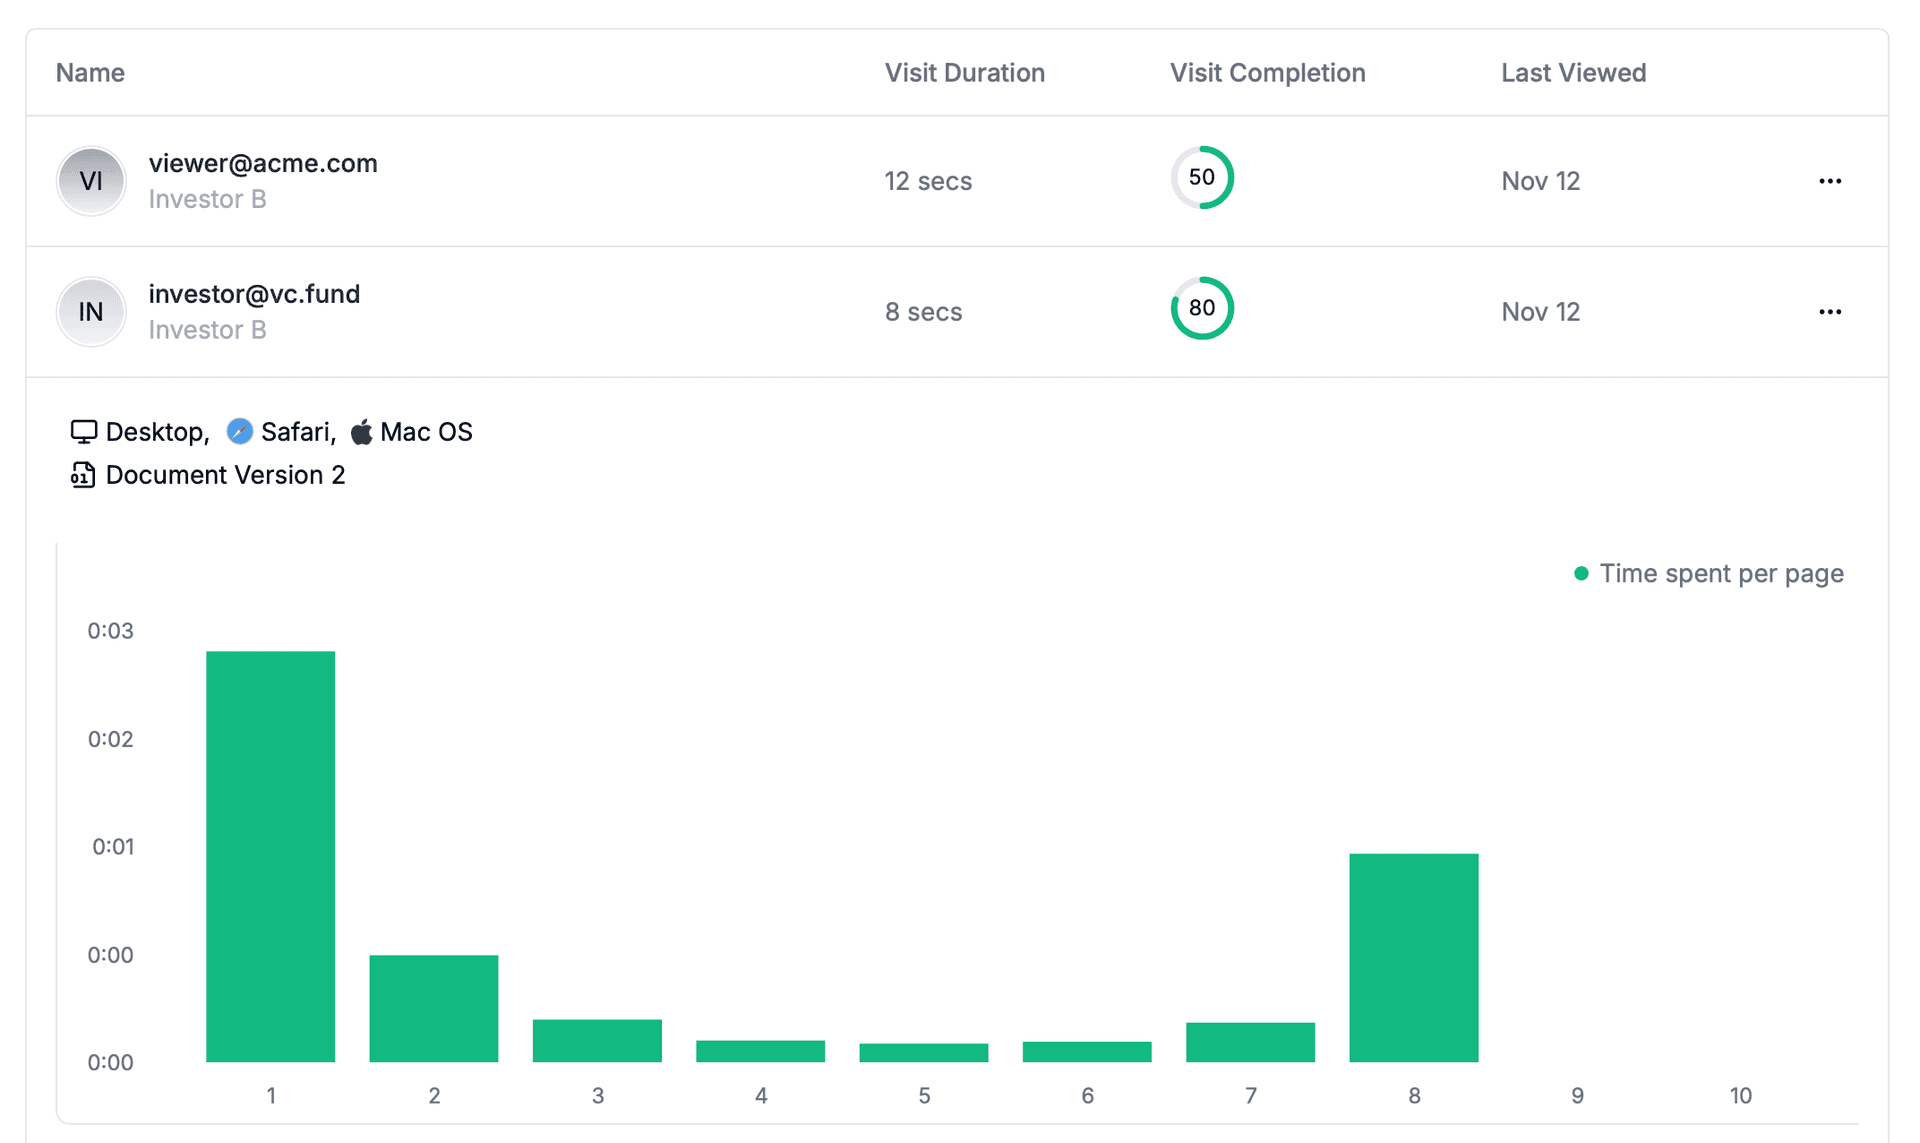
Generate a secure link and share gated links with verified subscribers. Papermark tracks every interaction in real-time. See which materials students actually read, time per page, and where they stop. Open the analytics dashboard to see all engagement data as it happens.
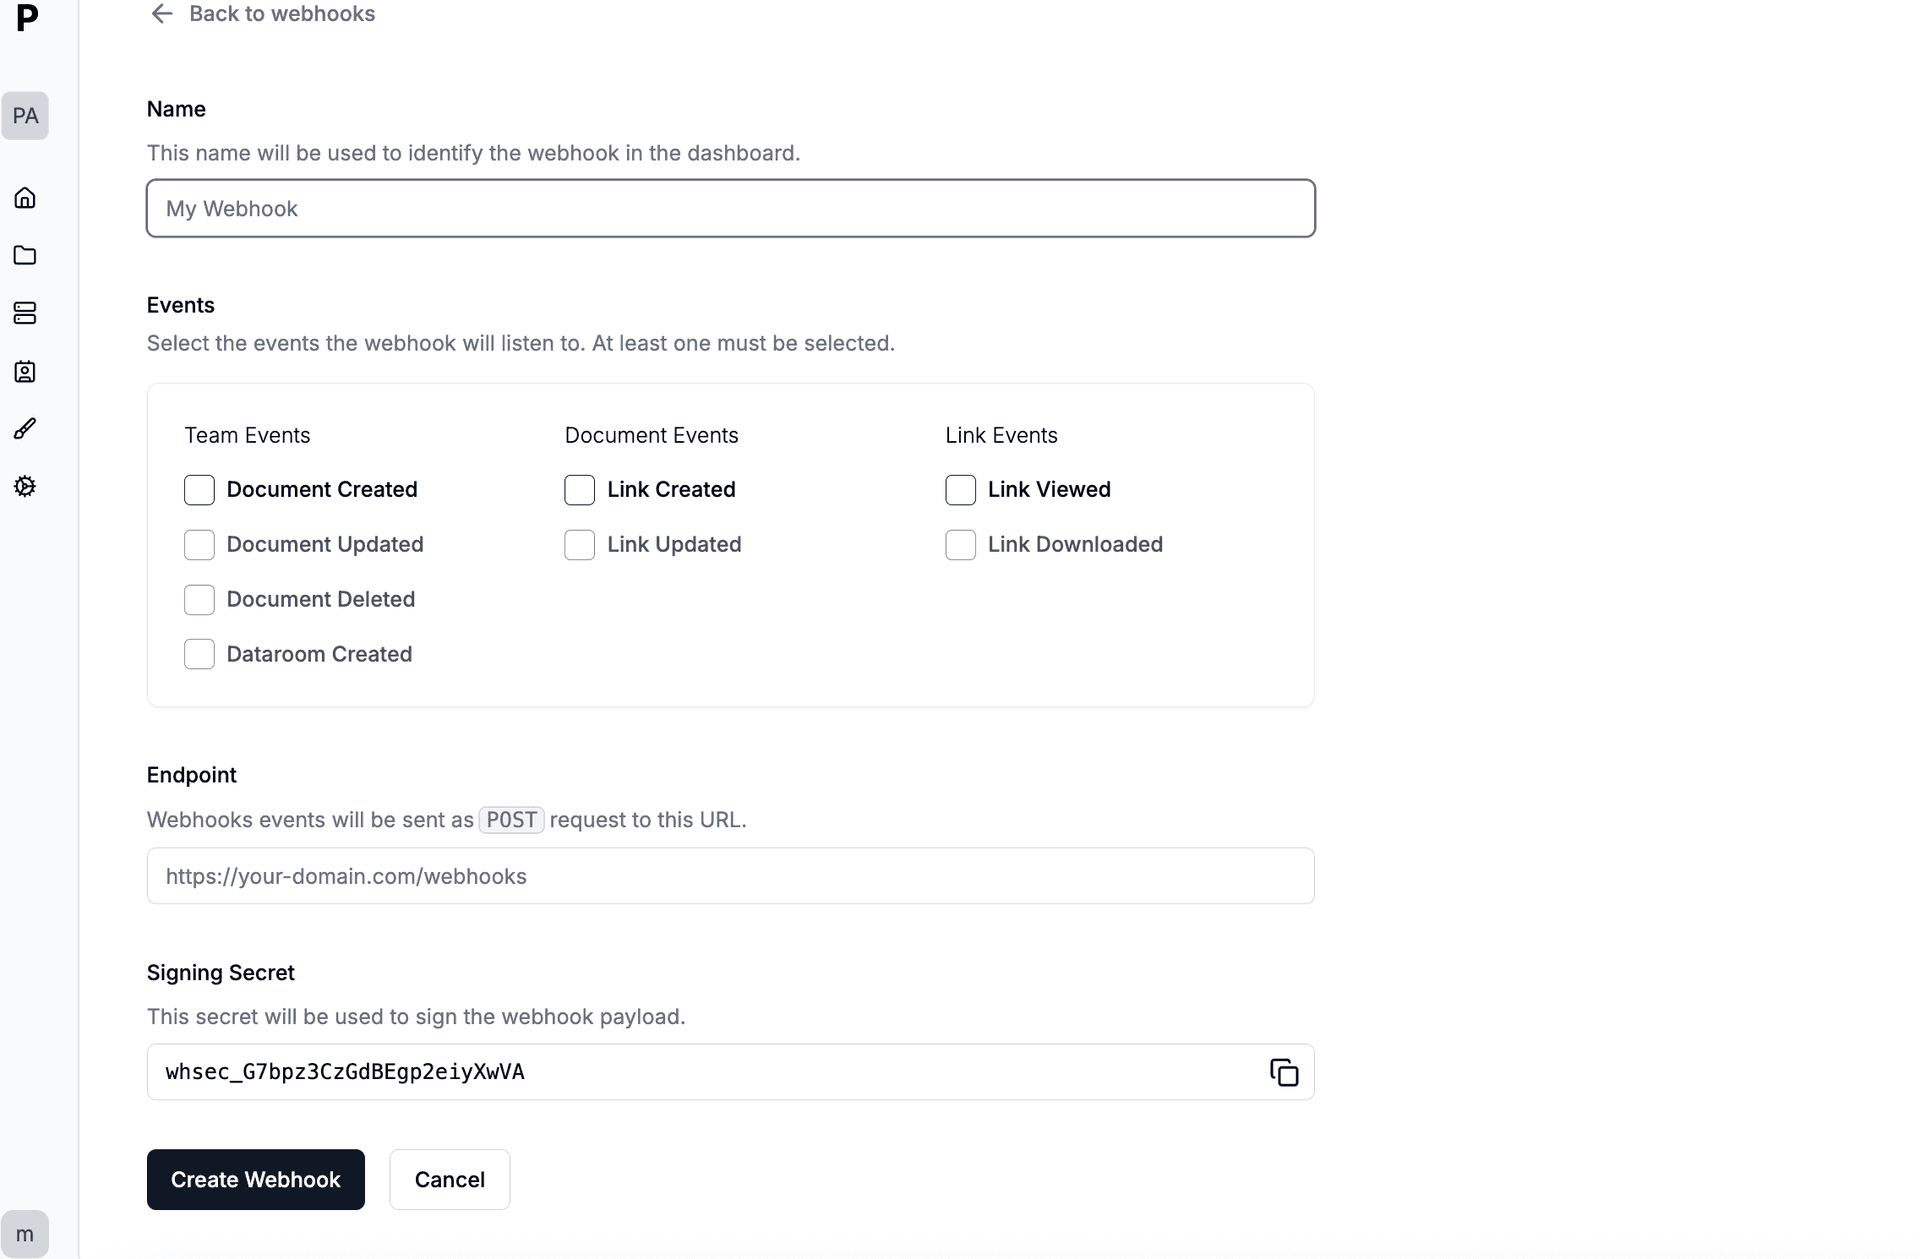
Step 4. Create a webhook to connect external tools
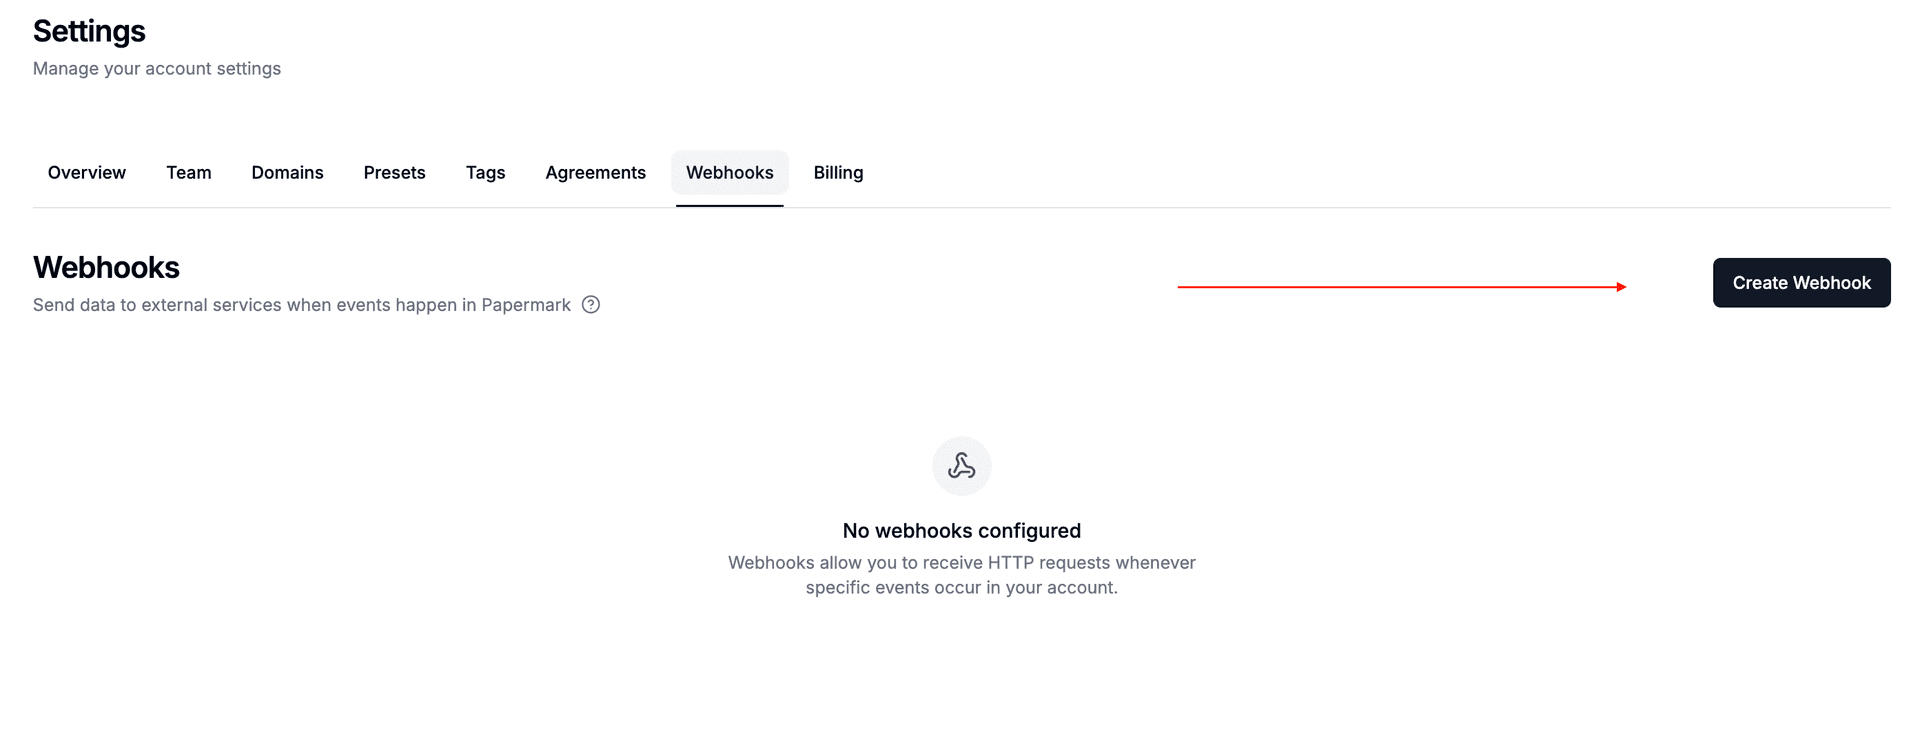
Go to Settings > Webhooks in Papermark. Create a new webhook endpoint pointing to your automation tool (Zapier, Make, or n8n). Select which events should trigger: "Link Viewed" fires when enrolled students and subscribers open your documents, "Document Downloaded" when they download. Papermark sends a signed payload with viewer email, document name, pages viewed, and time spent.
Step 5. Choose which events trigger your automation
Pick the events relevant to your workflow. For tracking enrolled students and subscribers engagement, select "Link Viewed". For monitoring downloads of sensitive course materials, add "Document Downloaded". Each payload is signed with HMAC-SHA256 for security. You can create multiple webhooks for different tools.
Step 6. Sync student lists from LMS
In n8n, add a "Webhook" trigger node to a new workflow. Copy the production URL into Papermark's webhook settings. Build your flow: Sync student lists from LMS. n8n runs self-hosted, keeping all your enrolled students and subscribers engagement data on your own infrastructure.
Step 7. Automate cohort management
In Zapier, create a new Zap with "Webhooks by Zapier" as the trigger (Catch Hook). Copy the webhook URL and paste it in Papermark's webhook settings. Add your action: Automate cohort management. Now every time enrolled students and subscribers view your course materials, Zapier runs your automation.
Tools and integrations
Papermark connects to external tools via outgoing webhooks (HMAC-SHA256 signed). Slack has a native integration with OAuth. For all other tools, connect Papermark webhooks through Zapier, Make, or n8n.
n8n Webhook middleware
Sync student lists from LMS
Zapier Webhook middleware
Automate cohort management